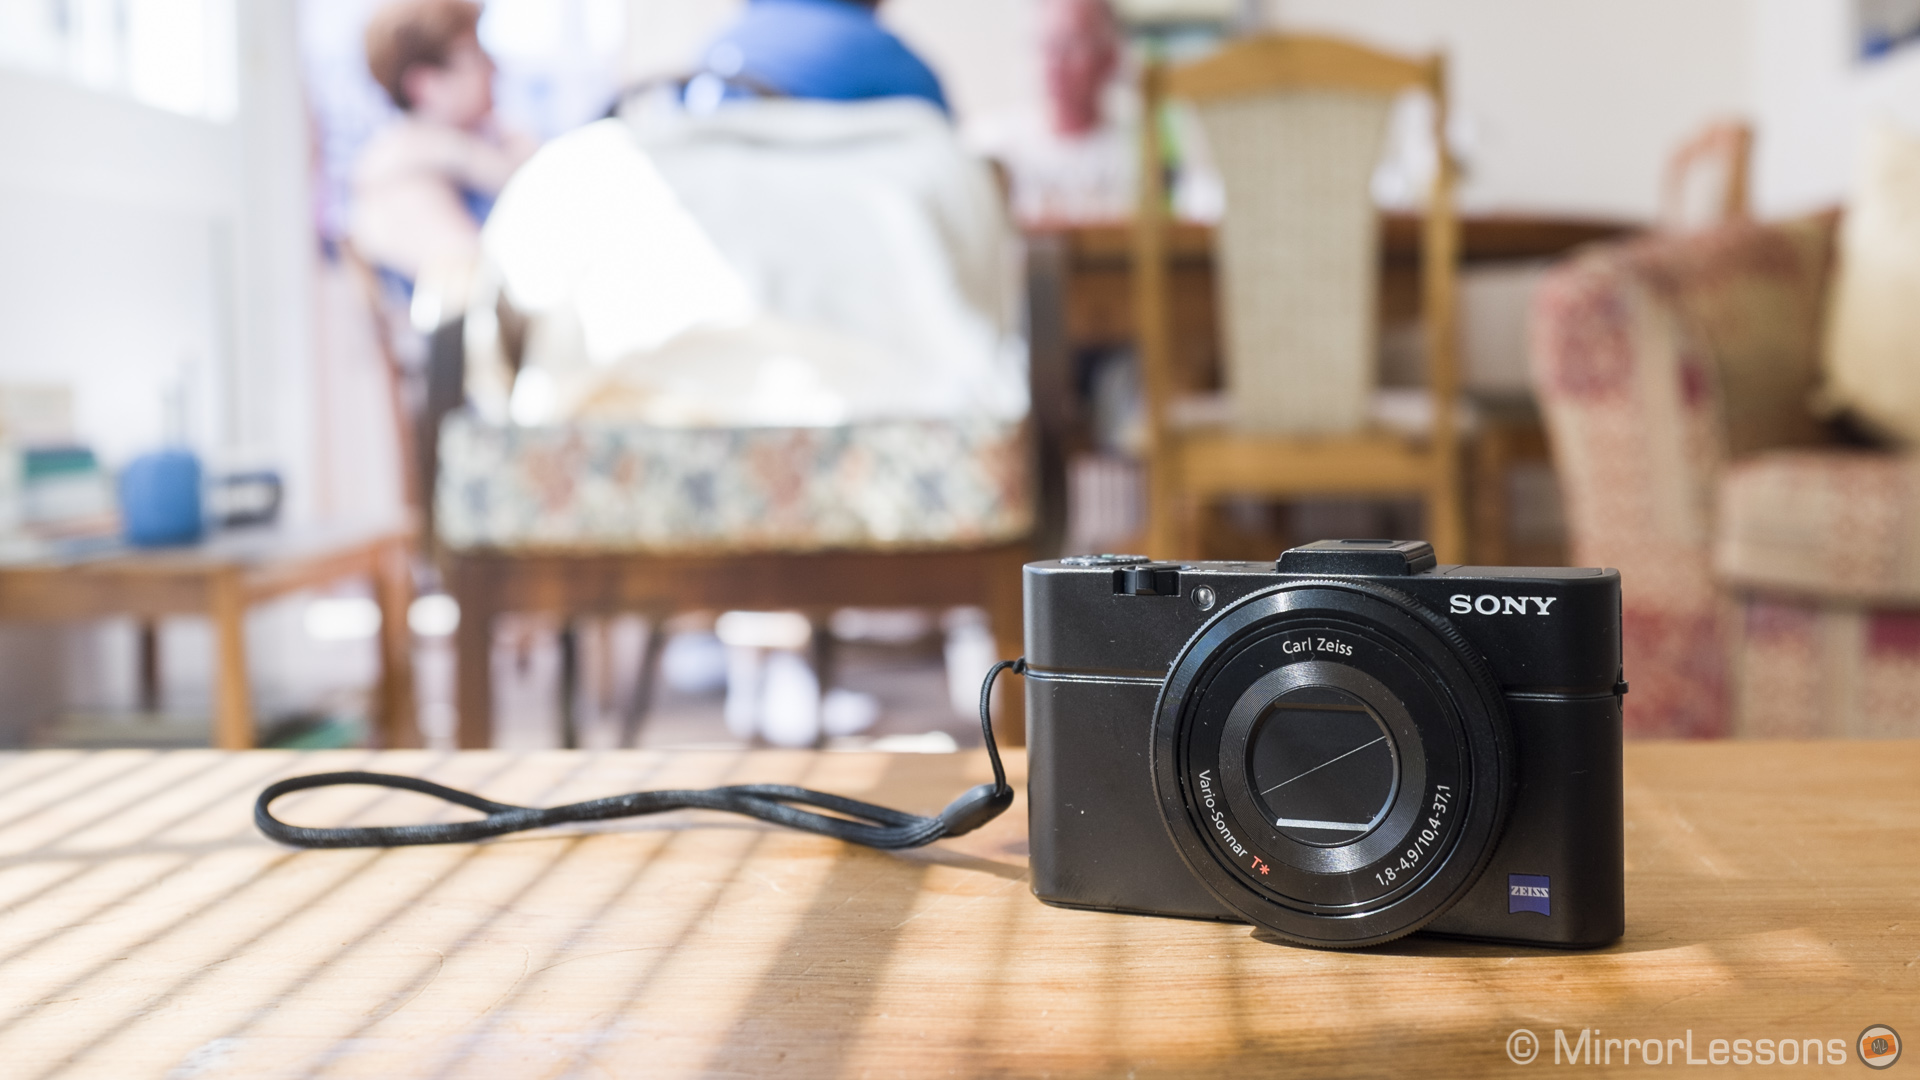
If you read our full review of the Sony RX100M2, you probably know how much we love this small yet powerful compact camera. Its 1-inch Exmor sensor can deliver great images on its own, but the best way to get the most out of these images is to manipulate the raw files in a post-processing program. I often find the colours of the RX100M2’s OOC JPGs less natural than on other cameras. Moreover, the raw files give you more dynamic range to work with.
My favourite raw developer is Adobe Lightroom and there are many reasons for that. It is very fast, handles thousand of photographs in one catalog, and the tools are improving with every new version. And, just to be completely honest, it is convenient for me as I have a Creative Cloud membership, meaning that I can access any Adobe software I want. Of course Lightroom is included in the package.
Depending on the brand and camera model, Lightroom may already include different camera profiles that replicate the rendition of that particular model. This is especially true for Nikon and Canon DSLRs but not for Fujifilm cameras, for example. In the RX100M2’s case, there are three additional profiles specific to the camera but the rendition is very similar to the JPGs. Since the colours are a little bit cold, I am not a huge fan.
So, here we have another opportunity to write about the Huelight Camera Profiles. This topic isn’t new as I have already written about these profiles in our Fuji X100s article and an article about the Olympus E-M5.
Basically, Color Fidelity (Huelight) camera profiles are an alternative to the camera profiles provided in Adobe Lightroom (and Photoshop as well). They can improve colour rendering and skin tones, whilst balancing the individual colour channels. This gives you a more natural image to work with.
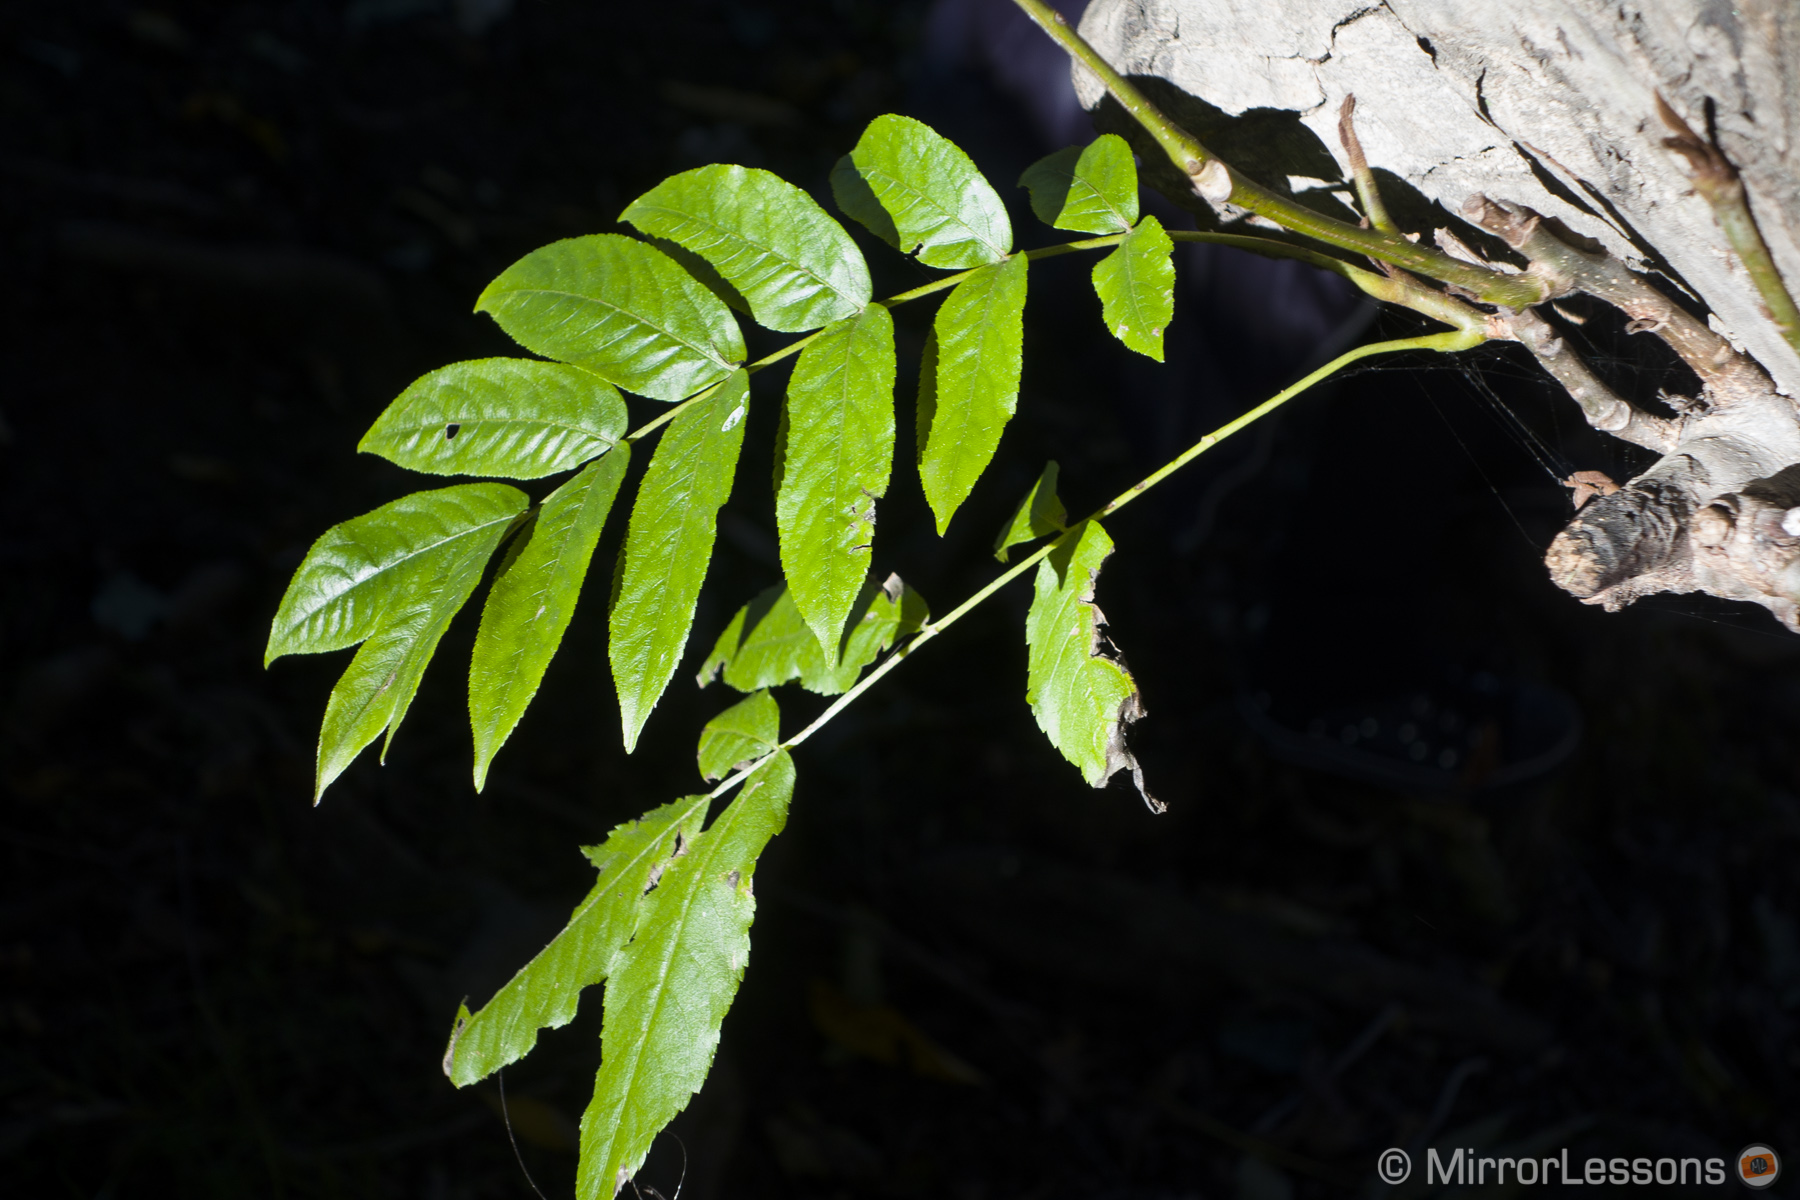
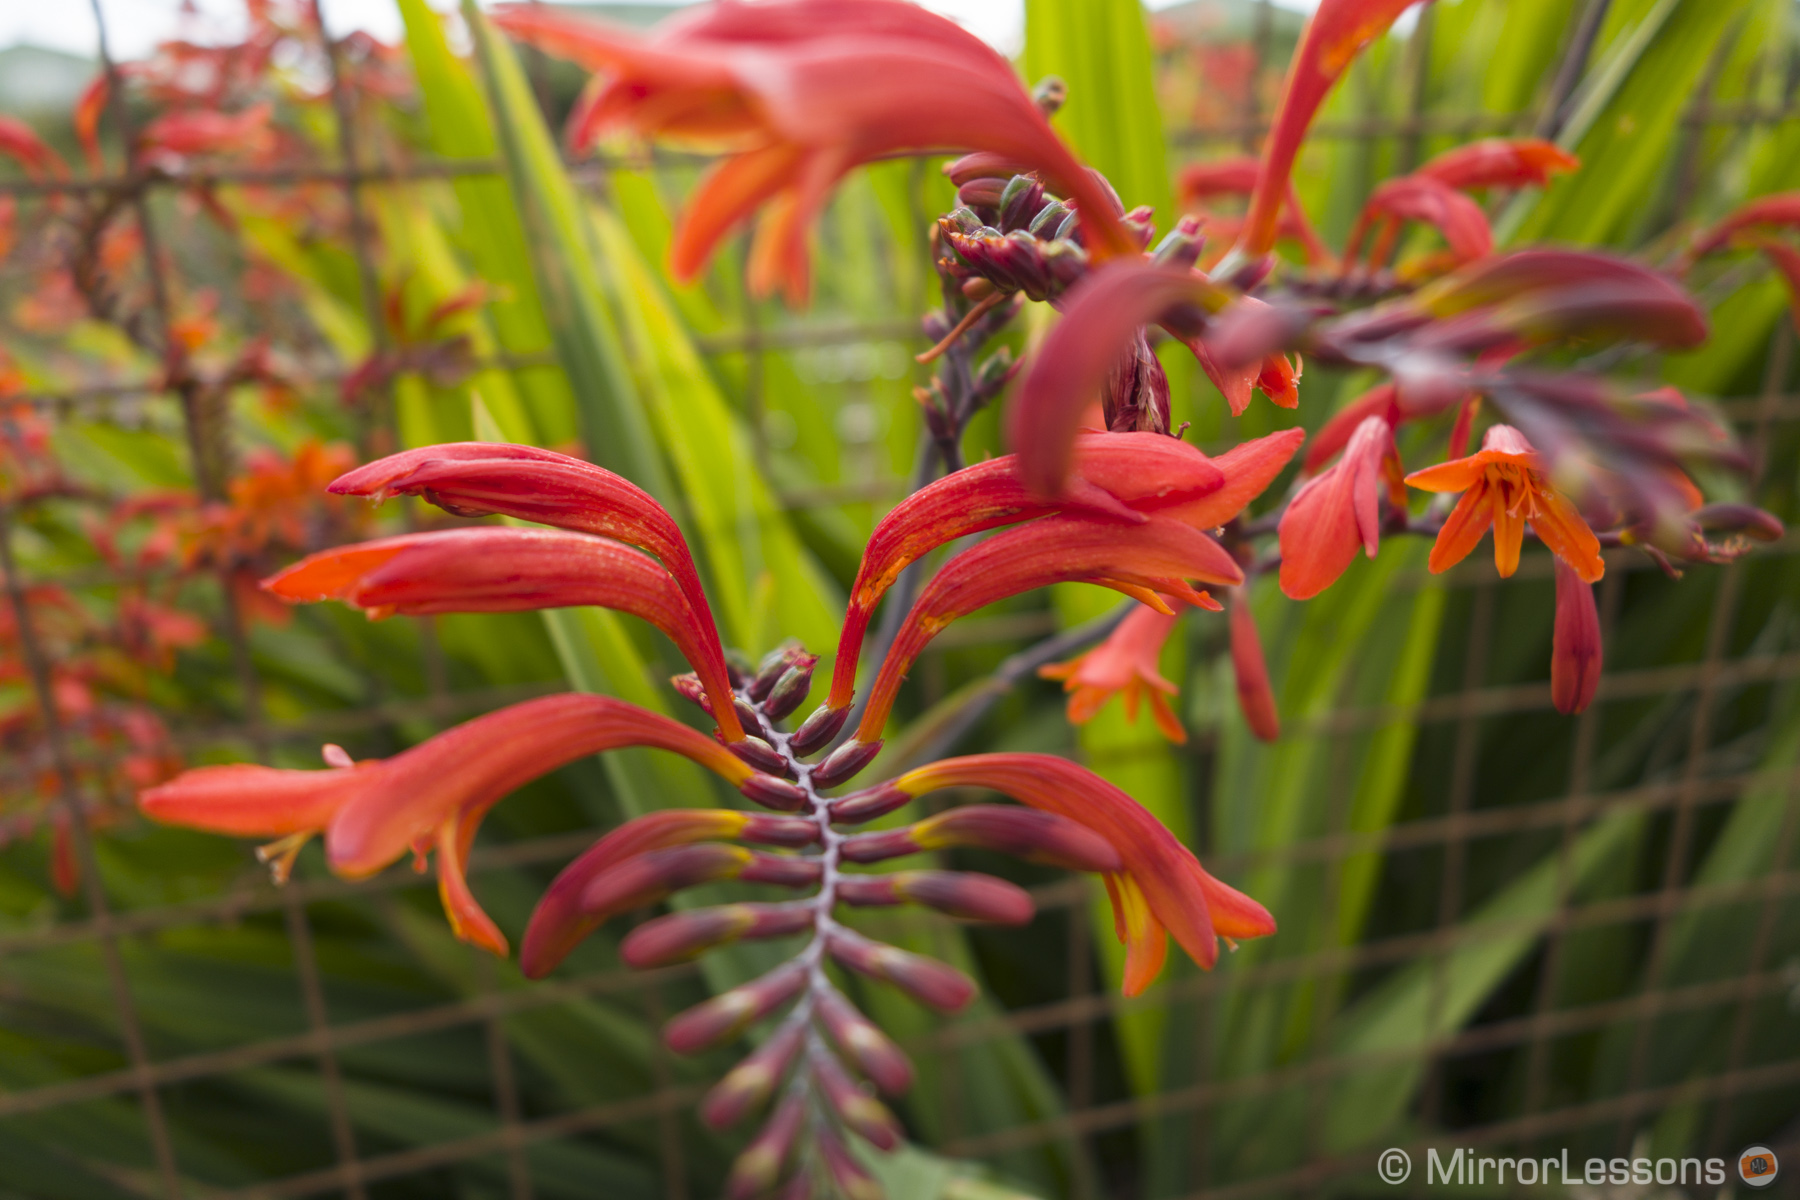
Here are some examples. Move the mouse over the image to reveal the second version. If you are reading this article on a tablet, click on the thumbnail below.


You can see that the additional profiles shipped with the software (“camera”) improve the standard rendition of Lightroom but have a more cooler rendition, while the Huelight profile “warms up” the photograph.
Below some additional comparisons between the camera profiles and the Huelight profiles.


In the examples above I prefer the Huelight versions because they render the light and colours in a more natural manner. But just to prove to you that colour appreciation can vary from picture to picture, if you take the last example (the red leaf), I prefer the camera’s rendition as the red is more powerful. The Huelight rendition is closer to the real colour of the leaf which was more of a purple shade.
We can also see some examples with skin tone rendition.


In this example, we can see that the camera’s portrait profile boosts the skin colour but also generates slightly too much yellow. The Huelight version definitely looks more natural.
Another example below.

It is important to keep in mind that colours are very subjective and what I like may not be your cup of tea. Plus, we should always remember that the results I see on my computer may differ from yours depending on the monitor’s calibration as well.
Of course, if you prefer to heavily post-process the raw files, you may just find the optimal balance yourself without the use of profiles on your images. And let’s not forget that post-processing for the web and post-processing for printing are two different things – while one profile might work for the web, the same profile may not look as good when printed.
Personally, I like these profiles because they give me an excellent starting point for my photographic tastes. If I want to make extra changes after applying the profiles, I can increase colour vibrance or saturation, or concentrate only on the dynamic range by opening the shadows or decreasing the highlights. If I already have a pleasant colour rendition from the start, I might not tweak the settings at all. I like the Huelight profiles for that; they often simplify the post-processing of colours, even if it is in a very subtle way.
The profiles come in three versions (high, standard and low for portraits) and are very cheap (a mere $10).
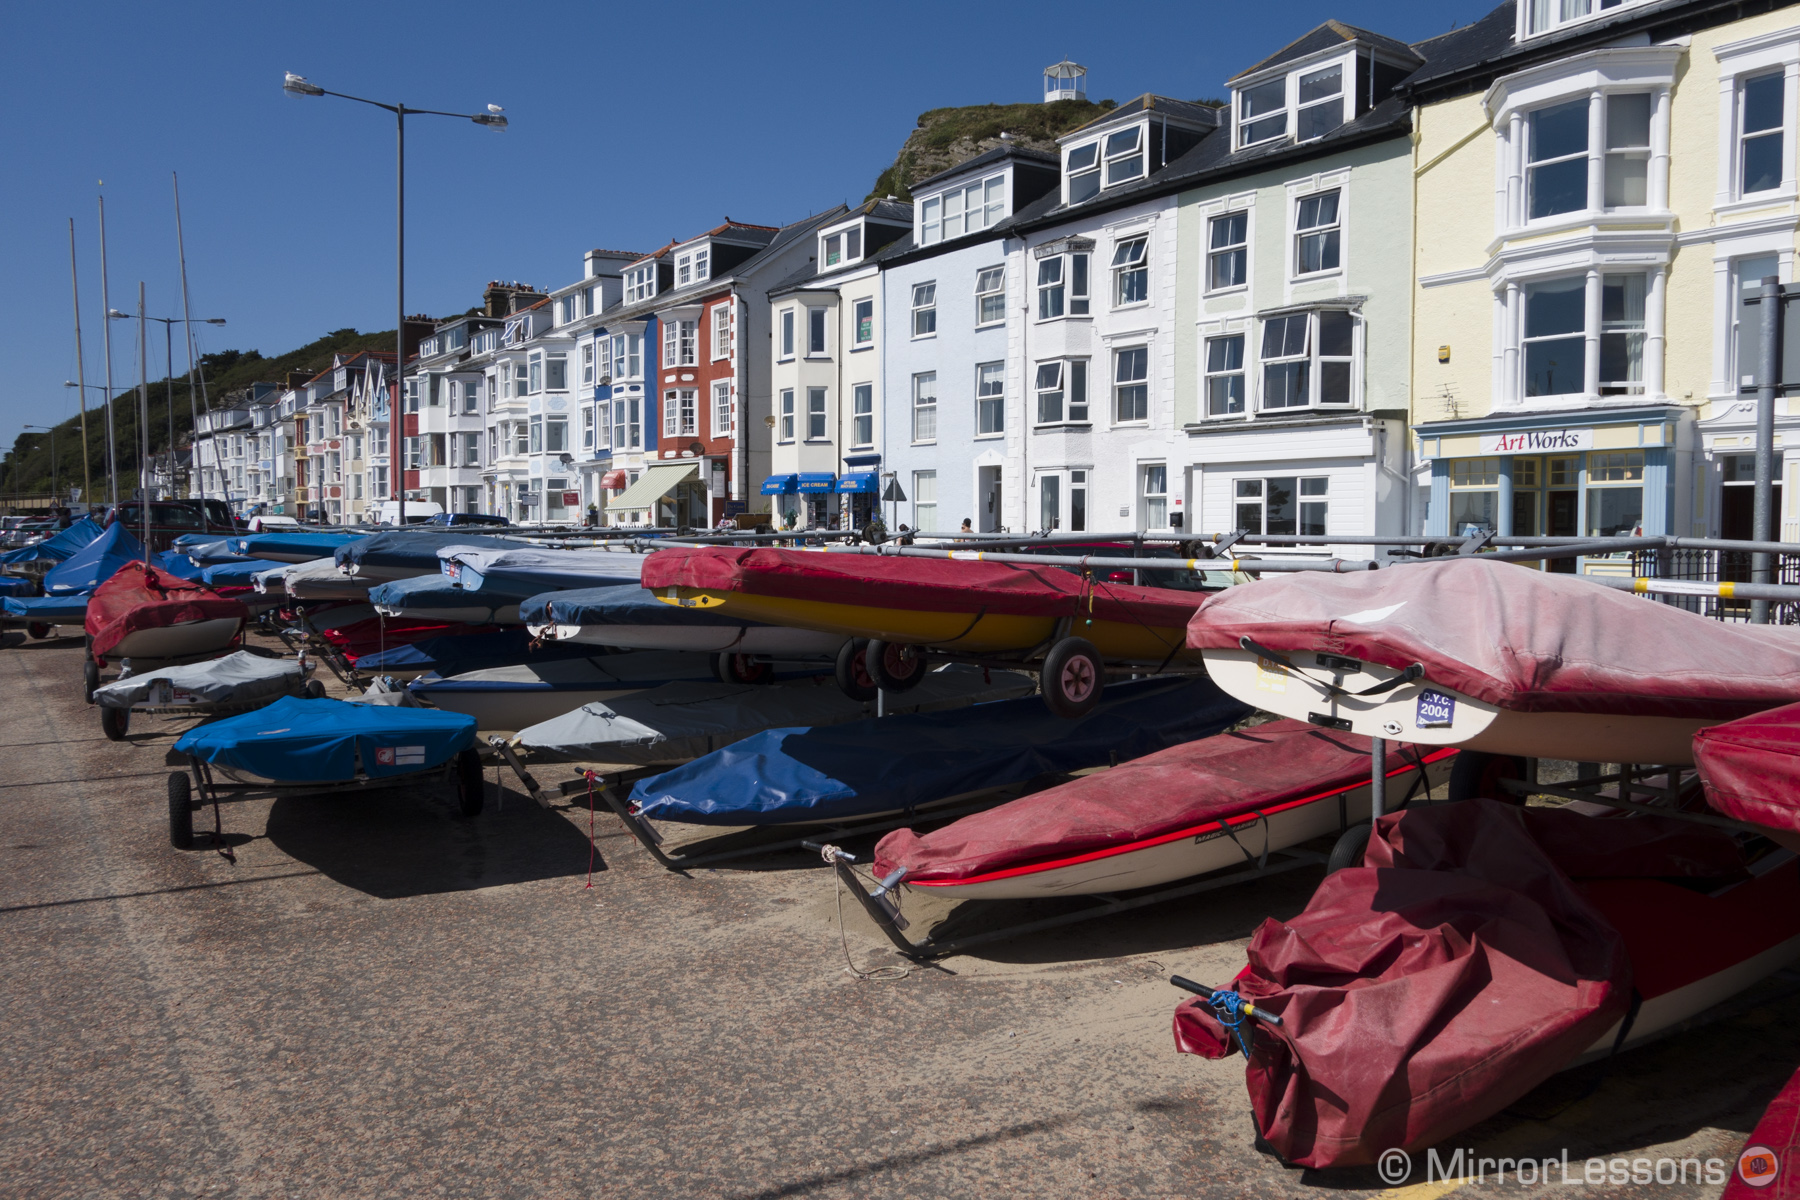
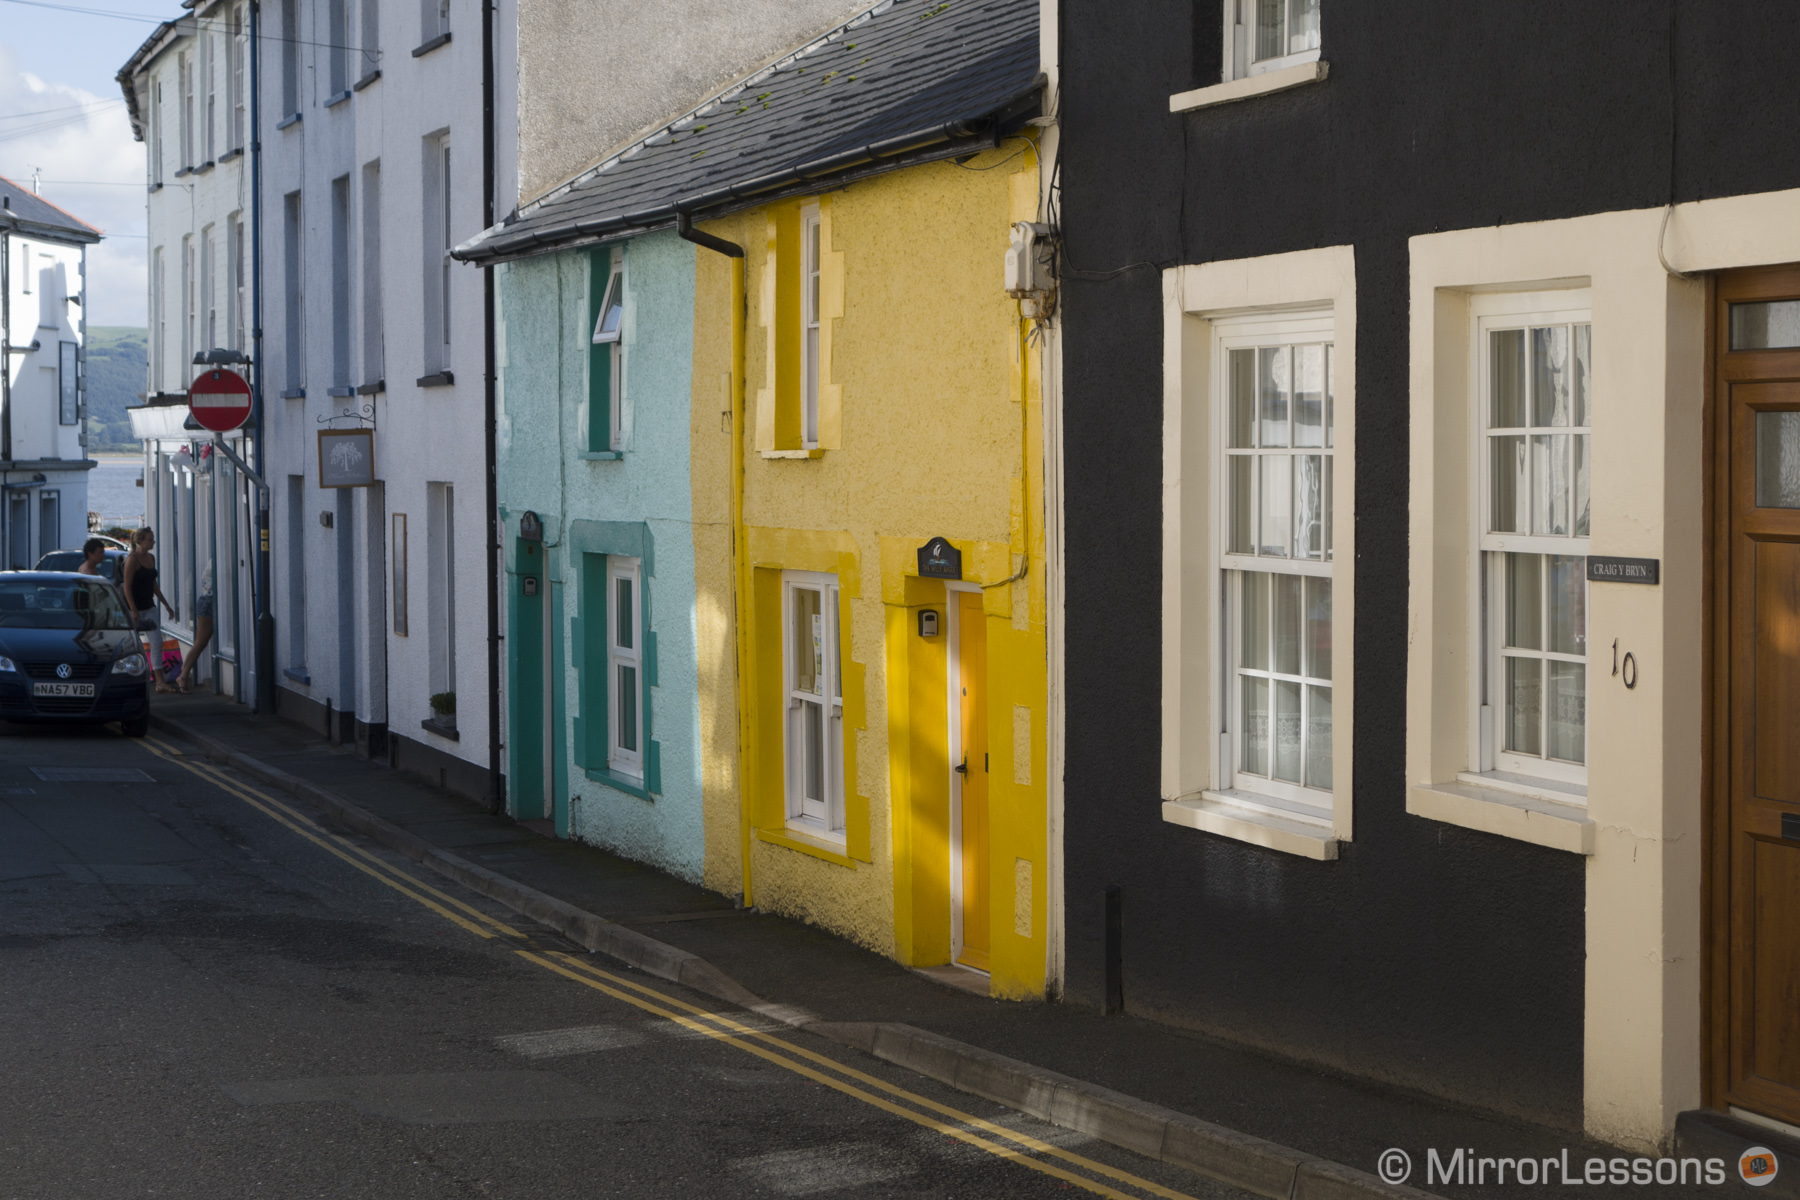
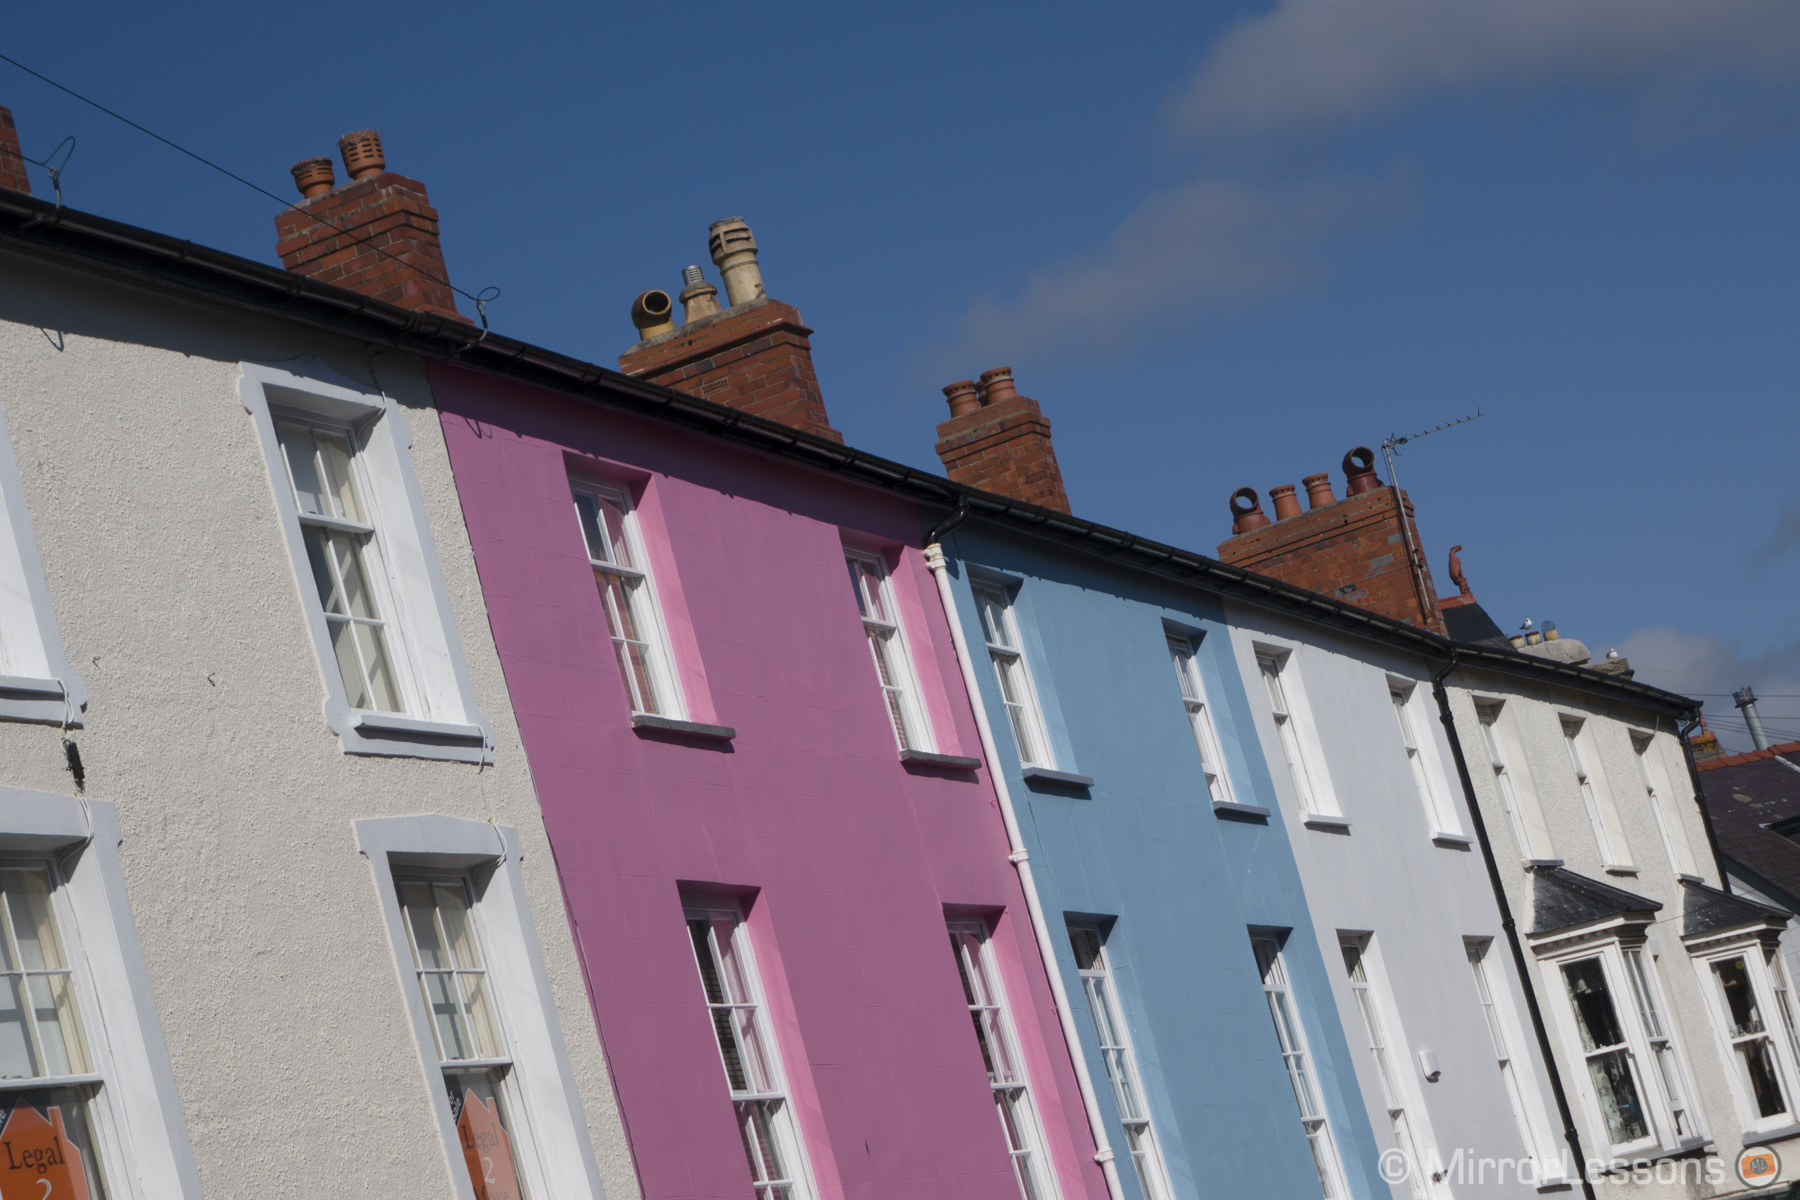
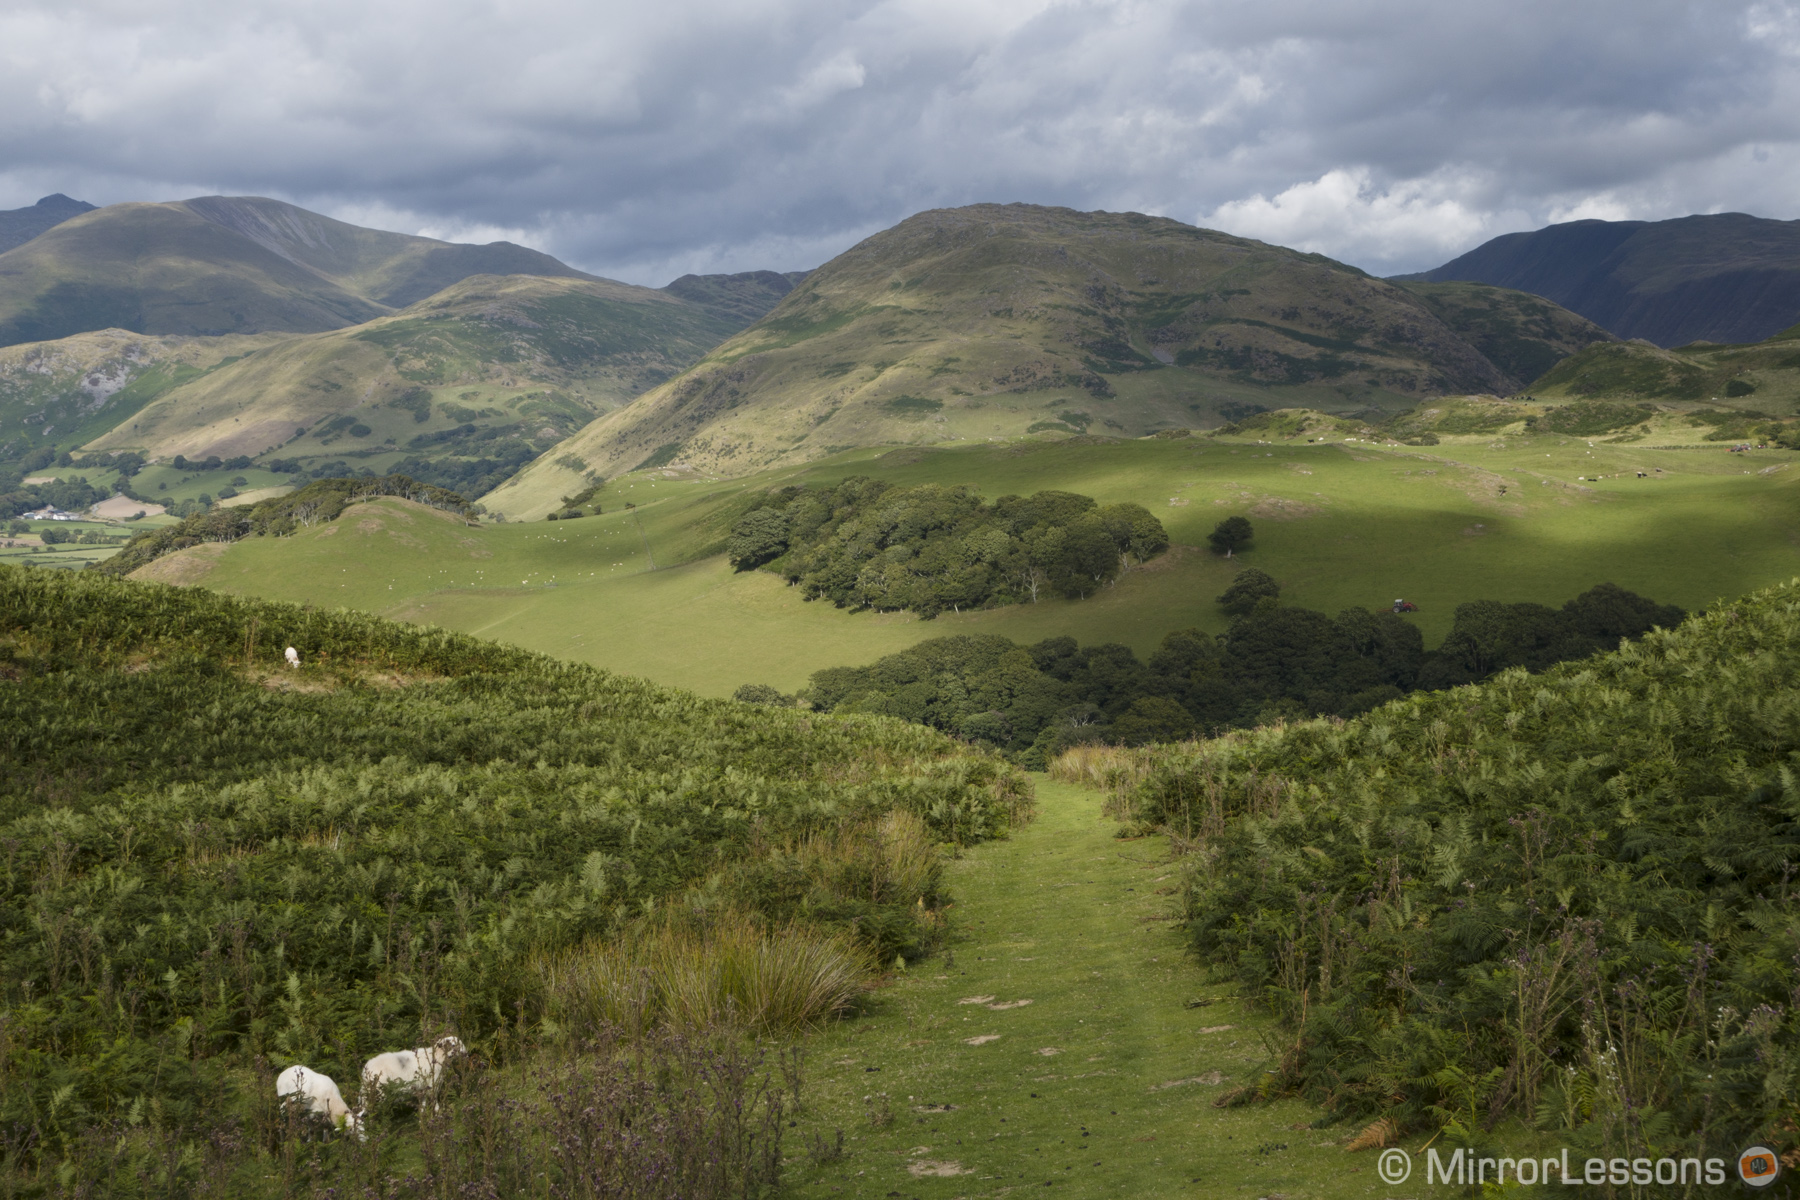
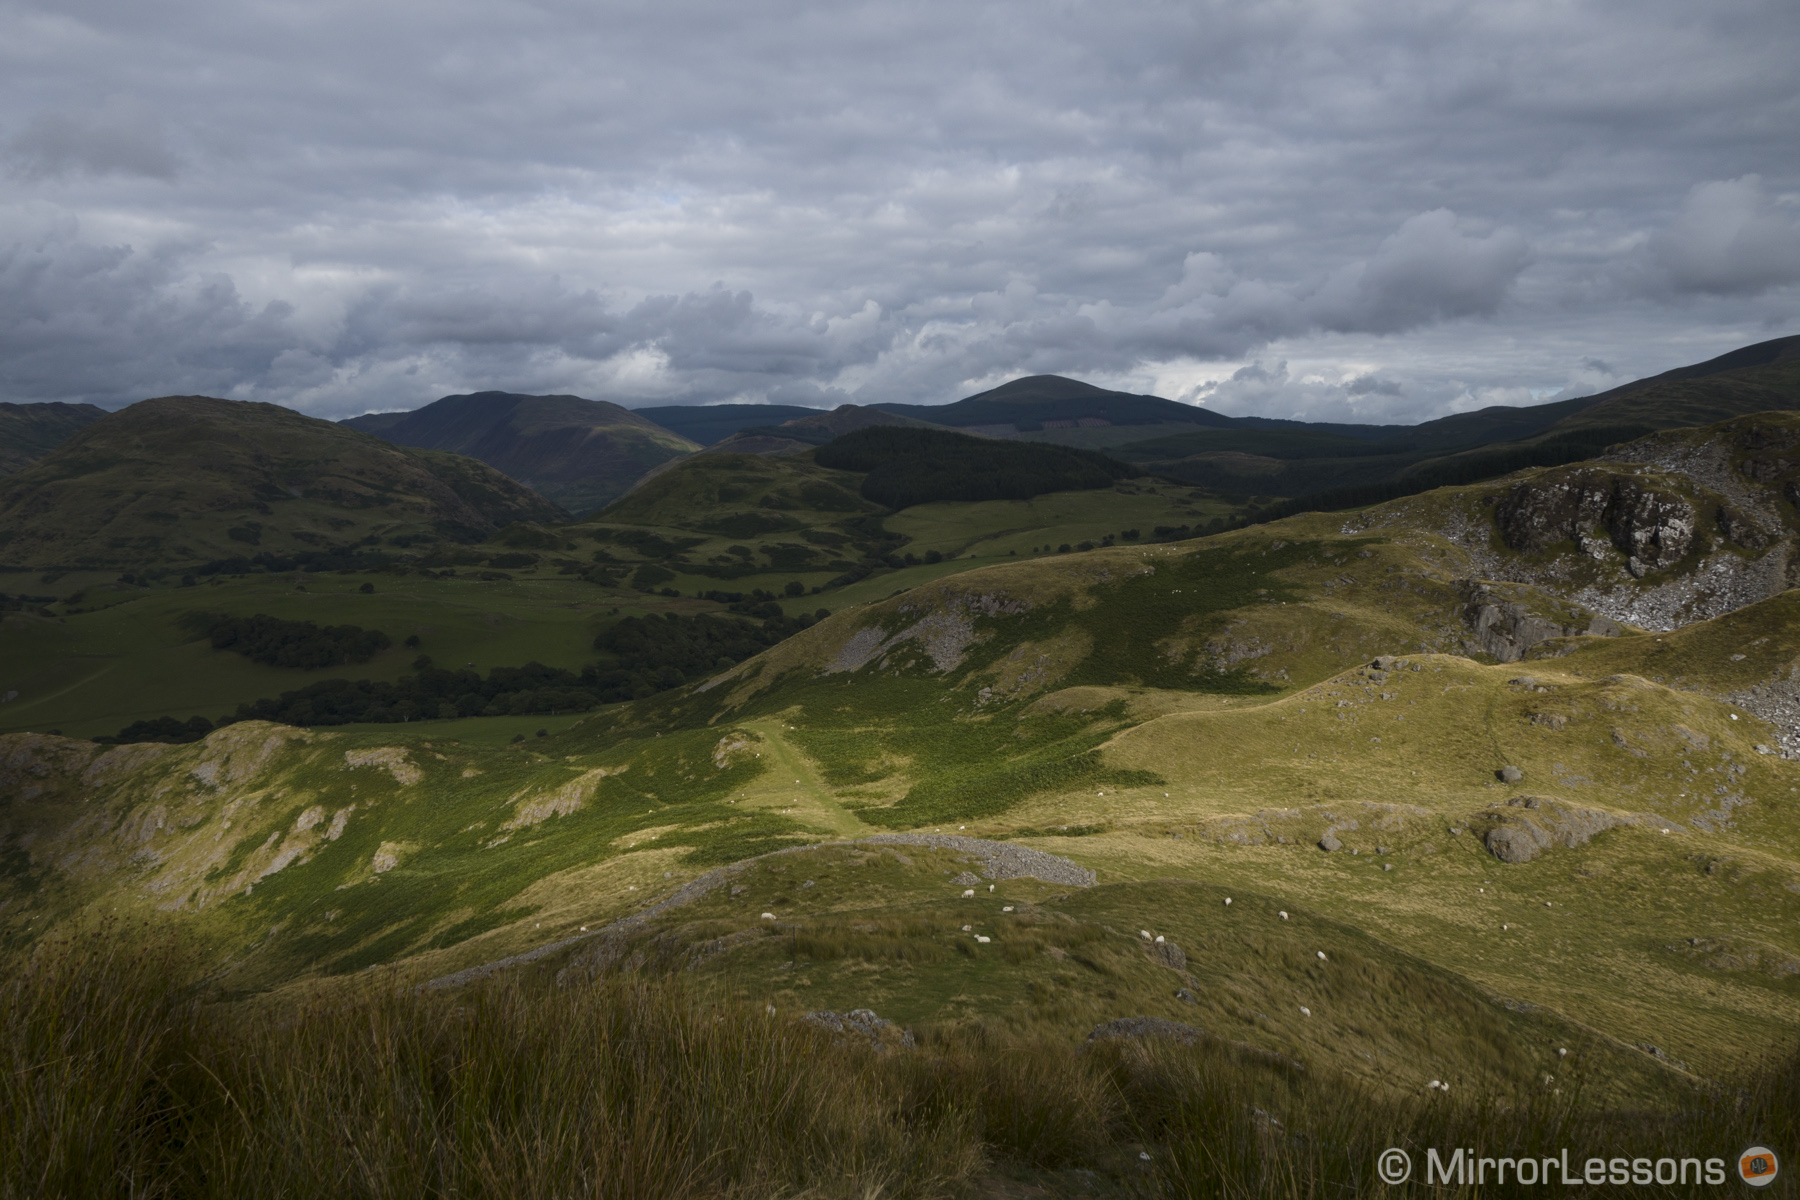
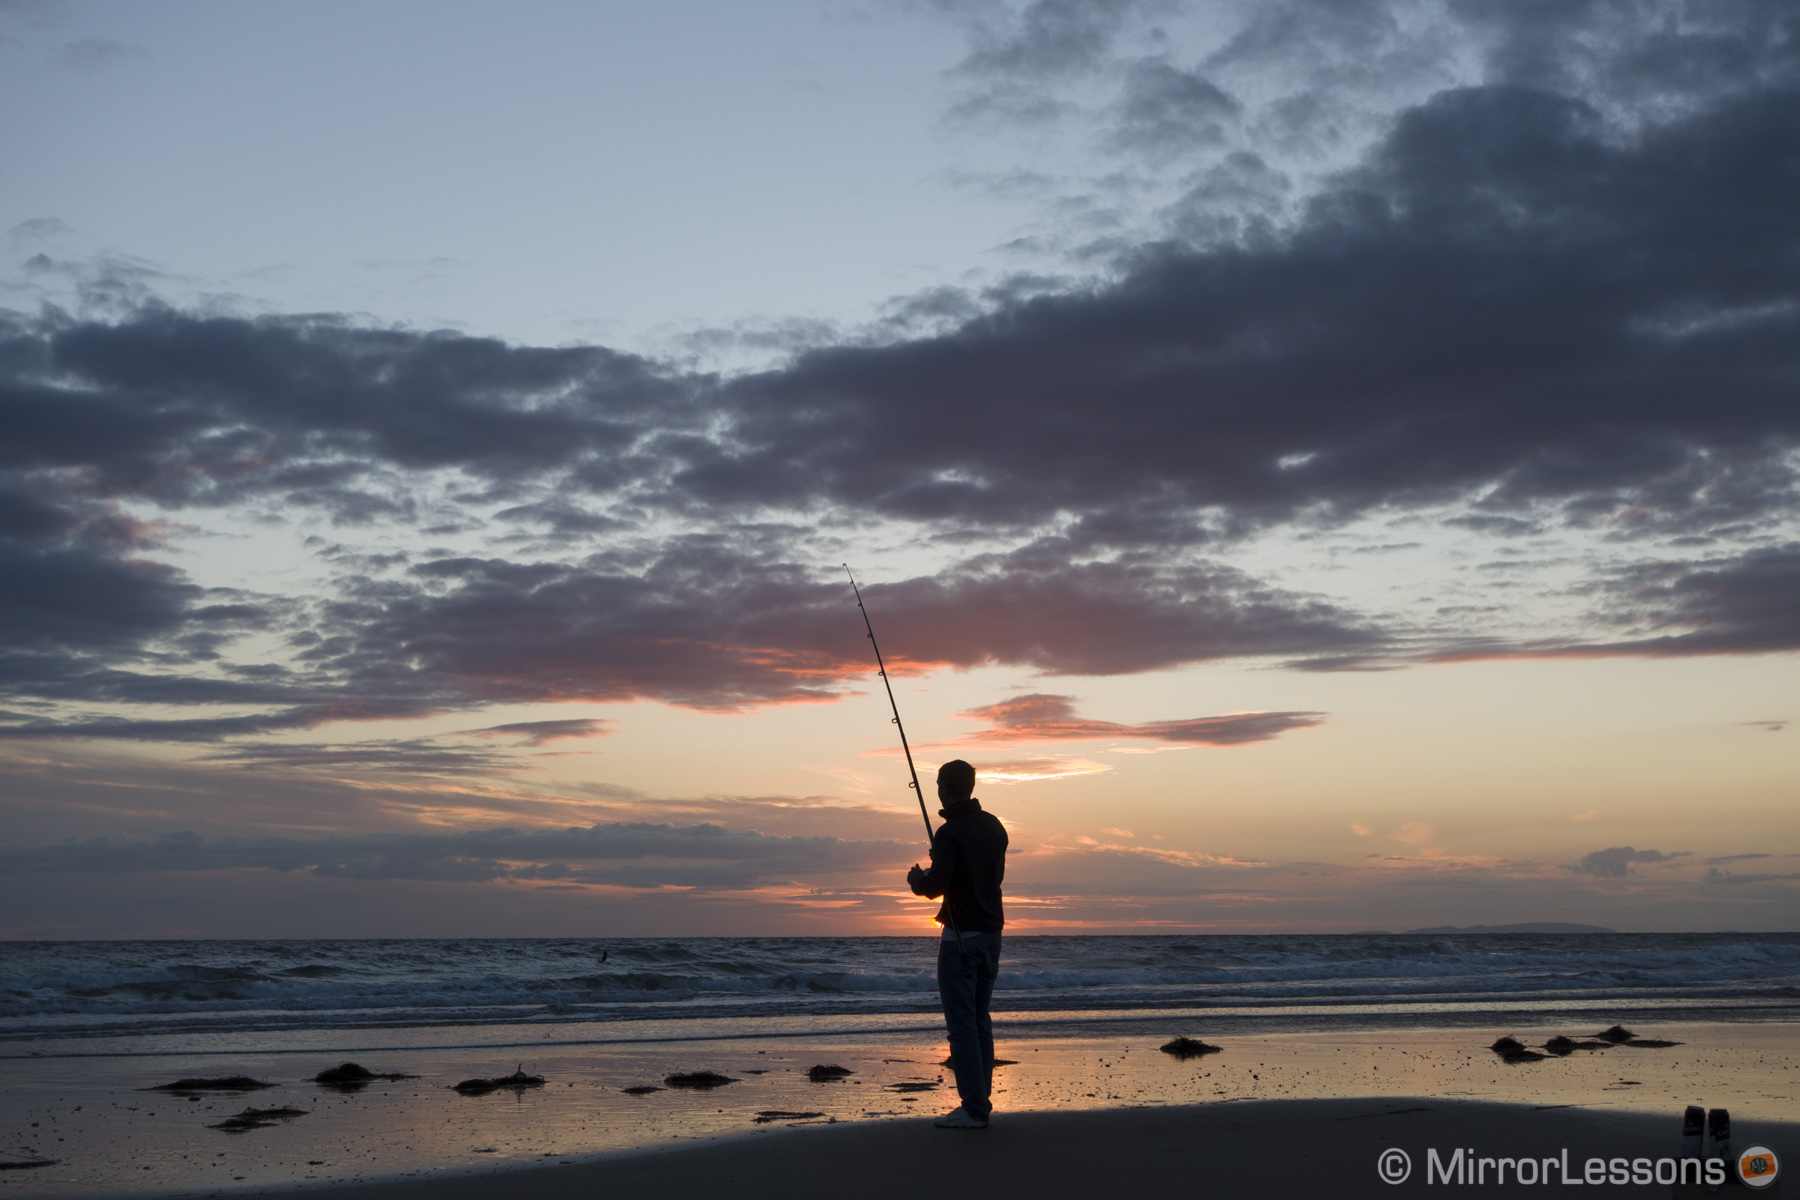
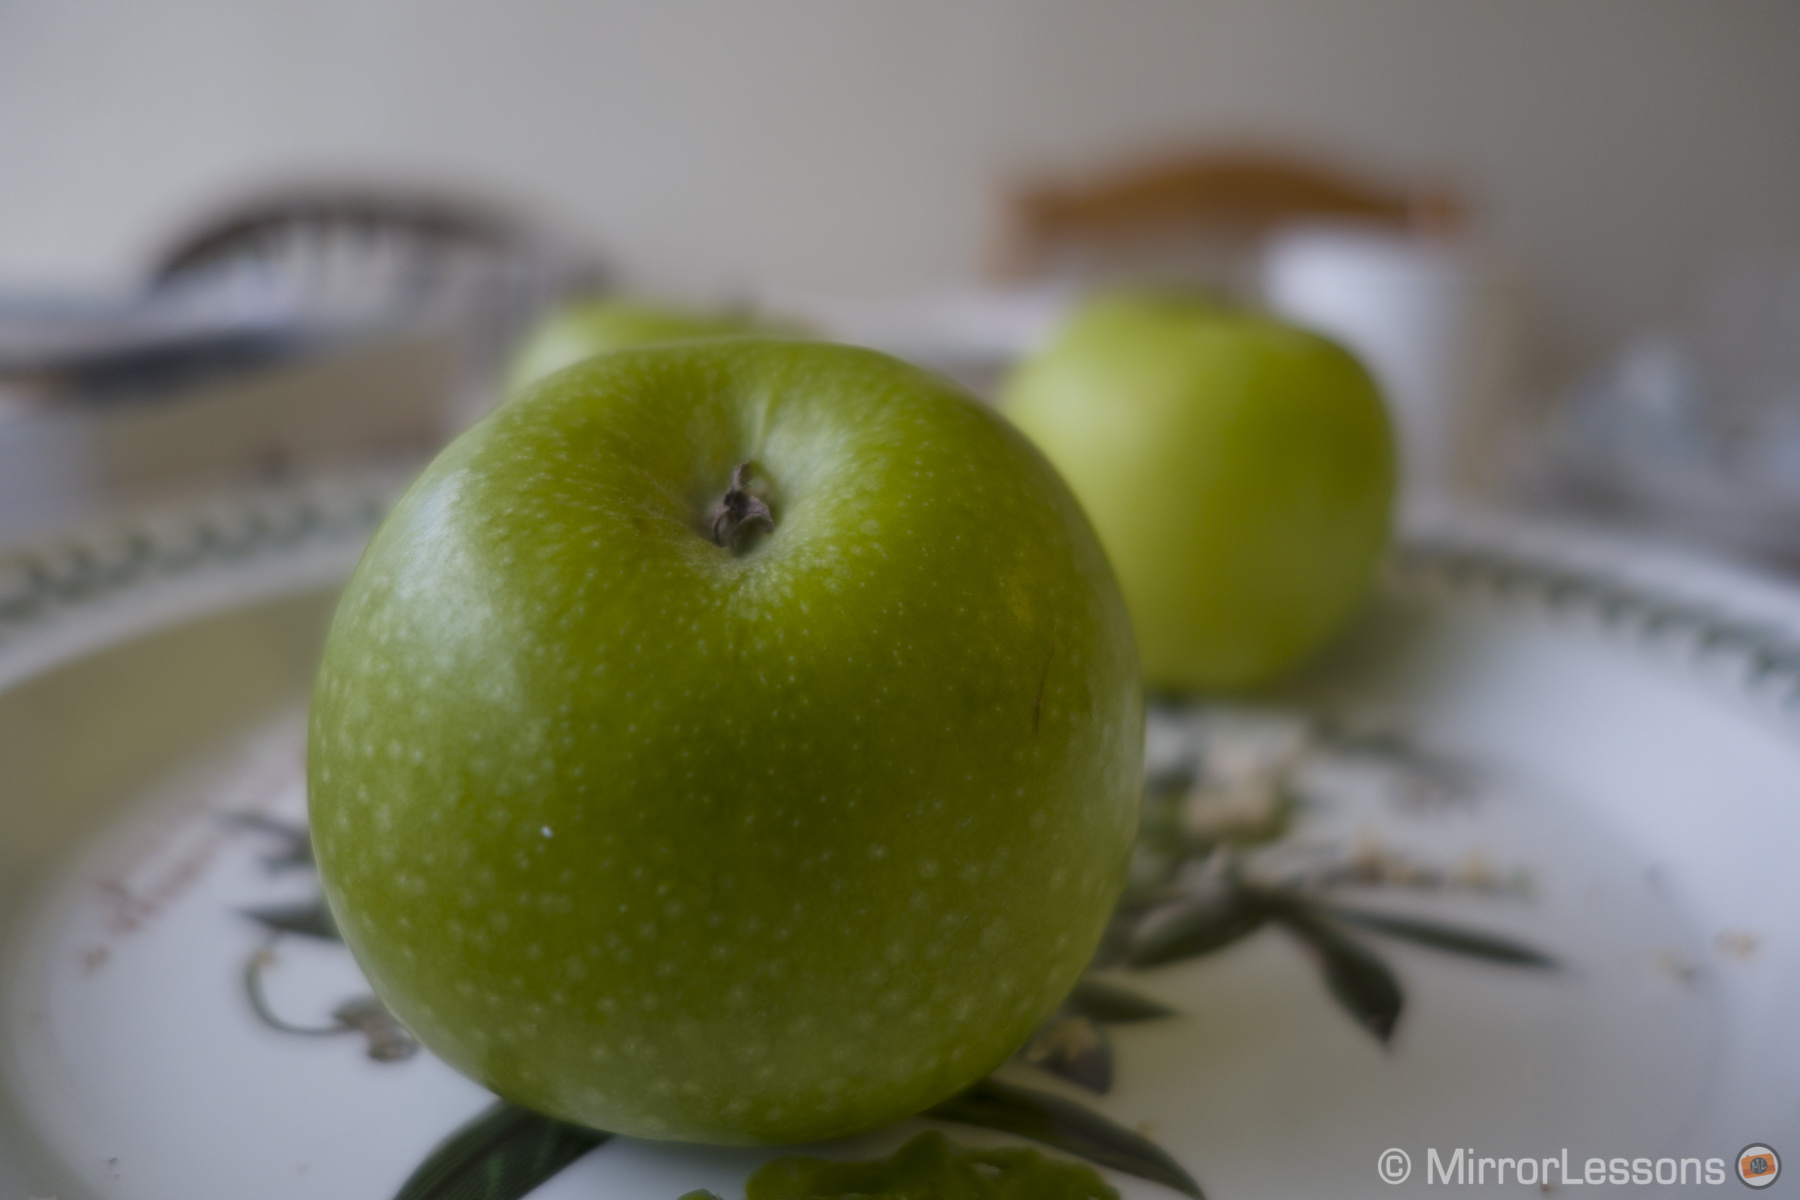
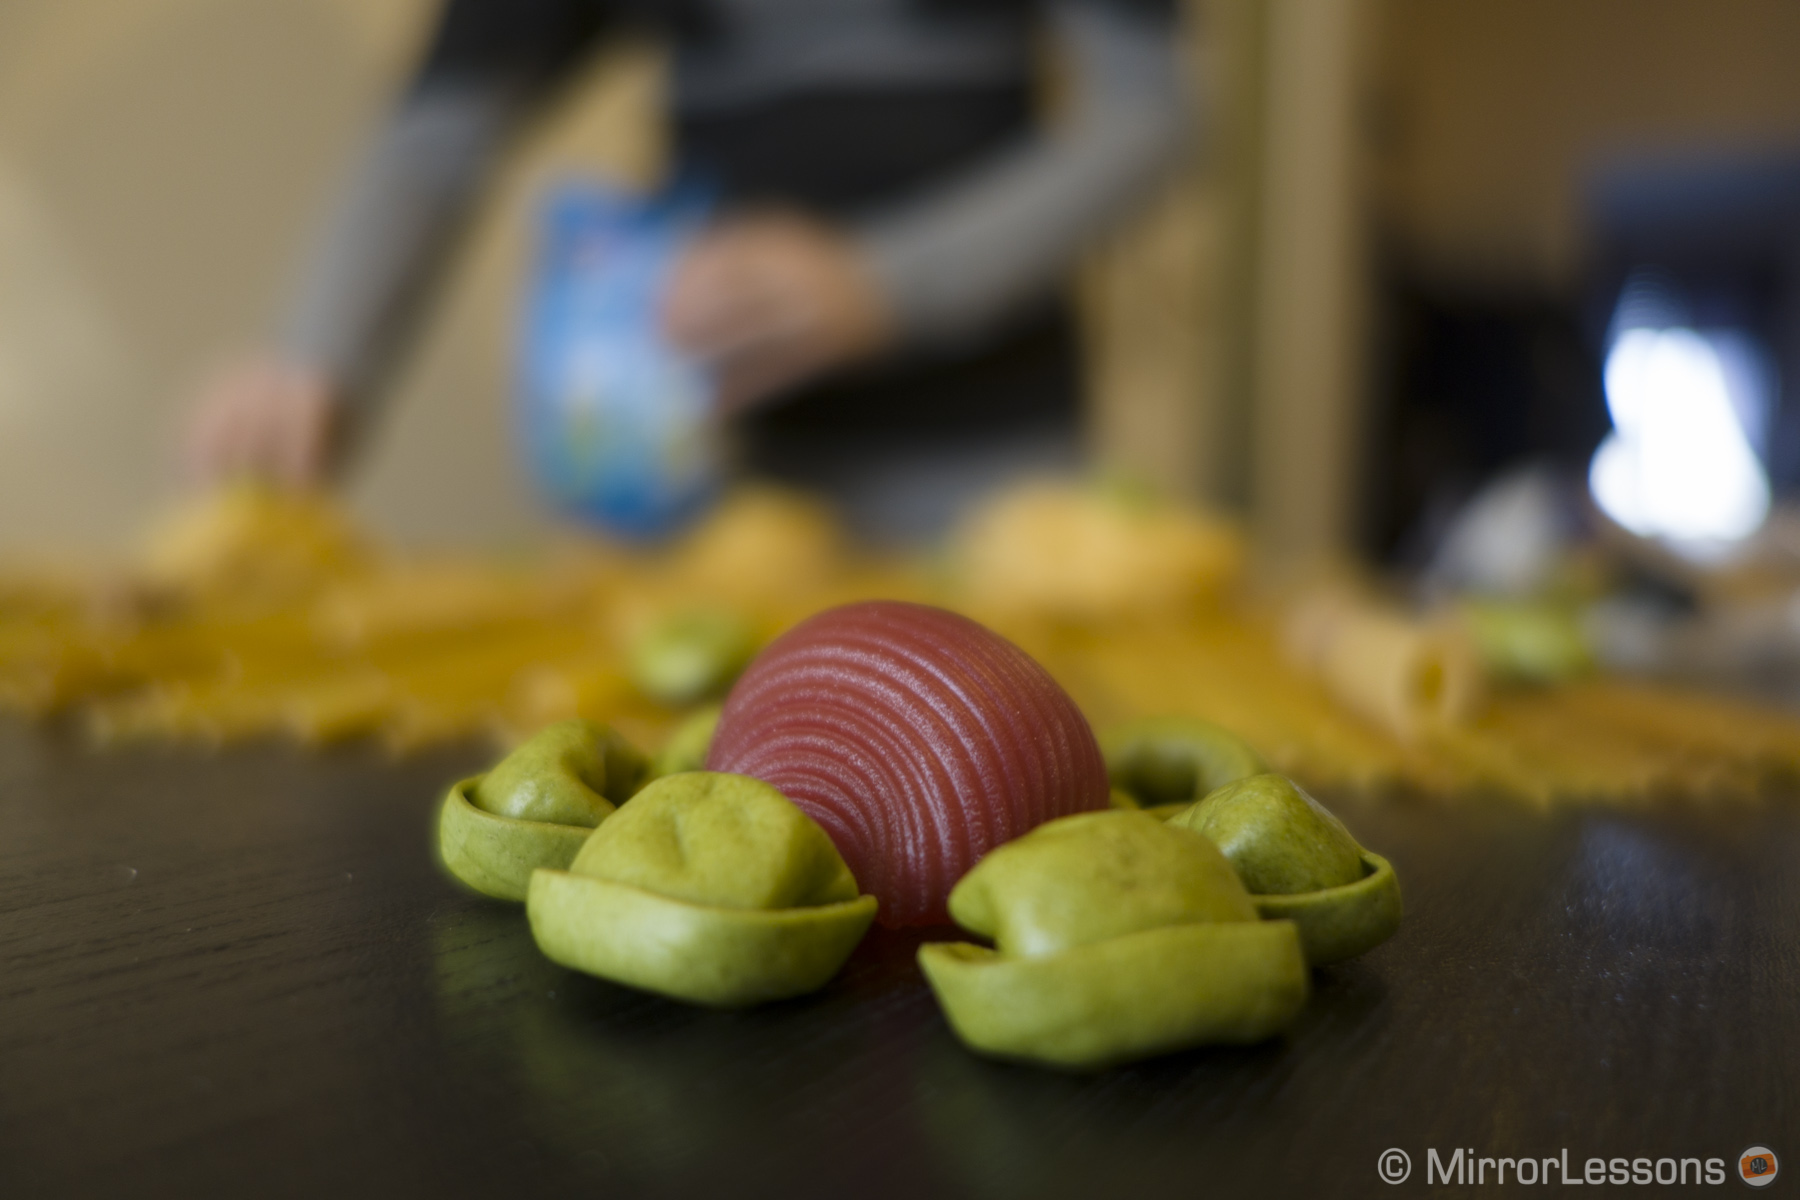
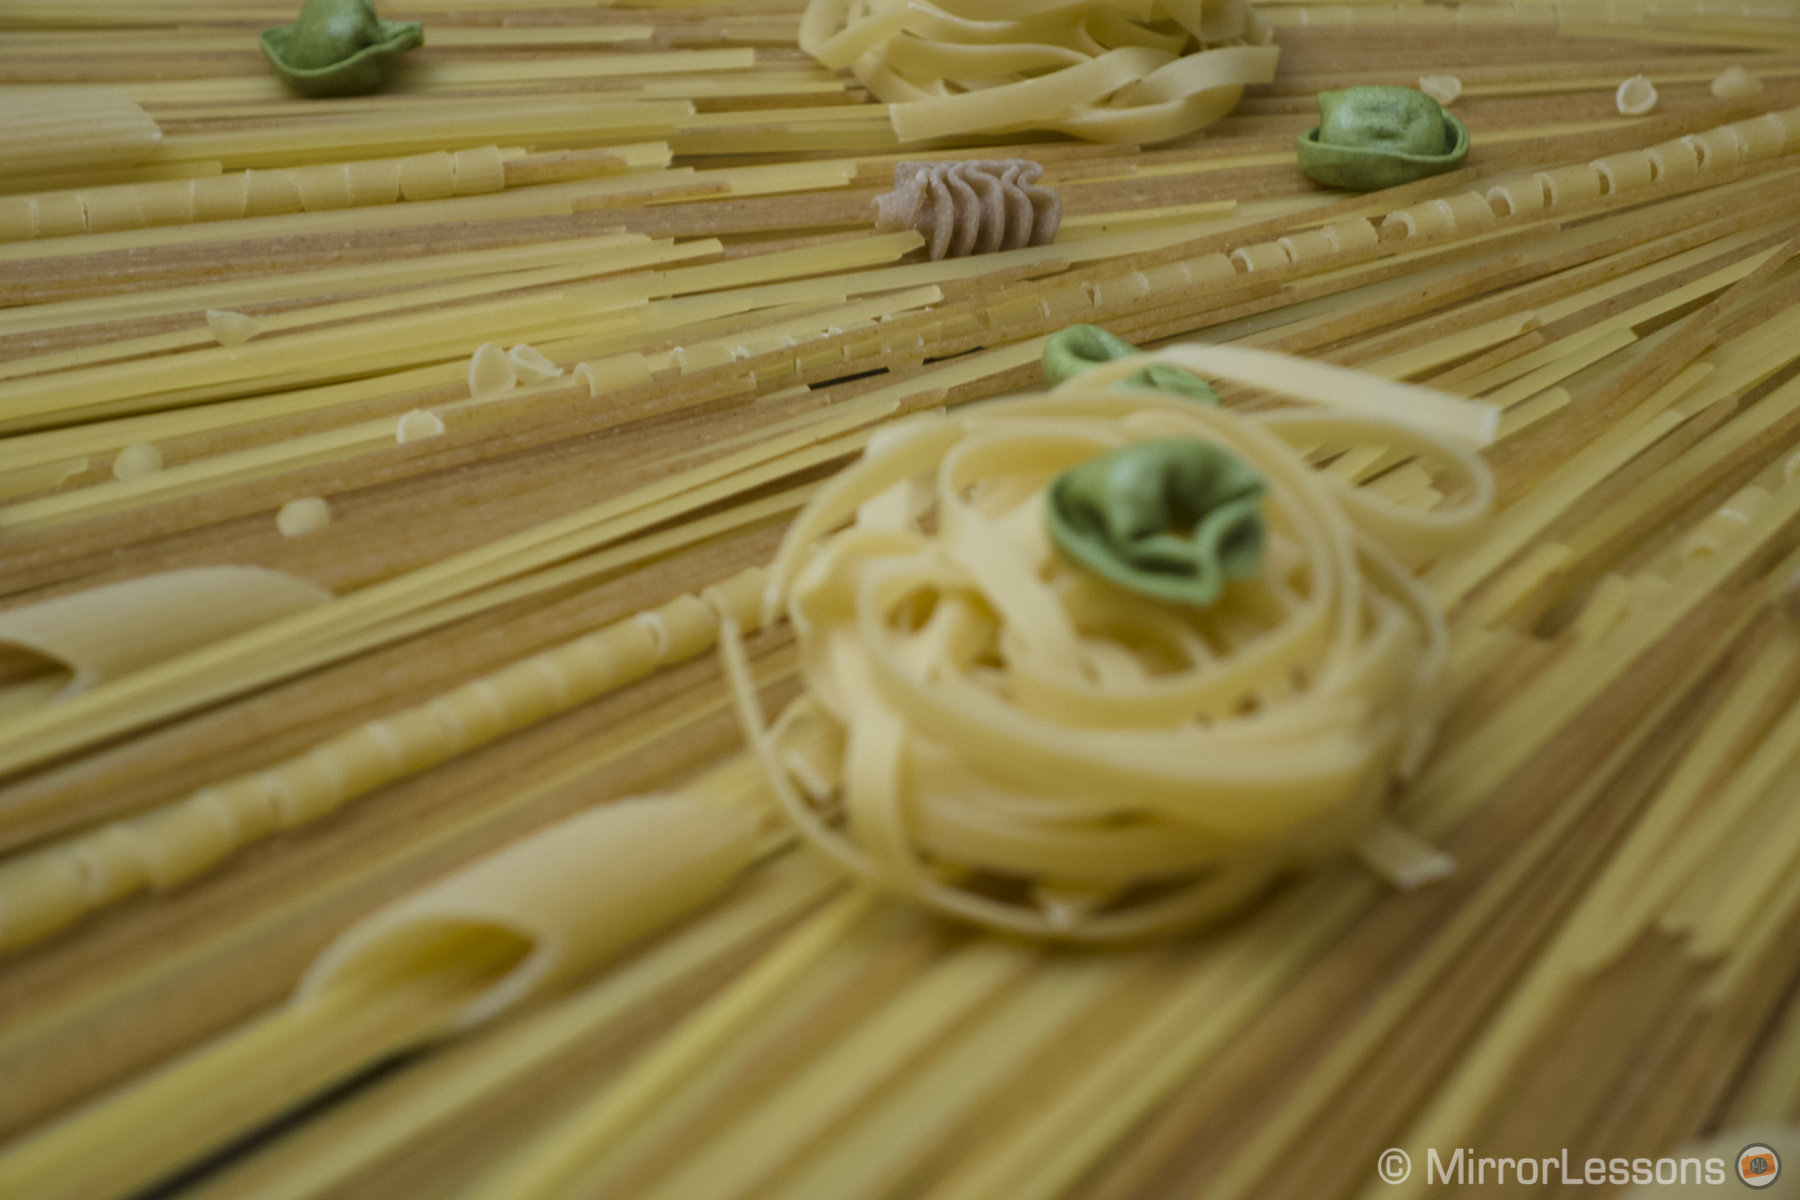
Below you can find a gallery in which all the pictures have been exported from Lightroom with the Huelight Color Profiles without editing any of the other colour settings.
Be sure to visit the official Huelight Color Profile website to see what they have to offer for your mirrorless camera.


Do you have a favourite profile you use to post-process your images?