
As many of you already know, one of my favourite subjects to photograph is the butterfly. Cliché as my preference may be, I find a certain kind of quietude I simply cannot find elsewhere when it is just me, my camera and the “flying flowers” that colour my photographs. My passion first took form a few years ago thanks to my dear dad (you can see his Flickr collection of butterfly photos here) who is an avid amateur lepidopterist, and has expanded beyond the simple photography of these gorgeous insects to the careful documentation of their names and the various locations where they were seen. One photograph in particular that left an impression on me is the one you see below of a Common Blue feeding off of a holly plant on the coast of mid-Wales.

As with most of my butterfly photos, it took over an hour to get the shot I was looking for. I spent most of my time chasing the same butterfly from flower to flower, in varying positions and with various backgrounds. However, I knew that by the end of the day, there were a few elements I had to have in my shot: a background featuring the beach, sea and sky, the sea holly and a side-view of the butterfly feeding.
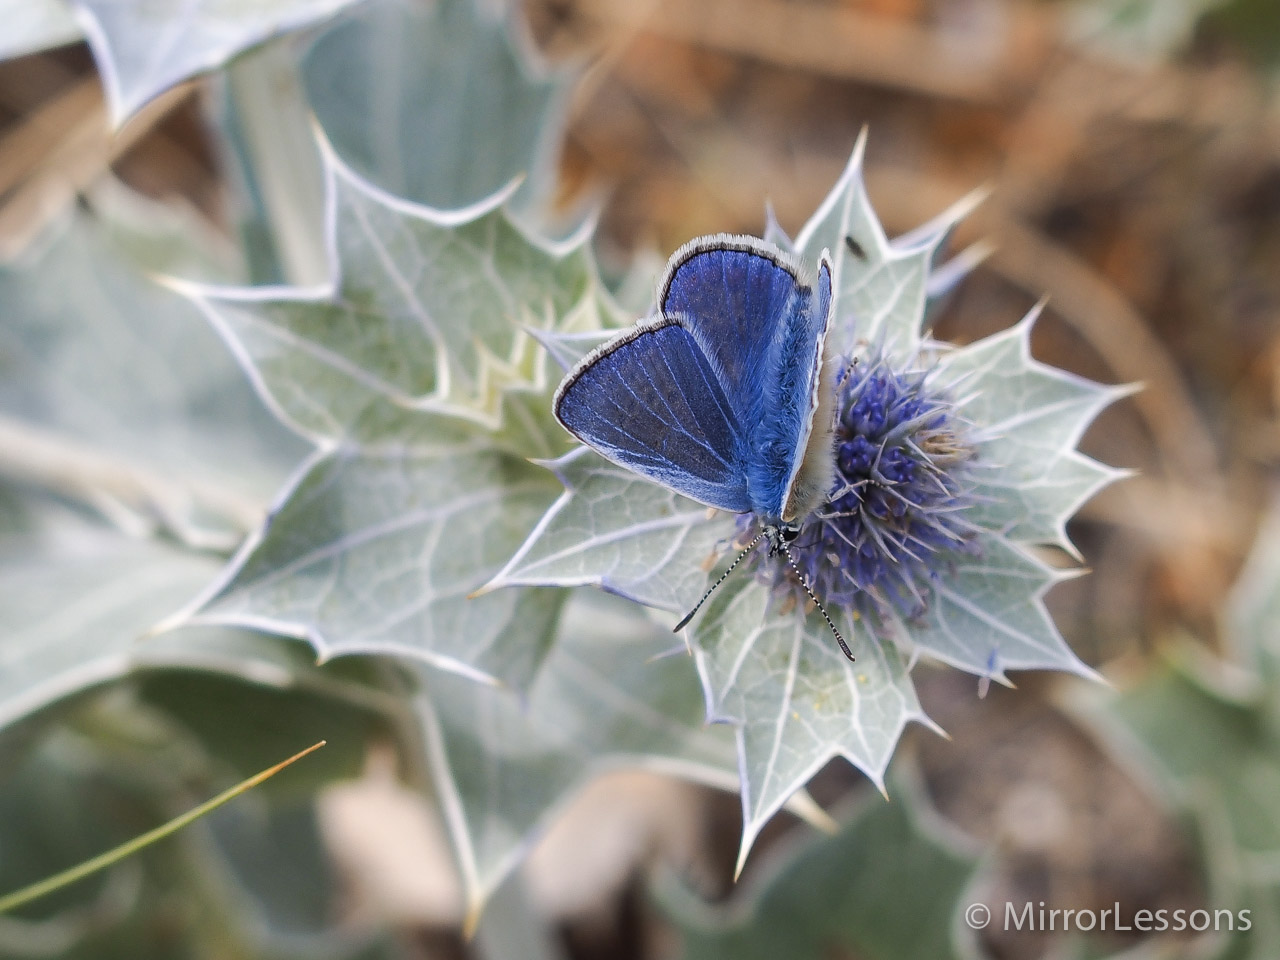
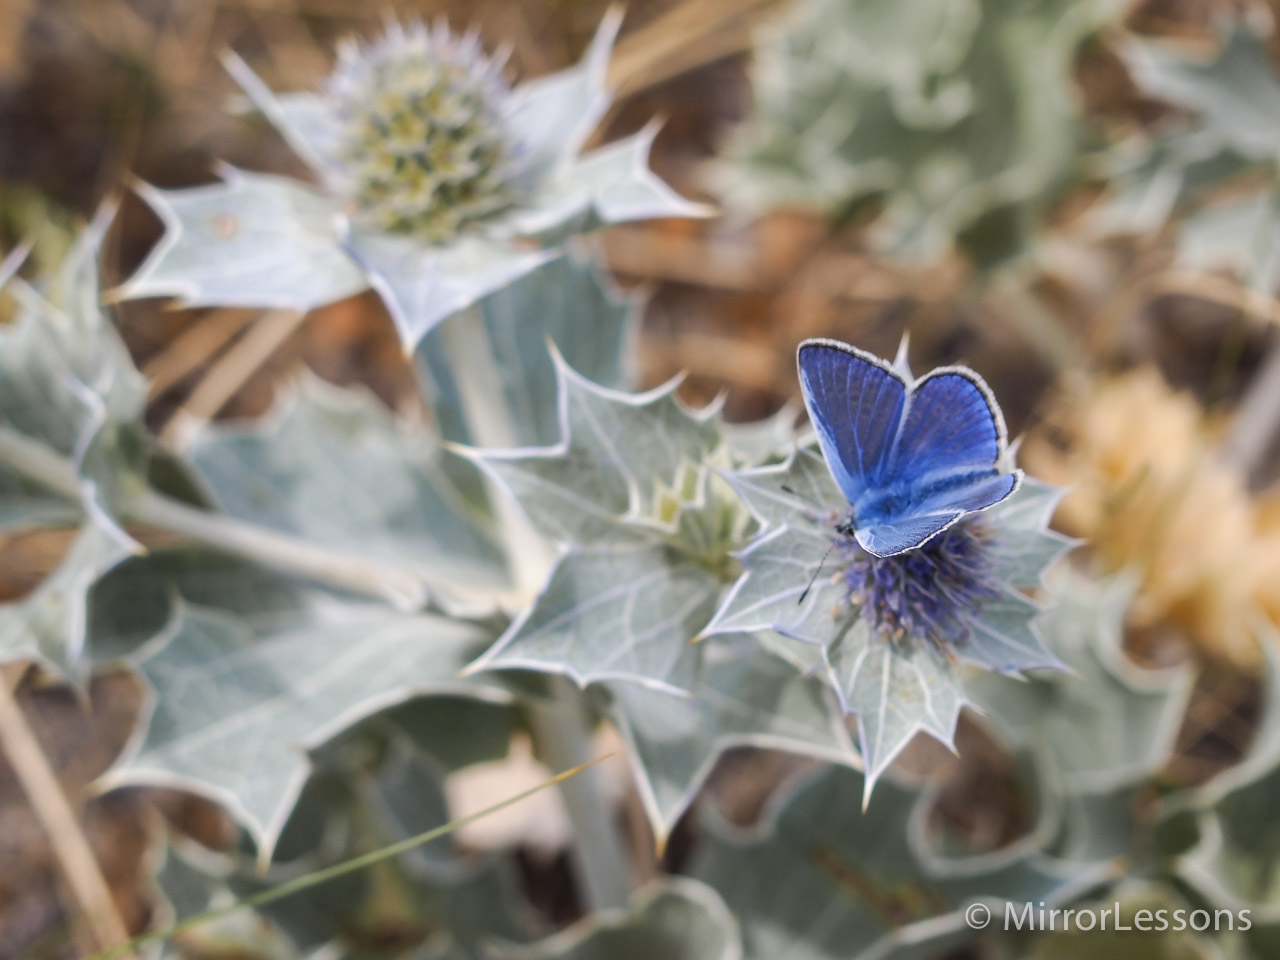
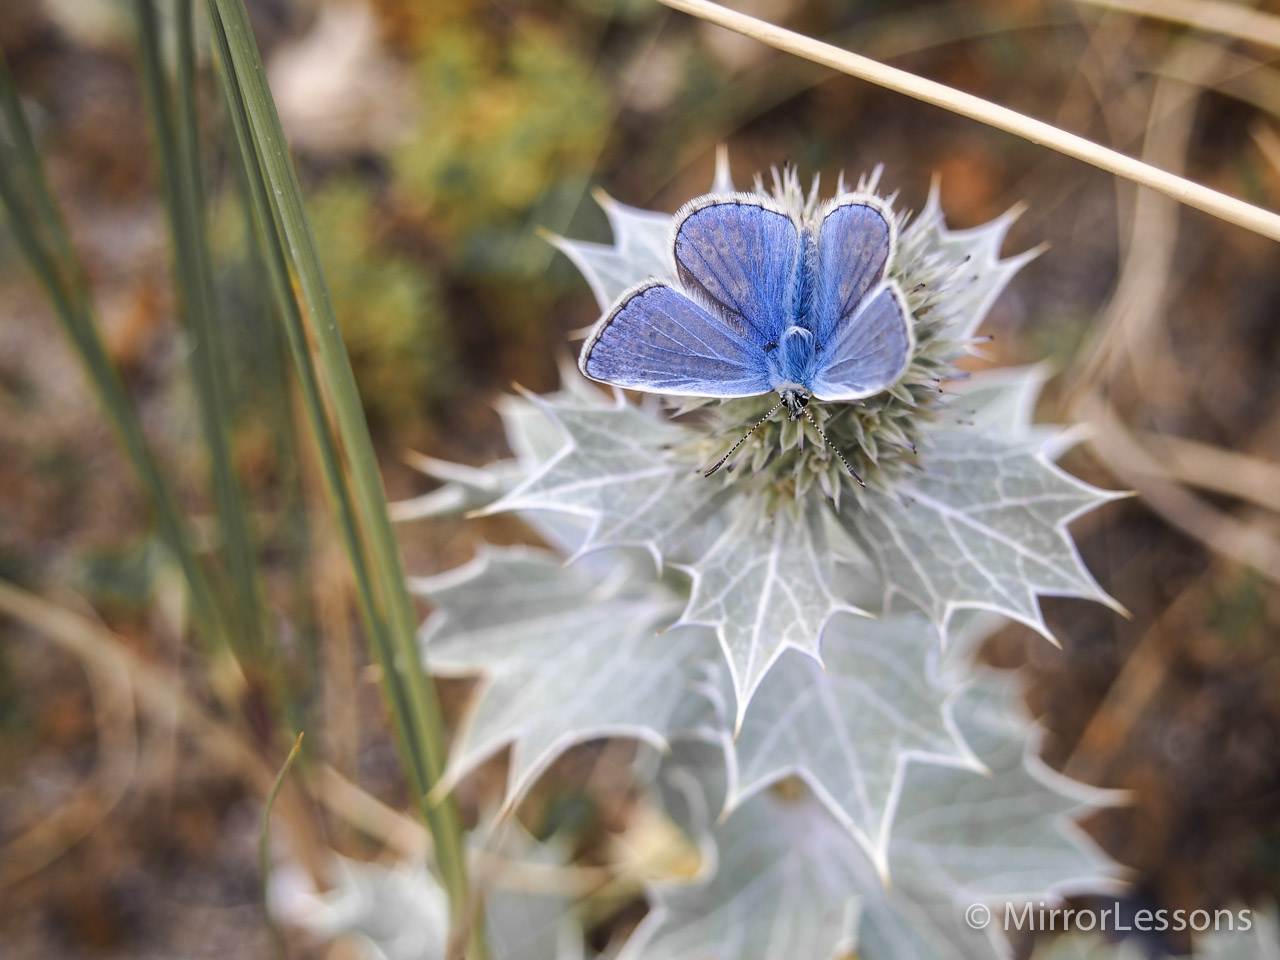
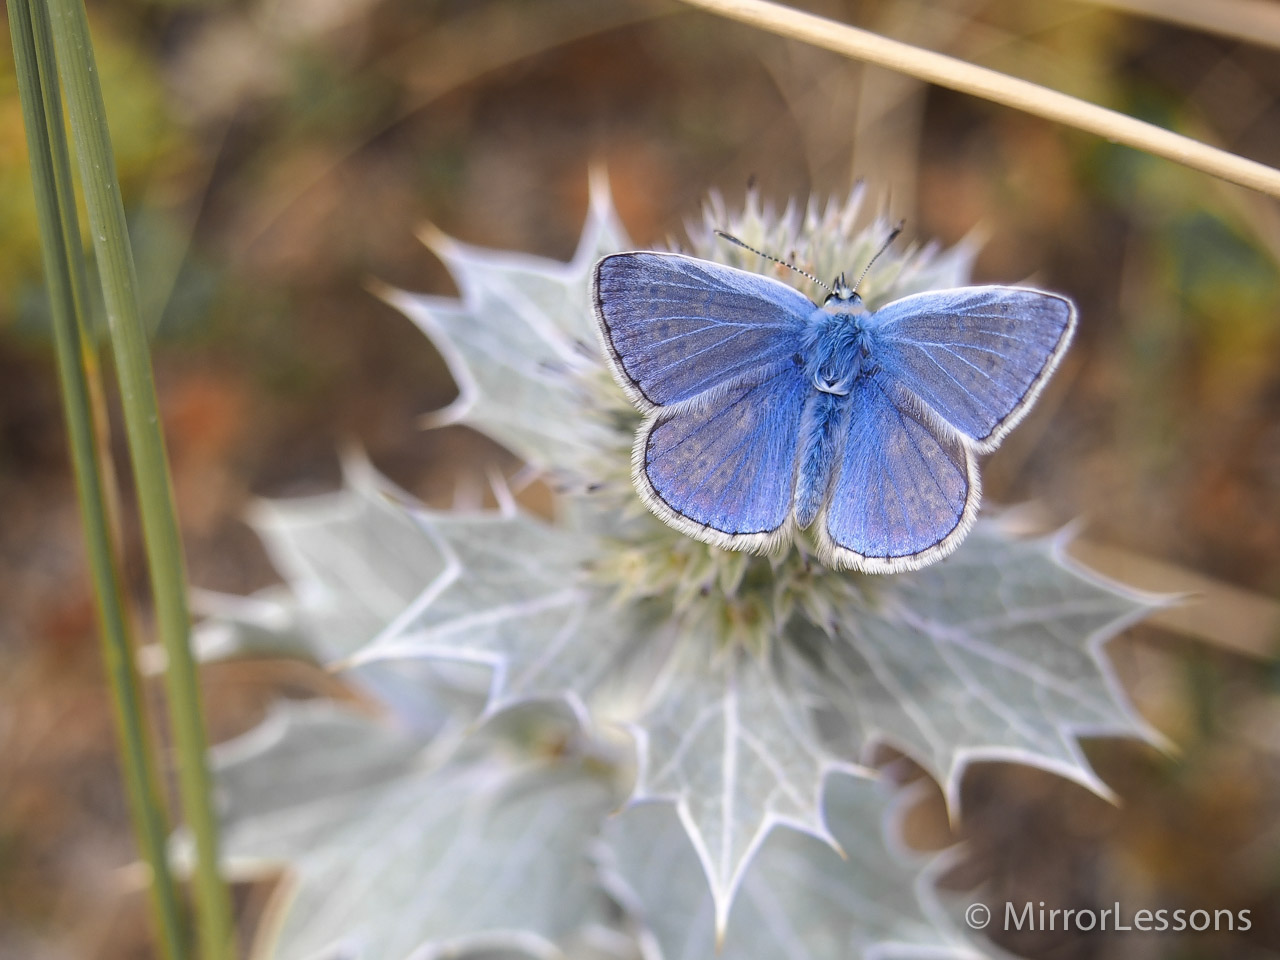
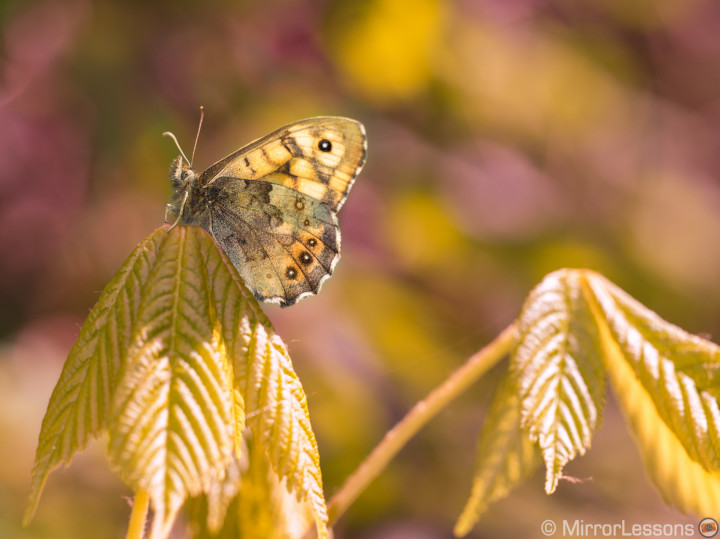
Here are a few of my attempts. Most turned out well but didn’t quite have the particular look I was after.


It wasn’t an easy shot to take as the sea holly was quite low on the ground. To overcome this difficulty, I used the combination of the Olympus Pen E-P5‘s tilt and touch screen. First, I framed the shot by tilting the screen upwards, and then I focussed on the butterfly by pressing the touch screen with my finger. Many photographers say that they don’t need or want a tilt or touch screen on their camera and I respect that, but in these cases, both functions can prove quite valuable if you don’t want to be lying in the prone position like an army militant to frame your image.
Given that the colours of the original photo were too bland for my liking, I then chose to take the photo to Lightroom to bring out the vivid blues of the butterfly I’d observed in real life. First of all, I made some slight adjustments to the overall contrast and vividness of the image. I then clicked on the Adjustment Brush and created a mask overlay over the butterfly, allowing me to increase the sharpness, contrast, clarity and vividness of the butterfly while leaving the rest of the background intact.
Though you may not be able to tell from the final result, this photograph is actually a crop. I was using the M.Zuiko 14-42mm kit lens at the time, which simply doesn’t allow for the kind of close focussing you’d get with a macro lens, so cropping was my only option.

Cropping is generally a big no-no in world of photography as it induces a sort of laziness in the photographer and permits him/her to think less about creating the perfect composition in-camera. The fact that I had to drastically crop this photo to achieve the composition I desired is actually what first got me thinking about investing in the wonderful M.Zuiko 60mm f/2.8. I wanted to be able to reproduce the photograph that is the theme of this article with the right tools and the right composition from the word go. And indeed, since I bought the 60mm, I haven’t had a single regret.

This coming summer, my plan is to travel back to Wales to the very same spot, and attempt to recreate the photo that is the theme of this article with the M.Zuiko 60mm. It is the first photo that made me become aware of my intense love for macro photography and despite its many technical imperfections, will live on as a favourite in my collection.
Do you have a photo that has a special significance to you? If so, tell us about it in our MirrorLessons Google+ Community or Flickr group!