With the advent of digital photography, black and white has often, if not always, become a post-processing option rather than a style to adopt during the shoot itself … and the reason is not surprising.
With digital RAW, you can easily convert your photographs to a monochrome setting comfortably in front of your computer, playing with contrast and brightness to see if B&W is the way to go. The great thing is that, if you are not satisfied, you can always revert them back to colour and try other settings from there.
Converted to B&W with Lightroom 4
But thinking in black and white during an actual shoot is a completely different story. If you go out on the streets knowing that you want to shoot black and white, your approach will change. You will look at light differently, constantly hunting for contrasted scenes and a specific balance between light and shadow. Colour will become irrelevant as you try to see the world around you solely in monochrome. Not only does black and white shooting help you discover and develop your style, but it also trains your eye to look for the right light.

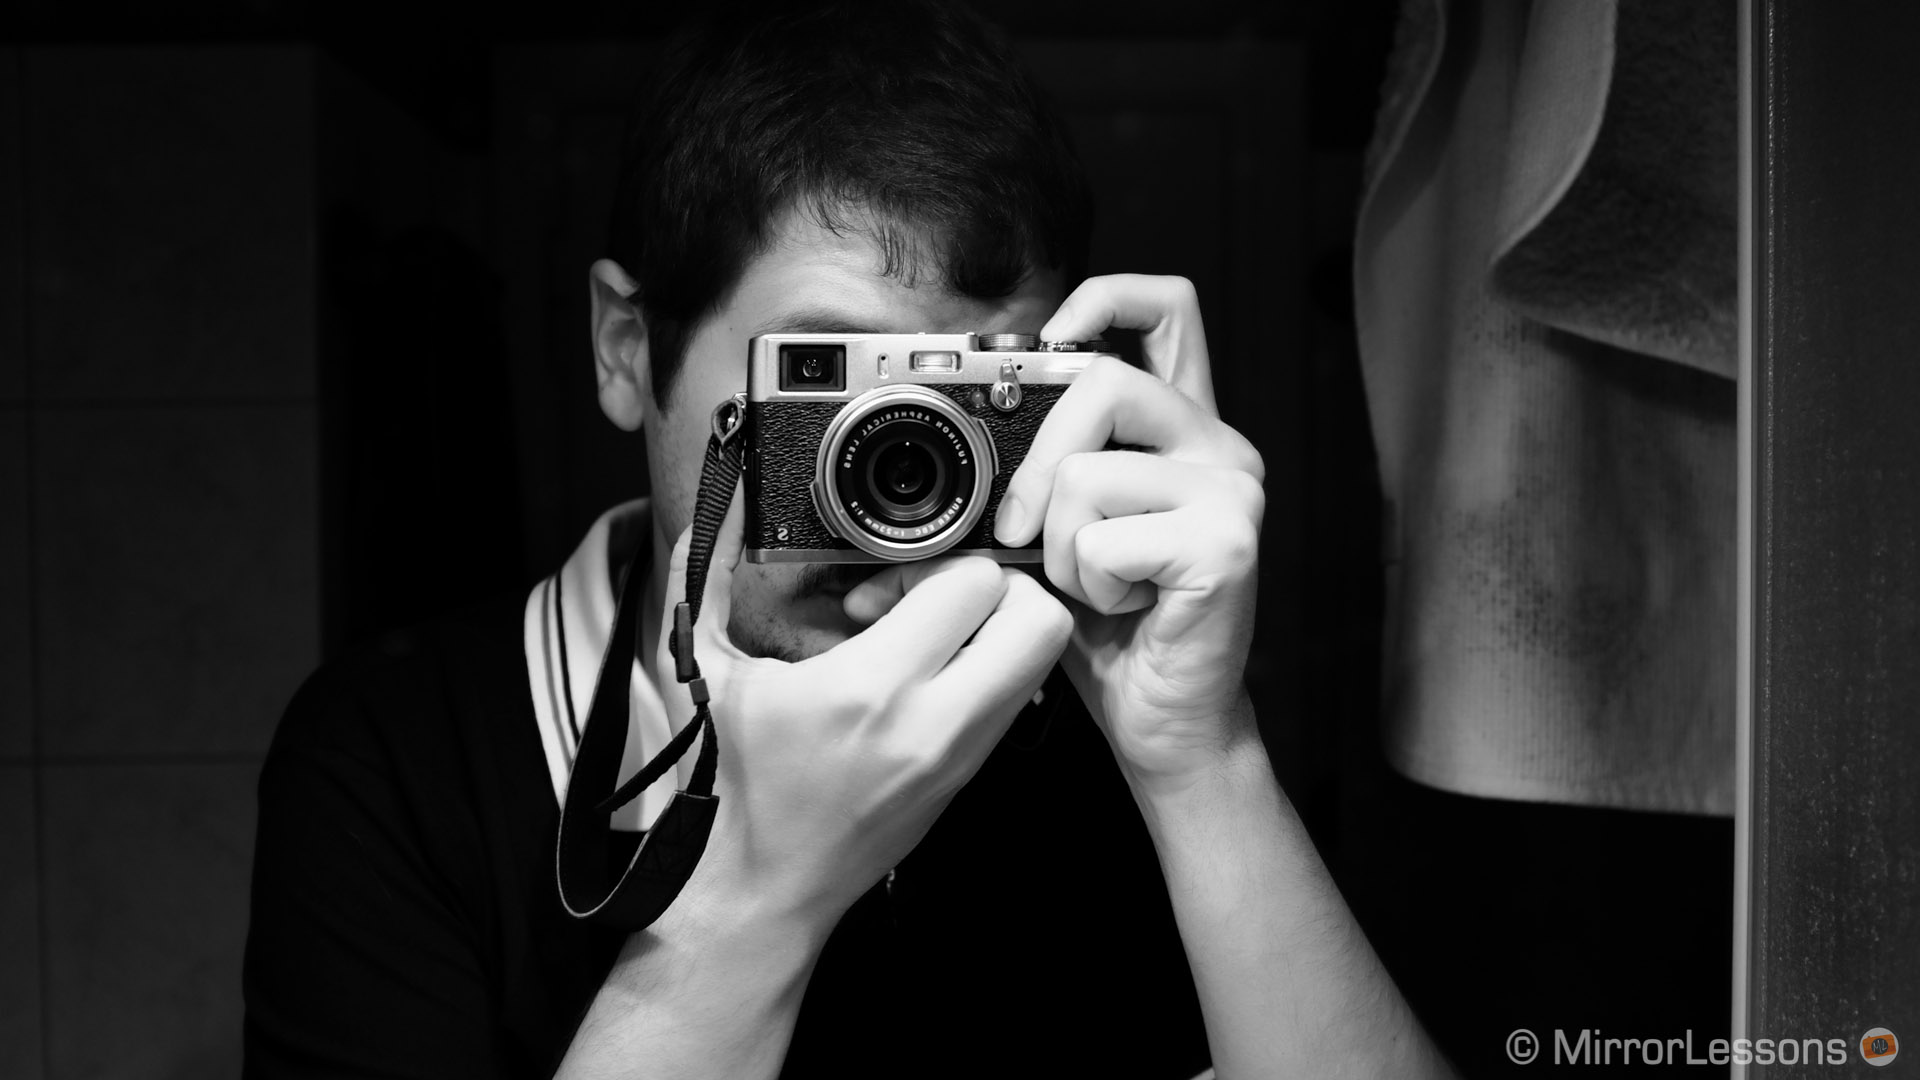
Now, I admit that I had never tried this approach until recently. I only started to employ it with the Fujifilm X100s. The idea came to me while testing its Film Simulation modes. I find them very interesting because some of them offer a particular look that differs from the usual colour profiles you find on digital cameras, and because they include interesting settings to play around with. Regarding the colour modes, Astia is my favourite. For monochrome, you have a total of four choices:
- Monochrome: standard black and white;
- Monochrome + Ye Filter (B-y): black and white with slightly increased contrast and slightly decreased brightness in the sky;
- Monochrome + R Filter (B-r): black and white with increased contrast and decreased brightness in the sky;
- Monochrome + G Filter (B-g): Softens skin tones in black and white portraits.
The last three filters mentioned are related to the actual physical filters photographers used to put in front of their lenses when shooting with monochrome film. These filters allowed them to manage how colours were converted to the different shades of grey, giving them control over the contrast in their photographs.
Keep in mind that the Film Simulation modes apply only for JPG, not RAW. So set your camera to either RAW + JPG Fine or JPG fine to get the highest quality from the JPG file.
Update: since version 5.4, Adobe Lightroom now includes the film simulation modes for the Fujifilm RAW files. They are also available with Adobe Camera Raw.
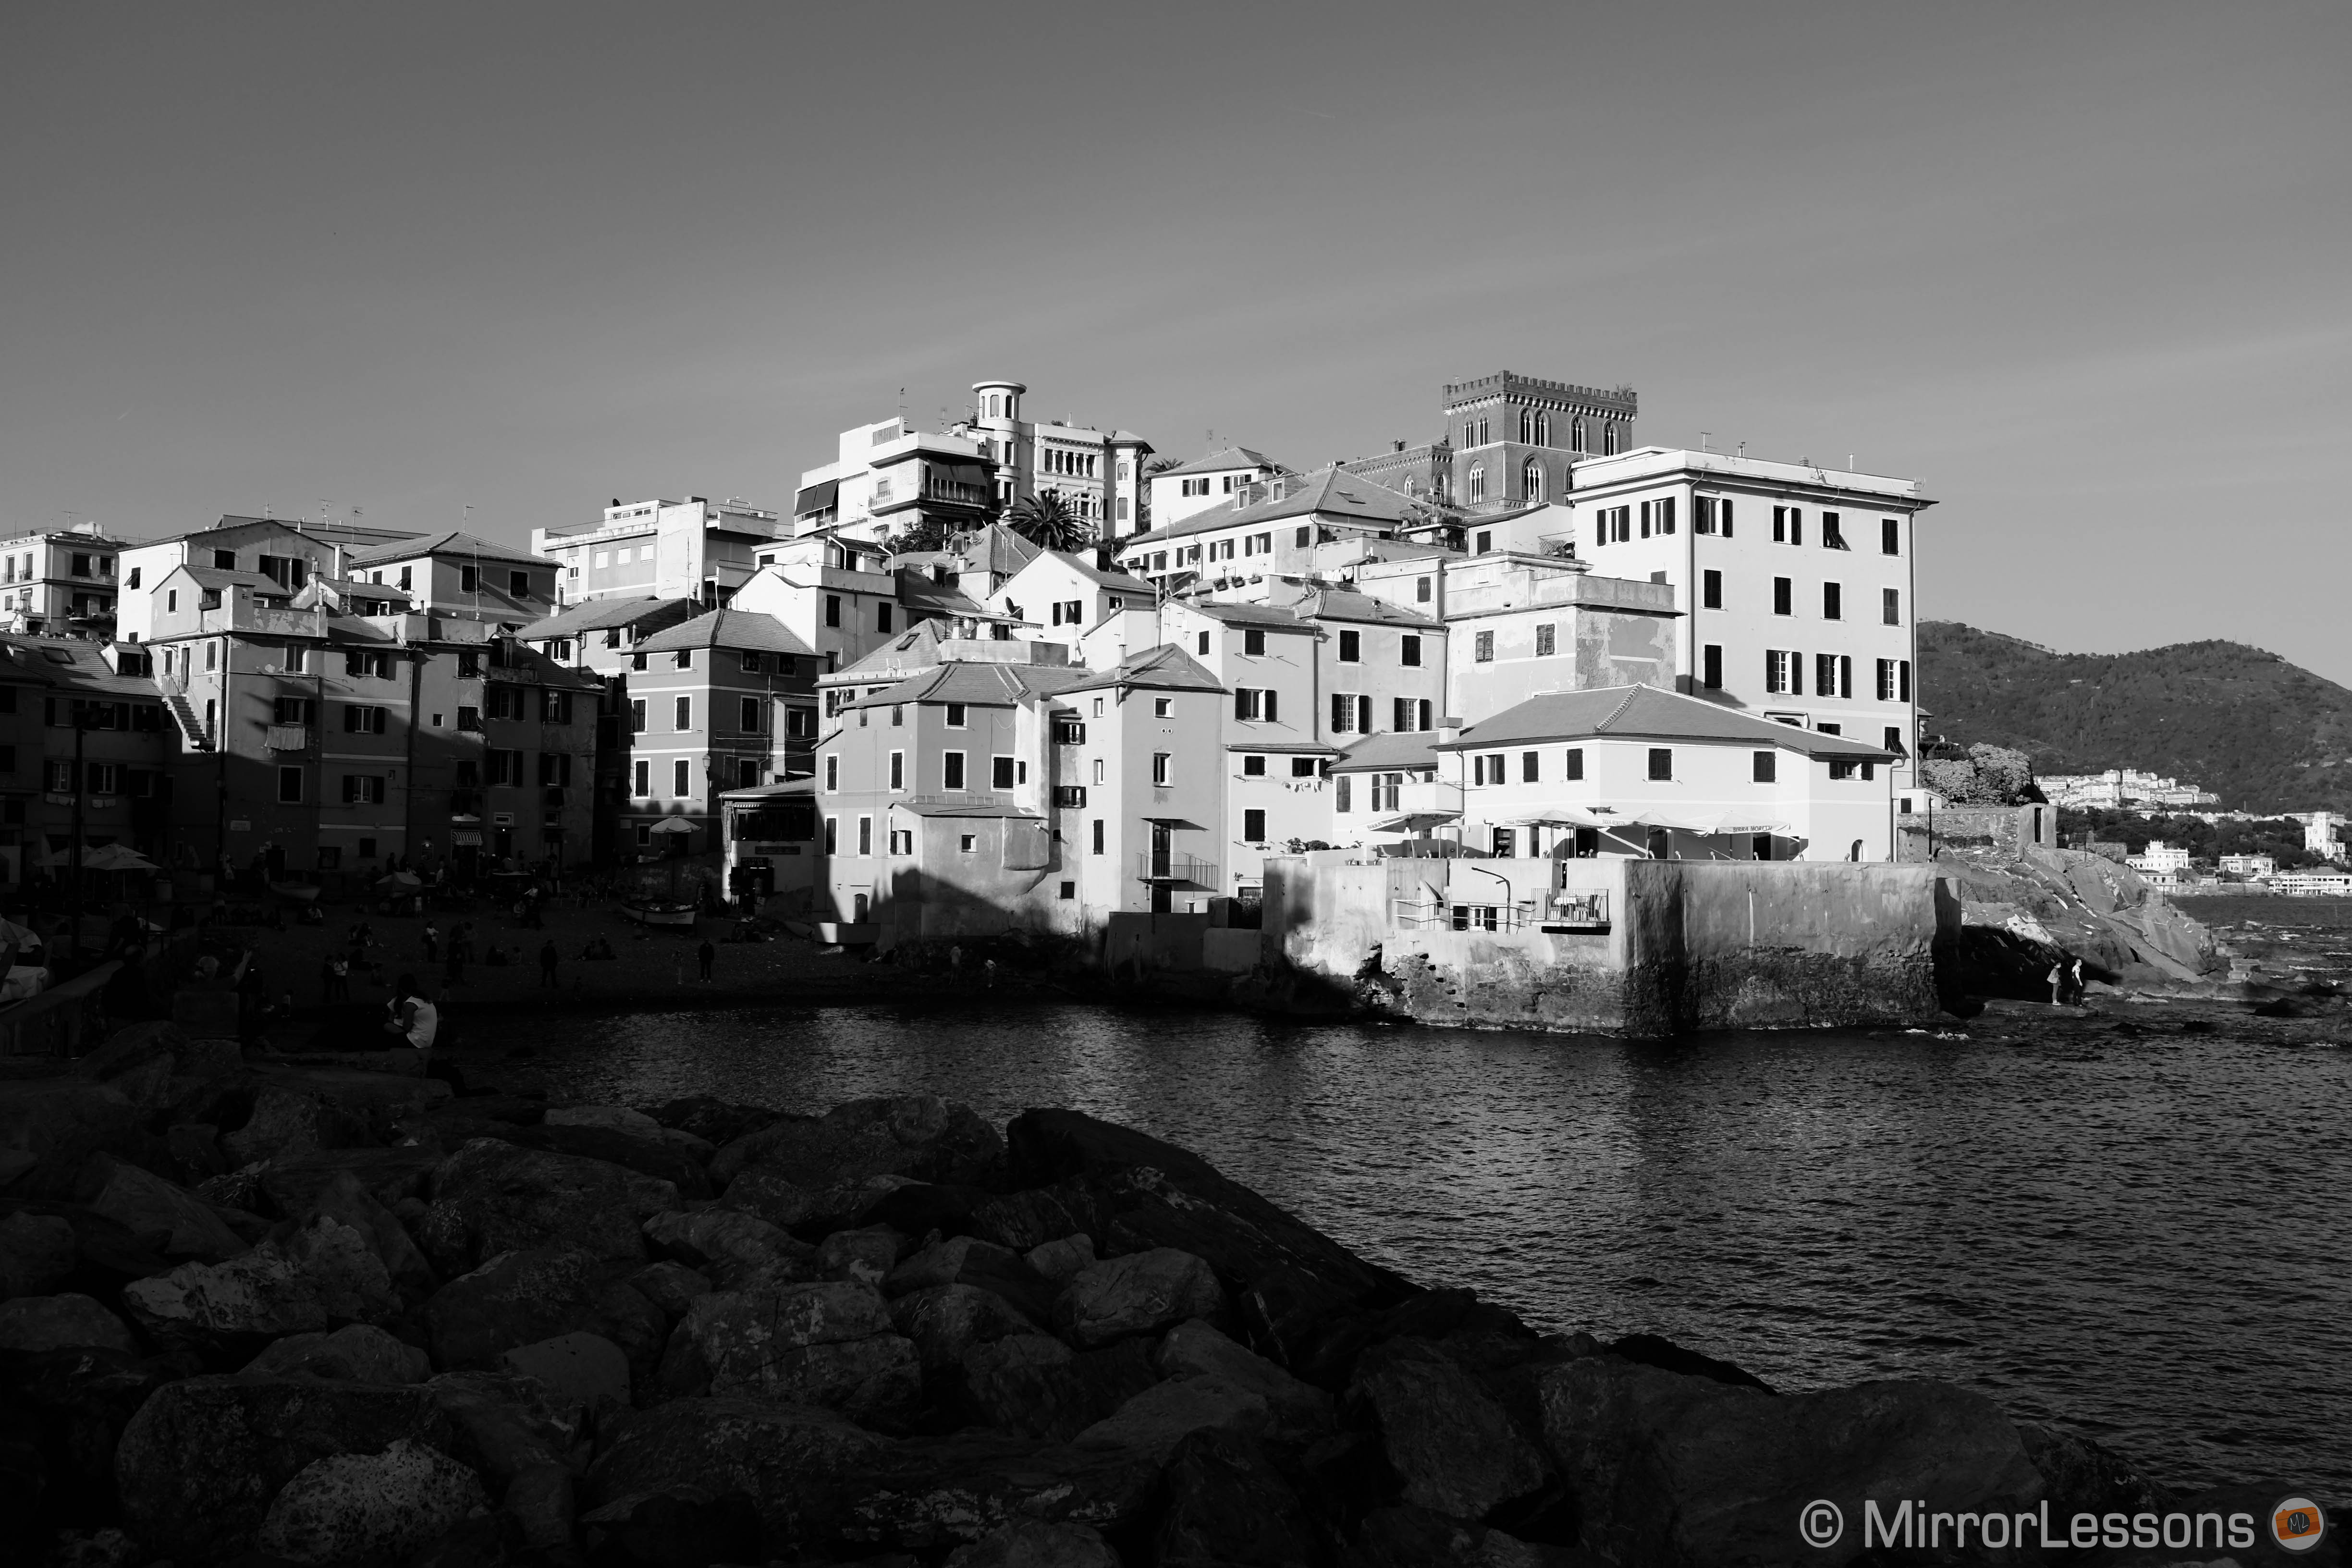
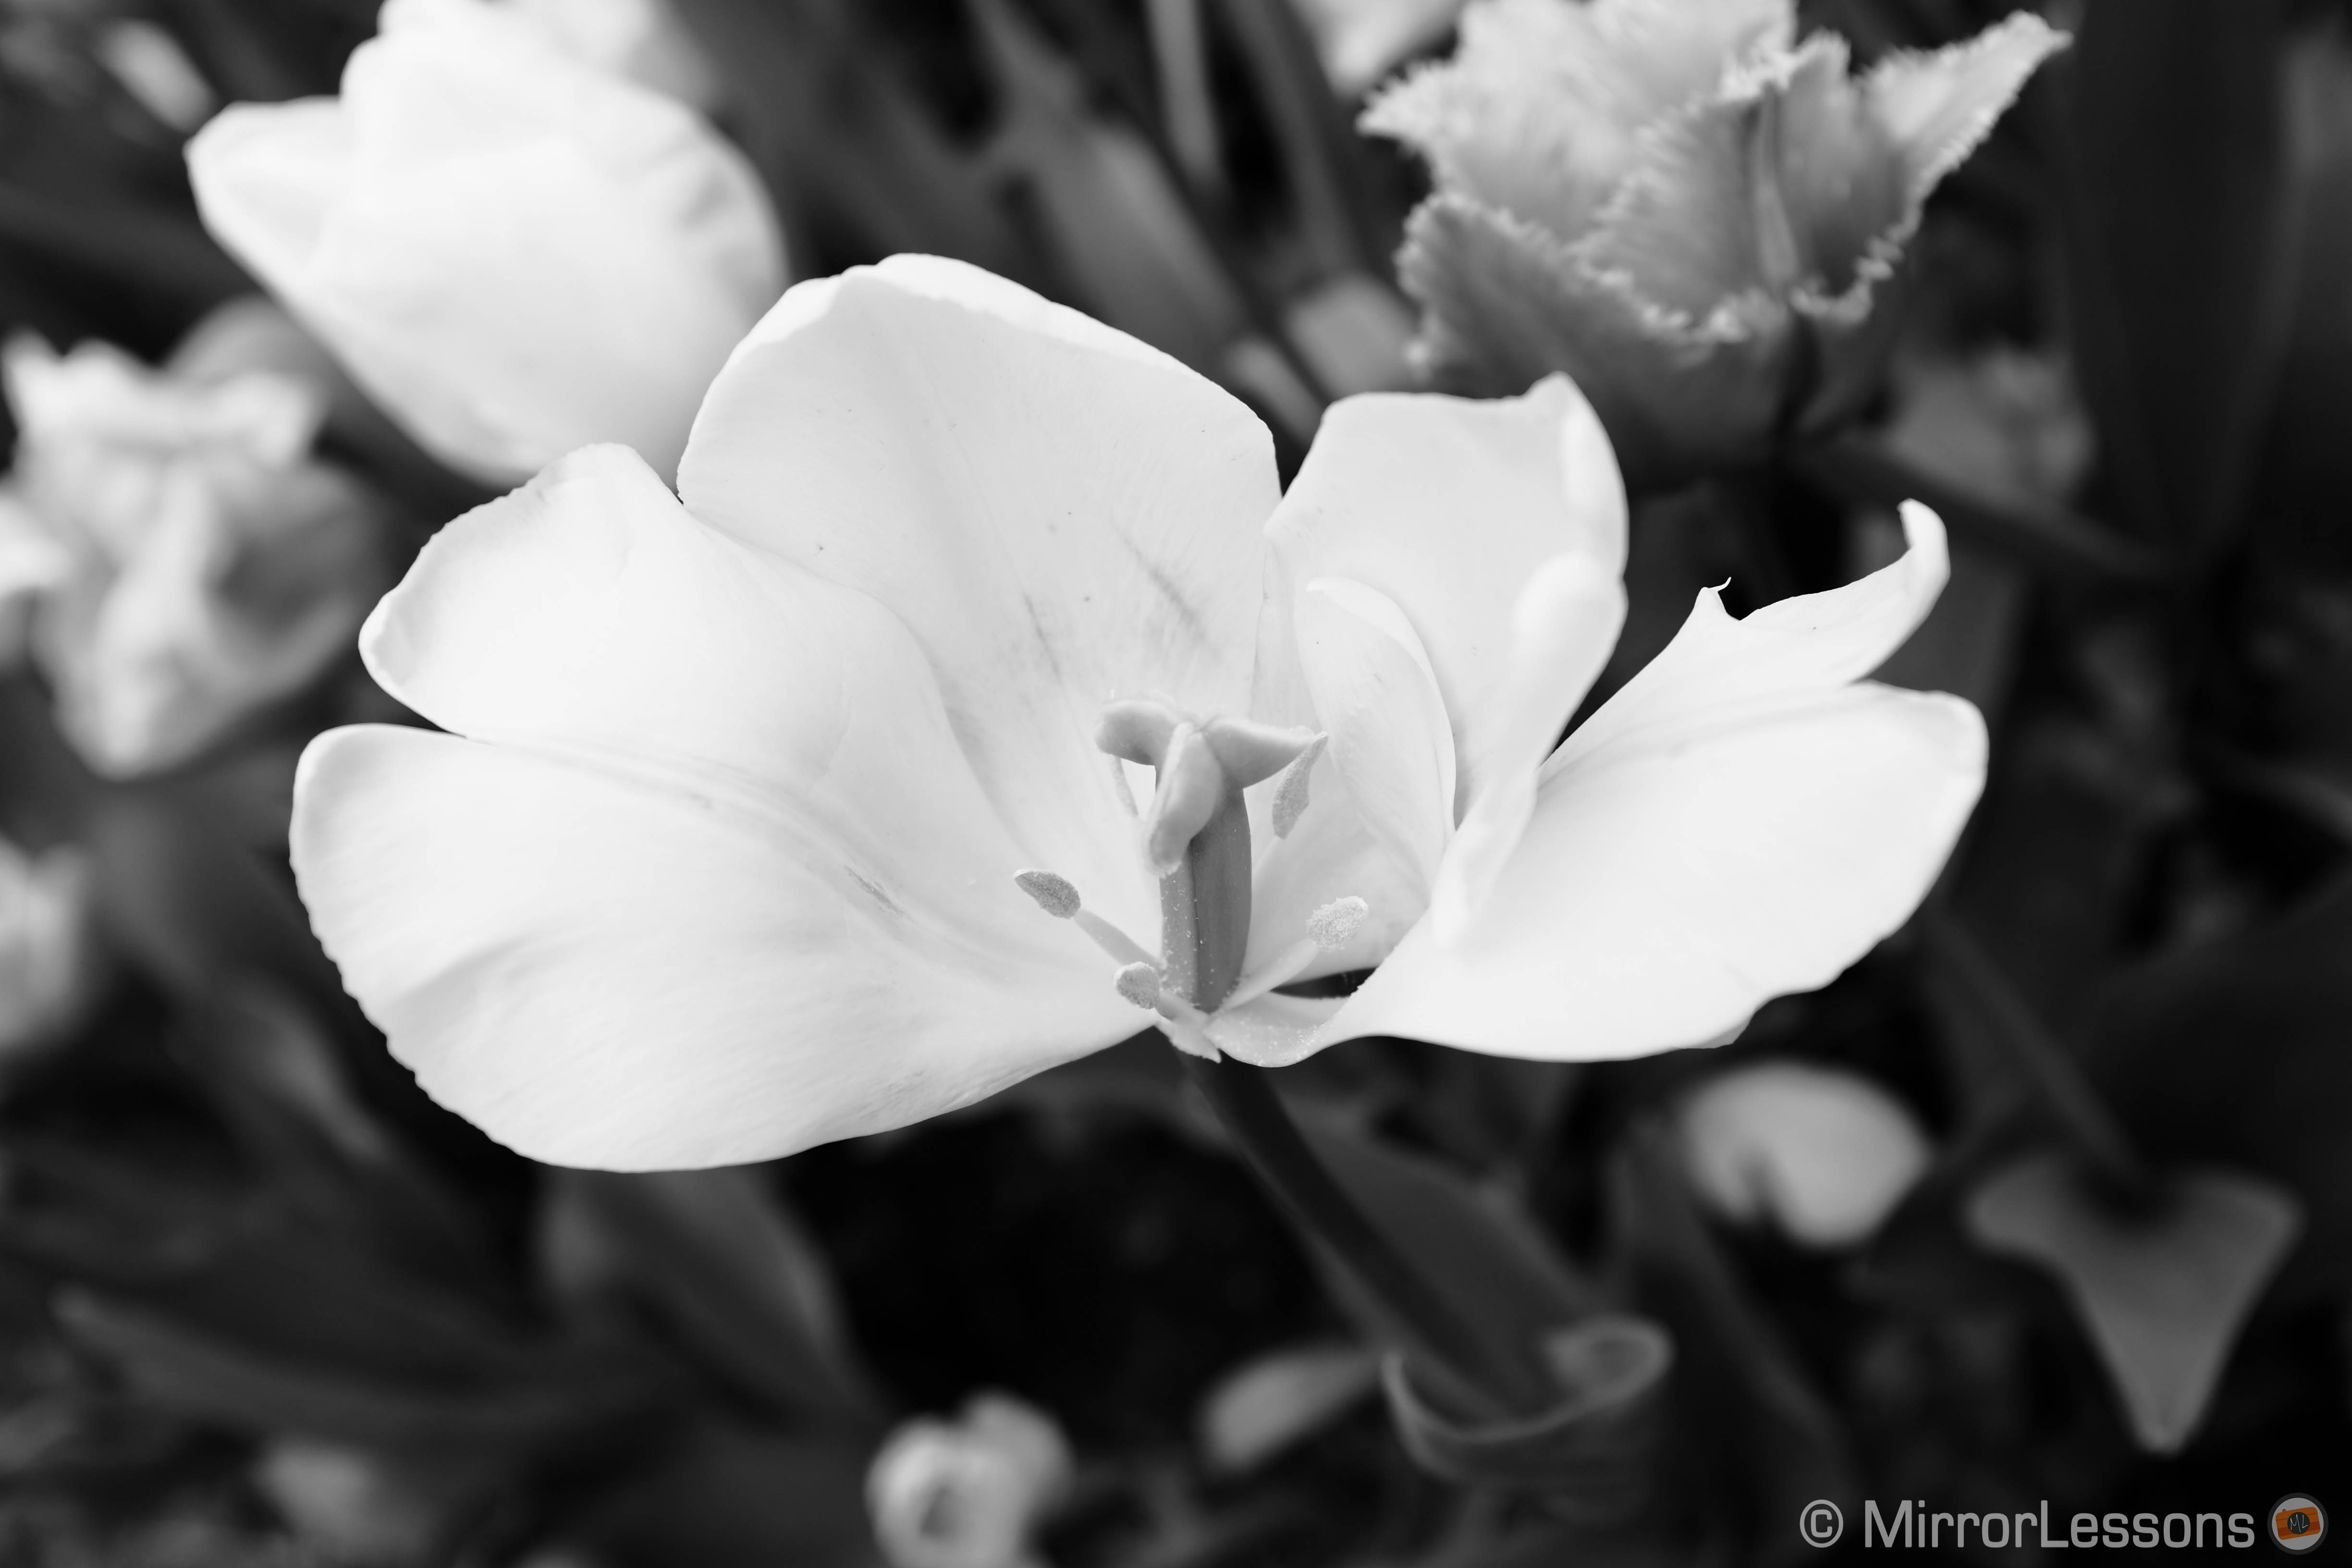
If you shoot a general scene, you won’t find any substantial difference between the four filters, as shown in the pictures below.

Monochrome Standard (B)
Monochrome + Ye Filter (B-y)

Monochrome + R Filter (B-r)

Monochrome + G Filter (B-g)
But when you also start to adjust the settings of the camera such as shadows, highlights and DR, things get more interesting and you really notice that each filter can give you a unique look.

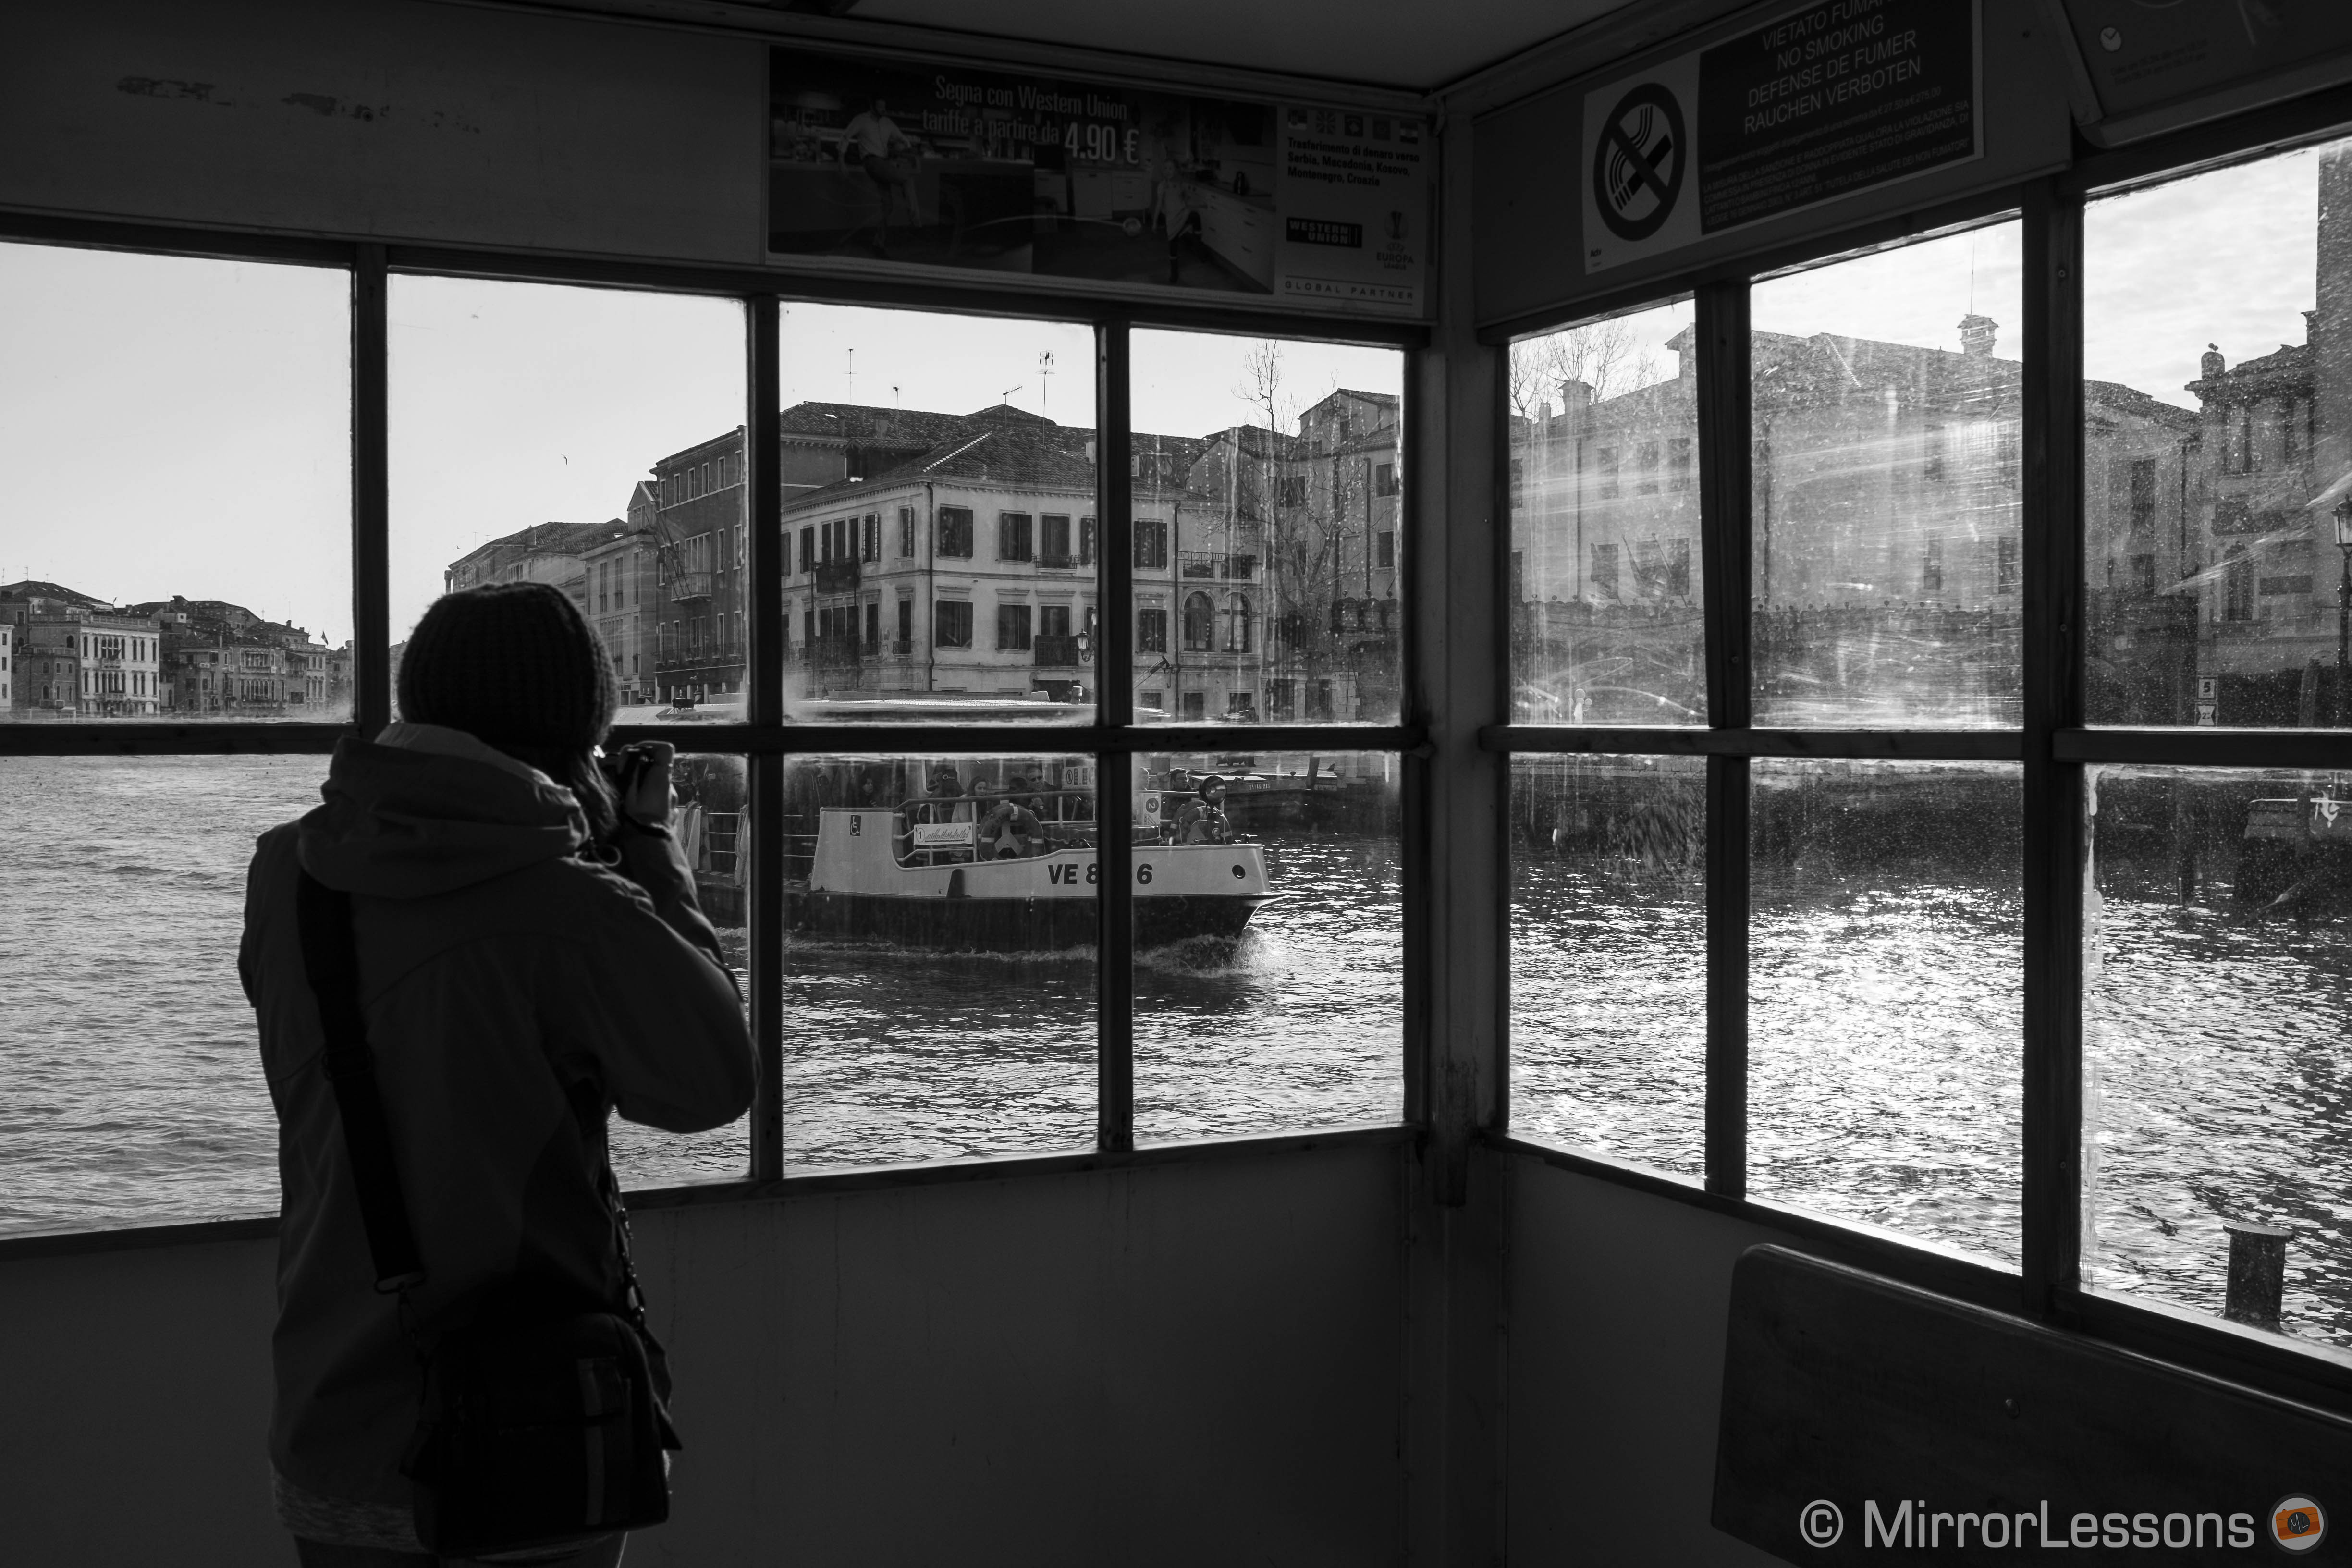
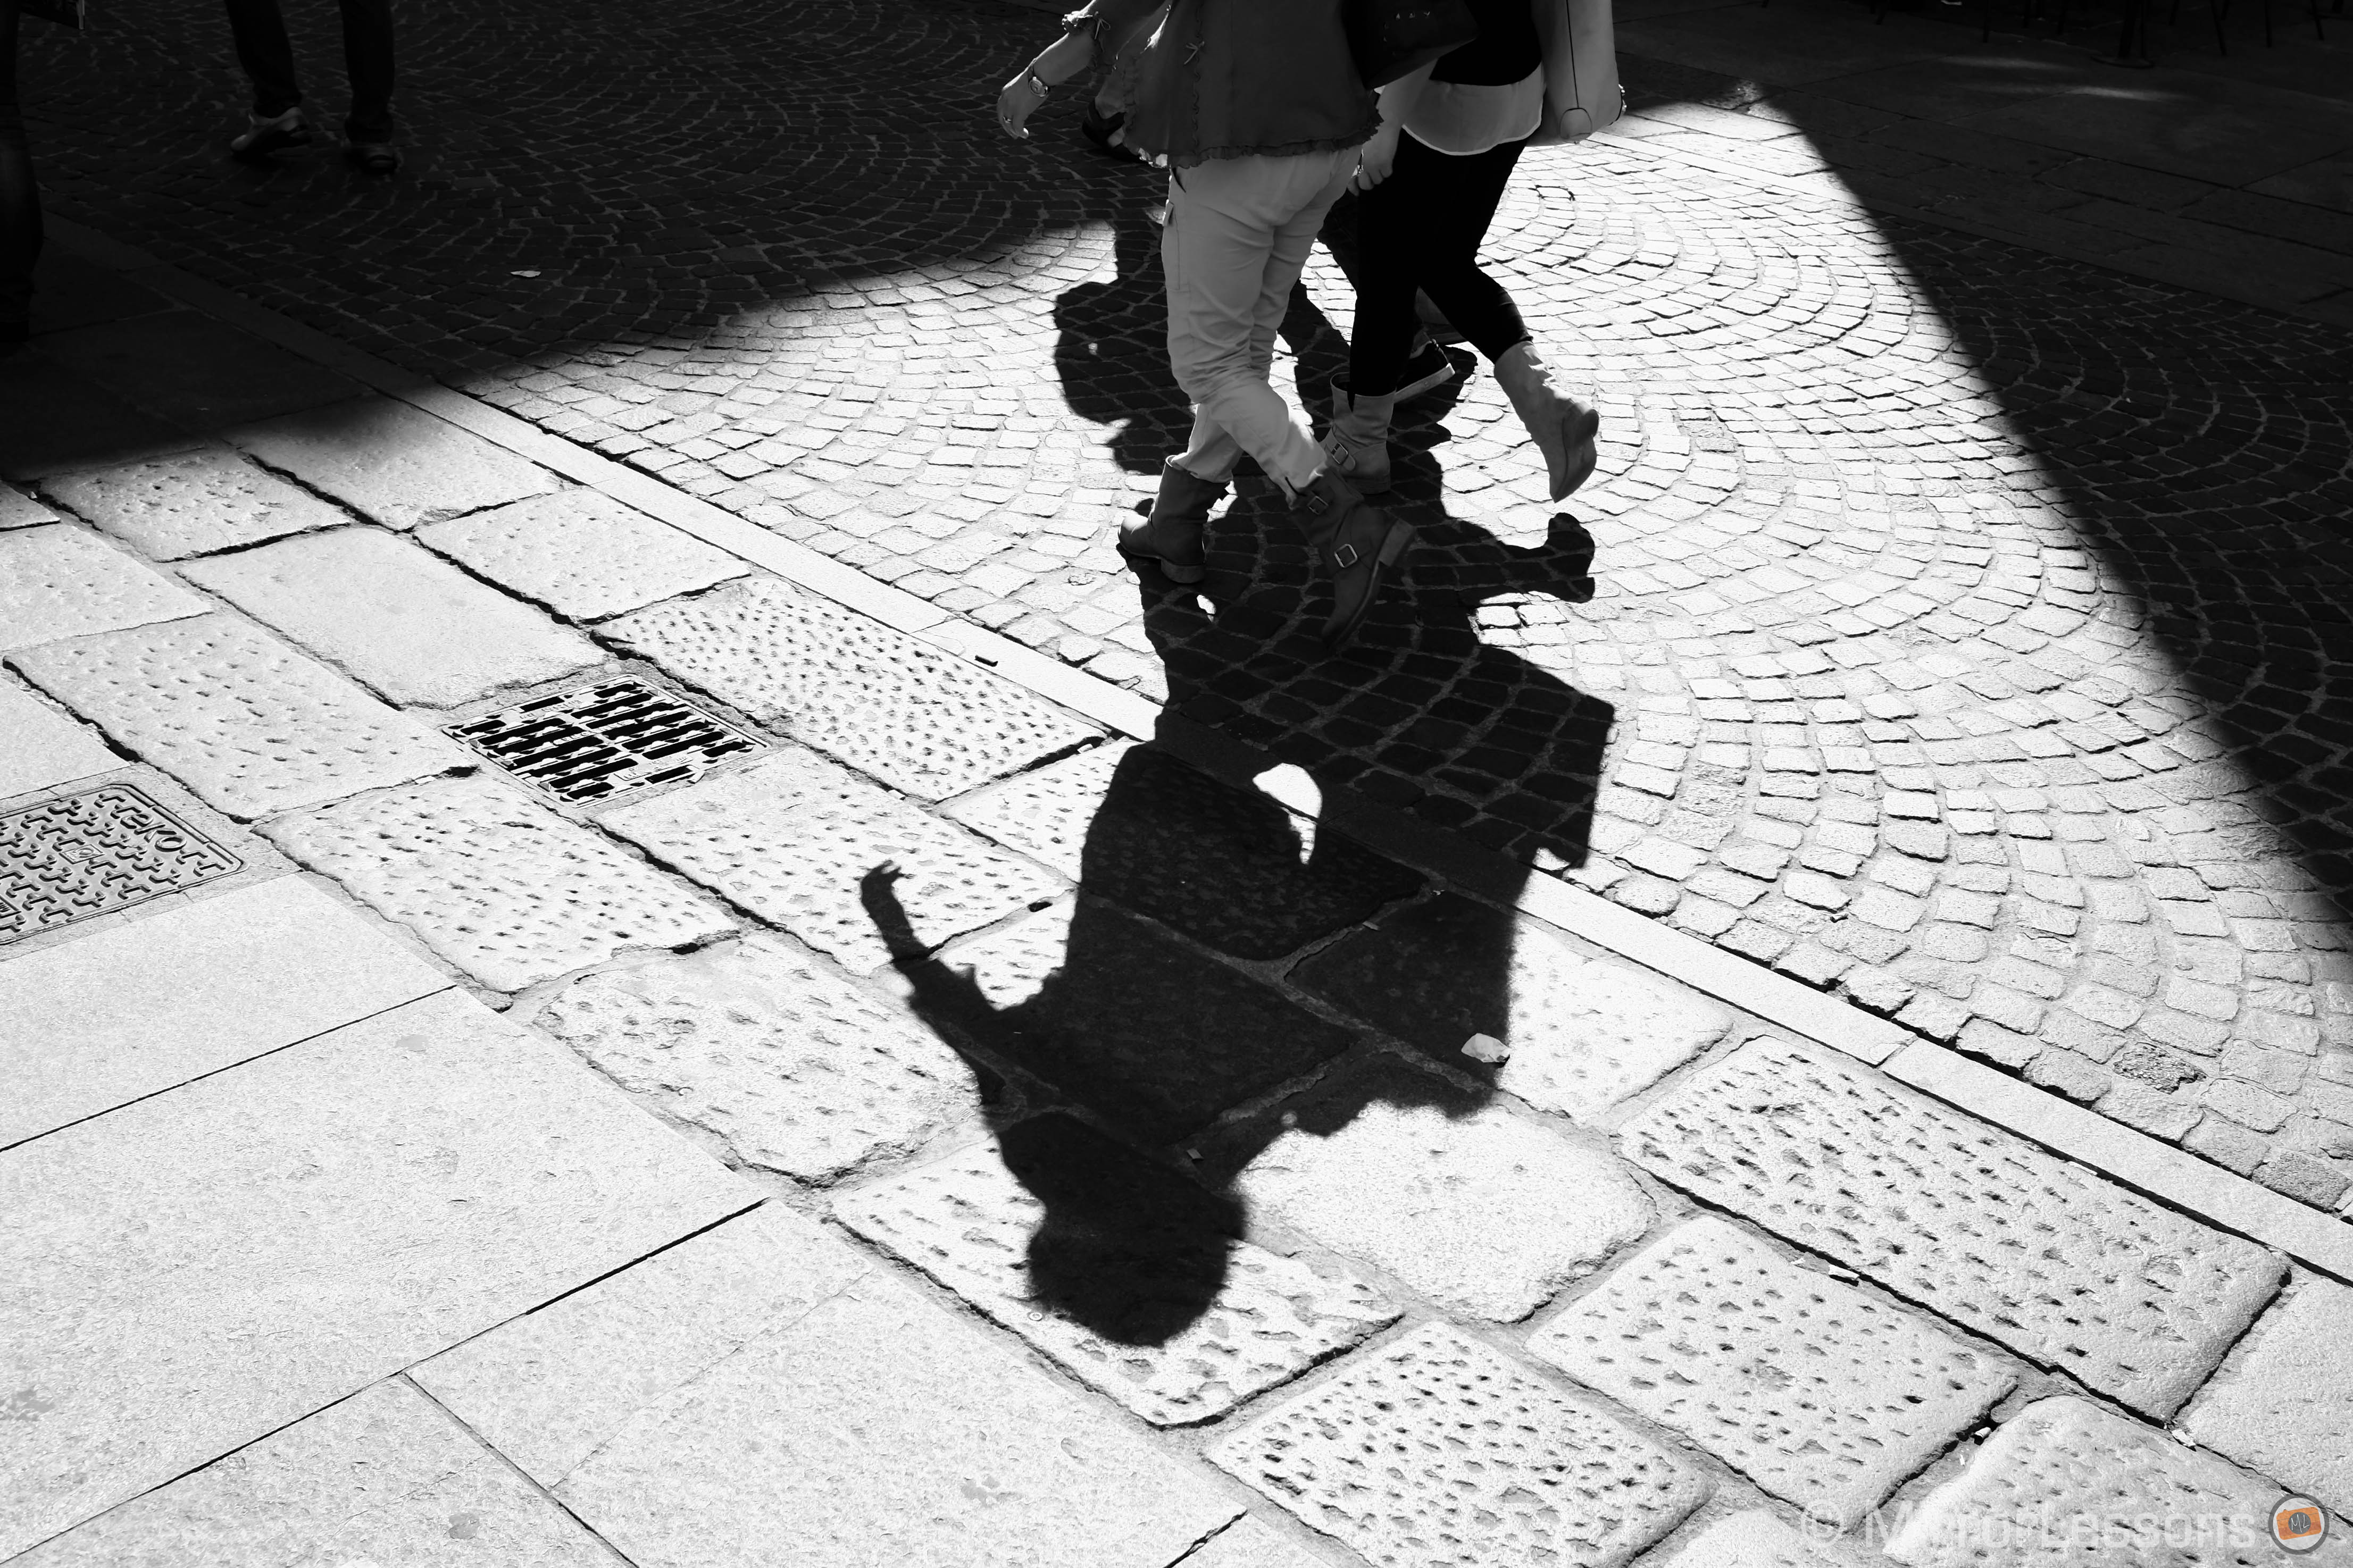
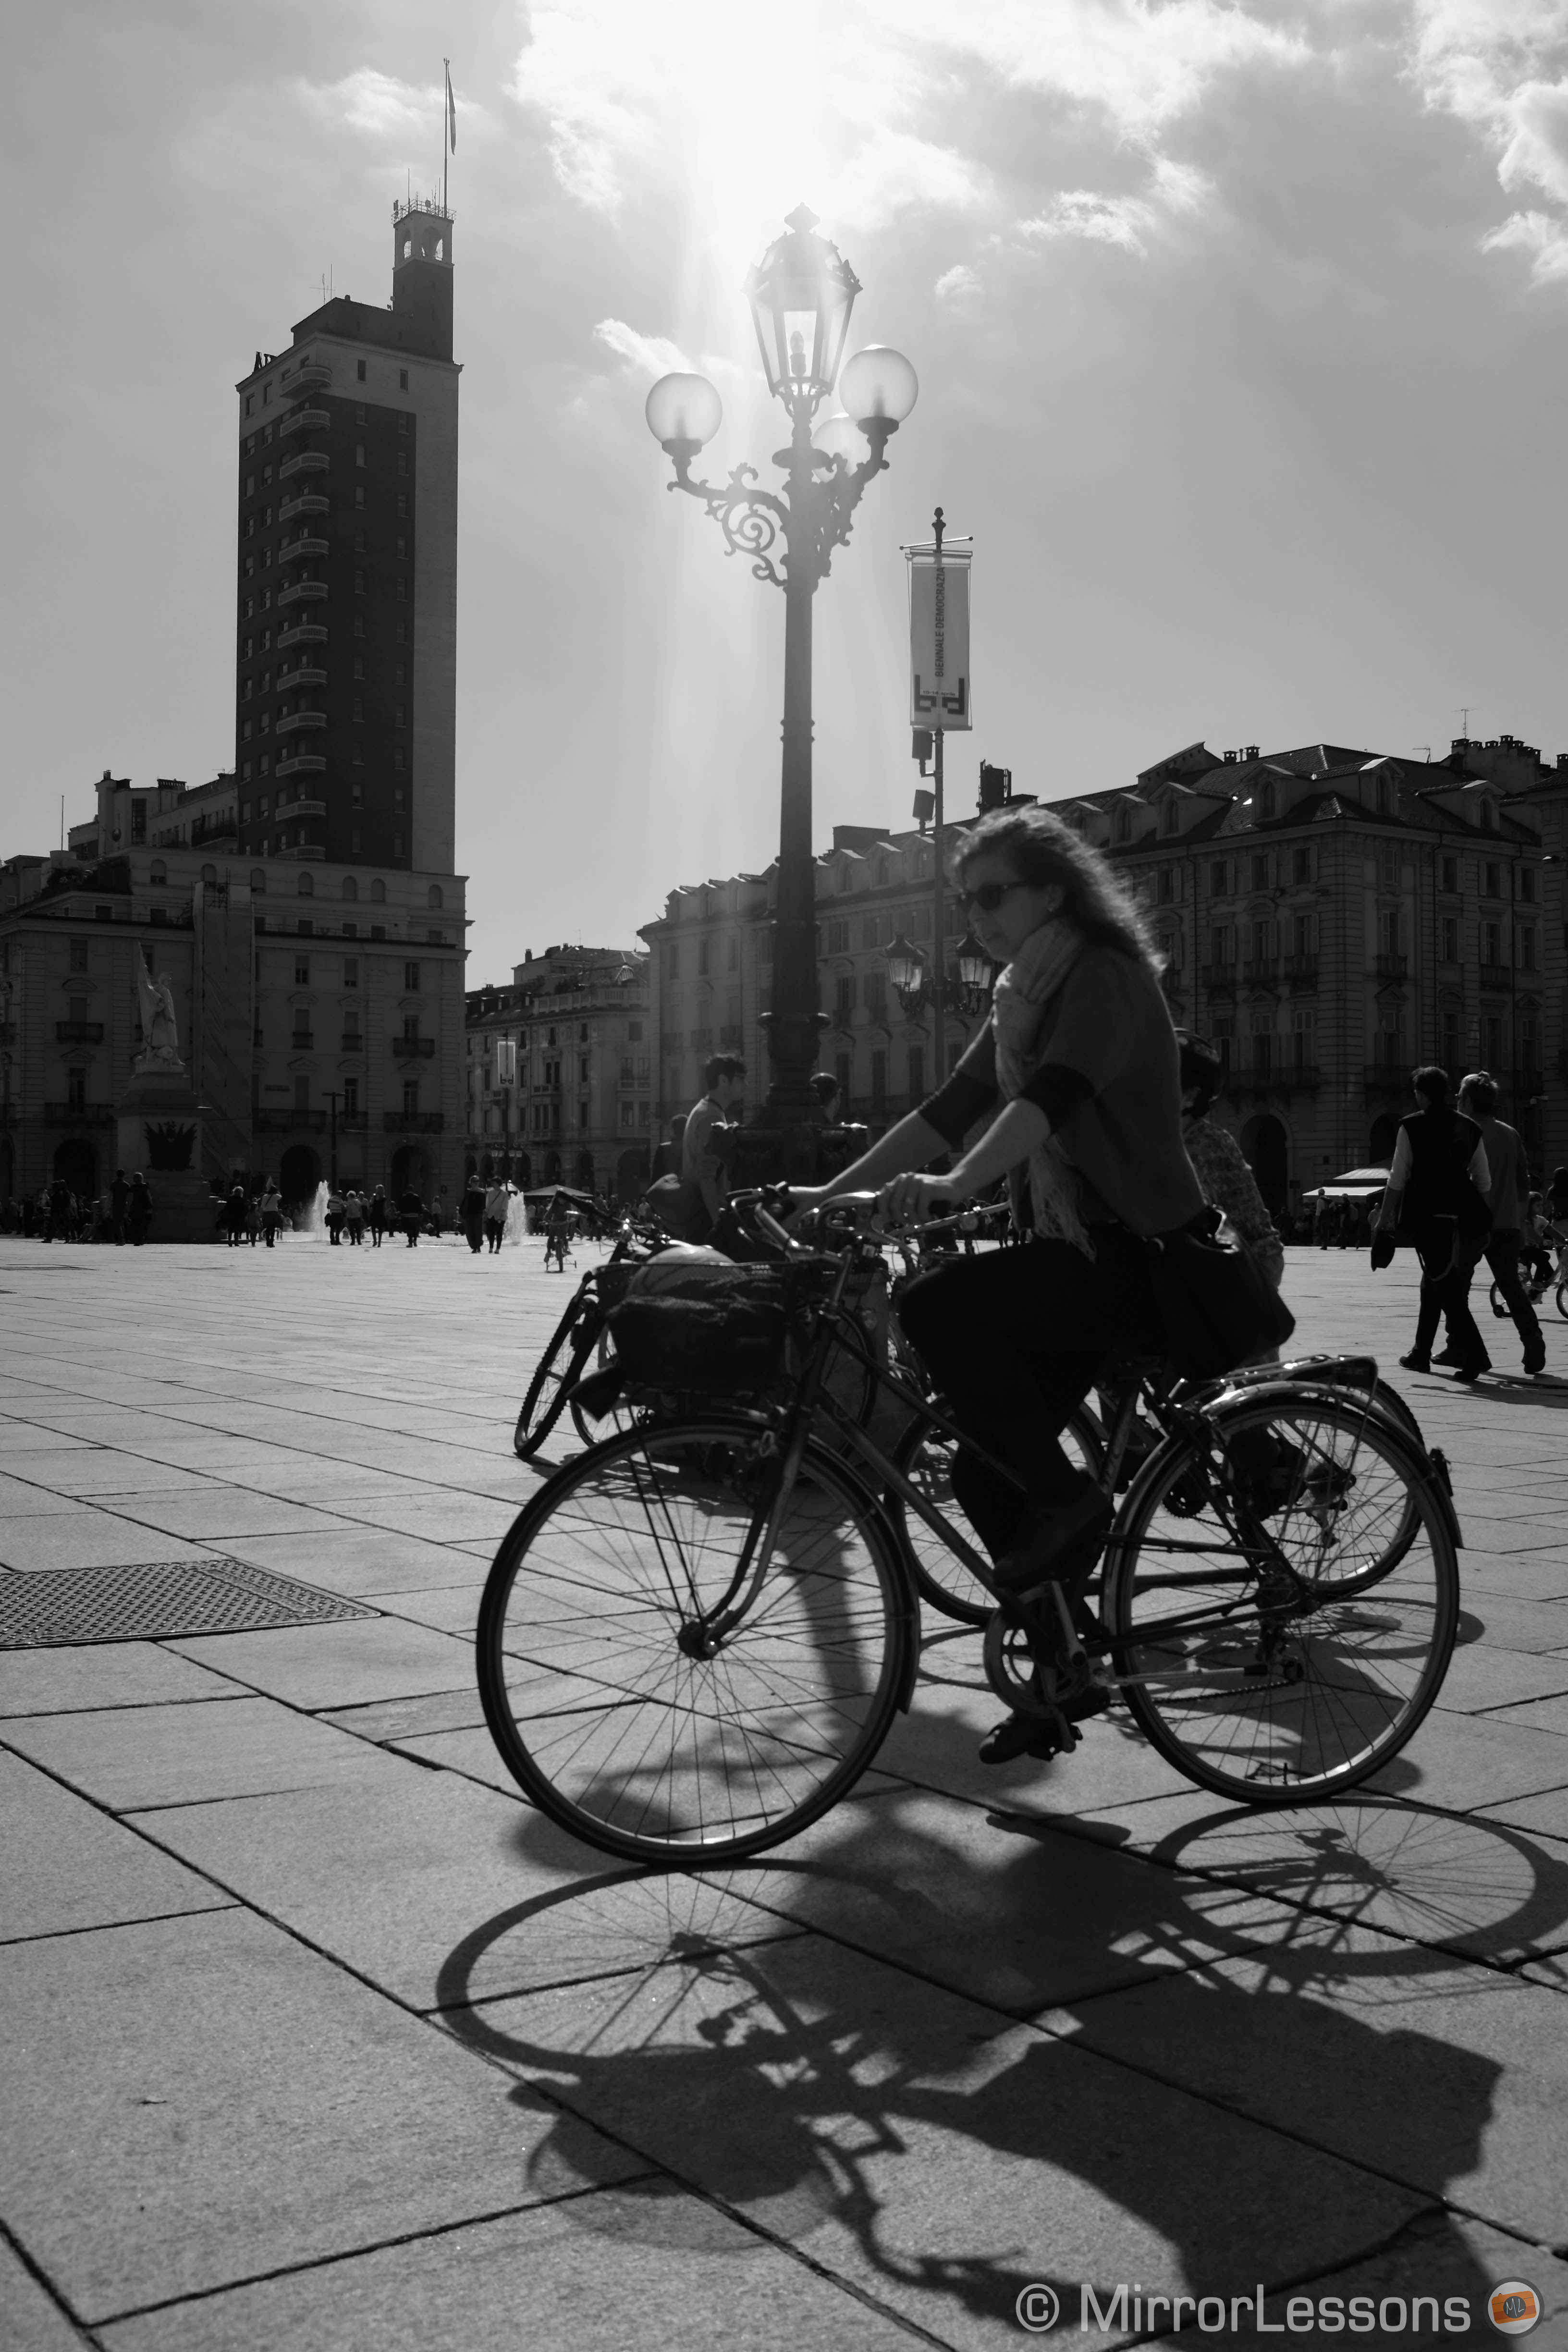
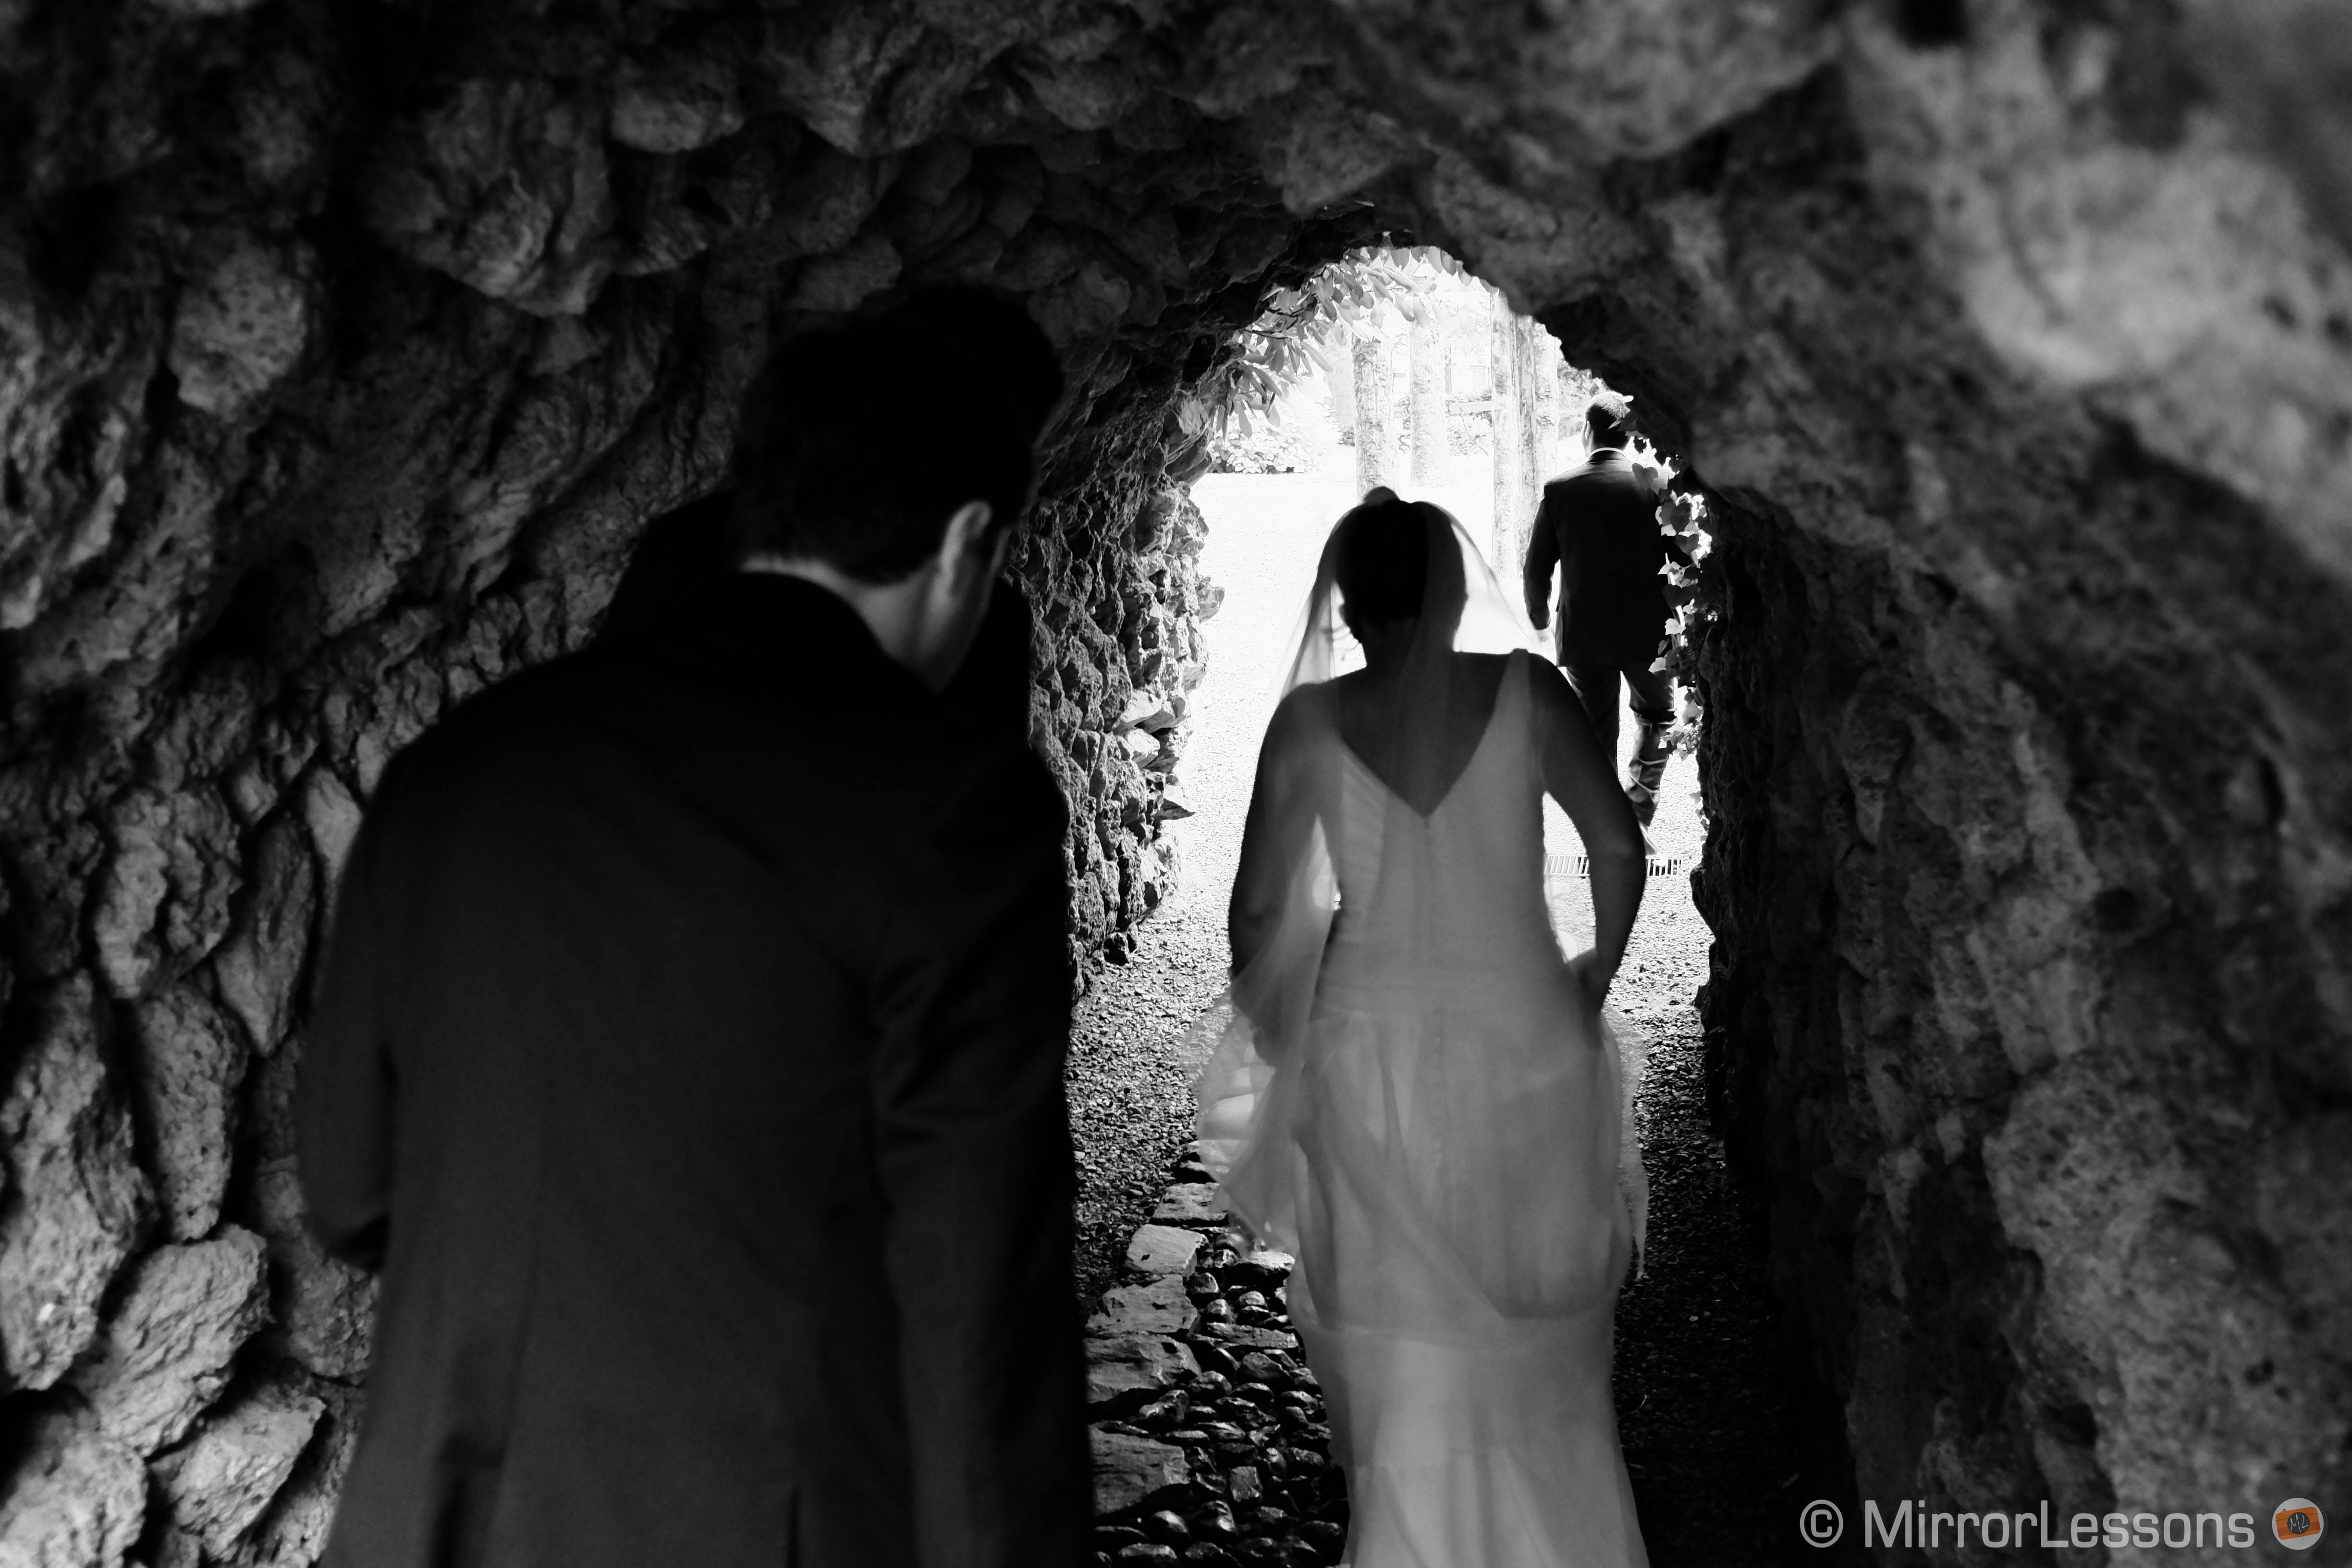
I personally love high contrast in black and white photography, so I often use the Monochrome + R Filter for street and landscape shots. I keep the highlight tone and the shadow tone at + 1 or even +2 when I want the highest contrast I can get.

B-r filter

B-r filter
B-r filter

B-r filter

B-r filter

B-r filter
I have to be careful though, as the shadows can sometimes be excessively underexposed, so you have to analyse the contrast in your scene and adjust those settings carefully.

Remember: the only way to properly use these Film Simulation modes is by shooting JPG, and JPGs aren’t as post processable as RAW files.
JPG is a compressed format, and every time you edit and save it, you lose some quality. So the more accurate the photo is on-camera, the better. If you are overly addicted to the power of RAW file post processing (like me!), you will have to adapt a little bit at the beginning.
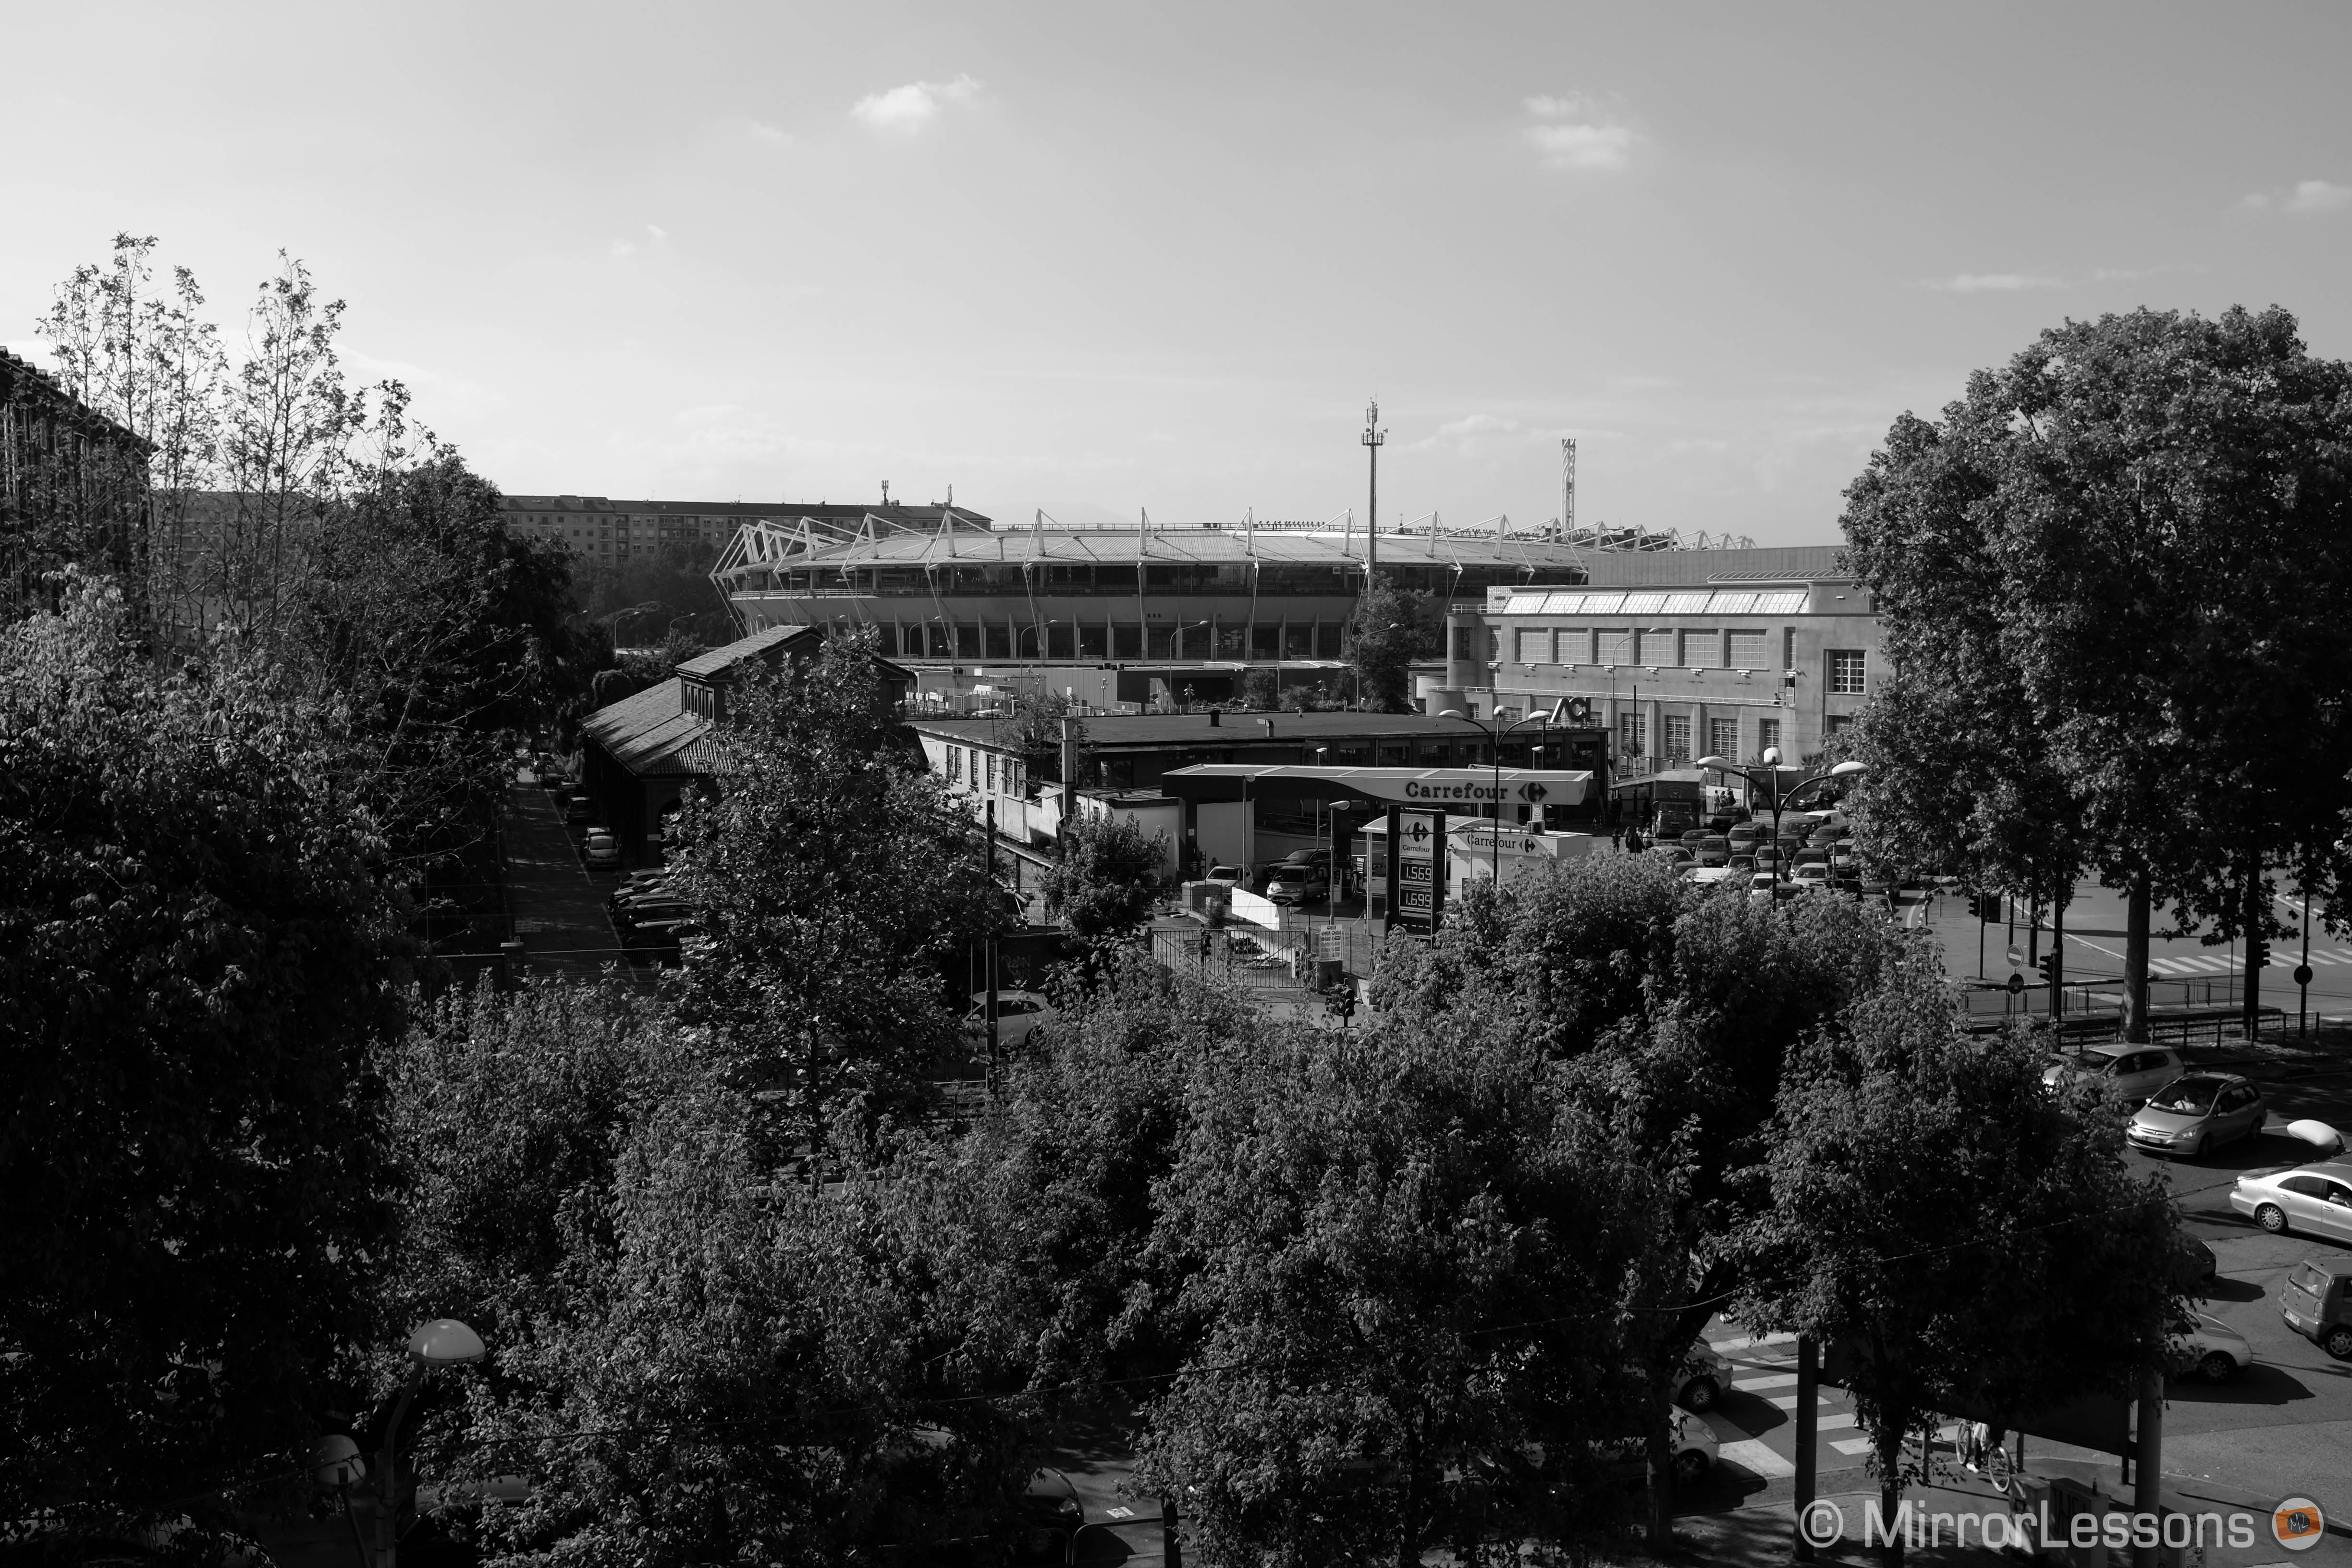
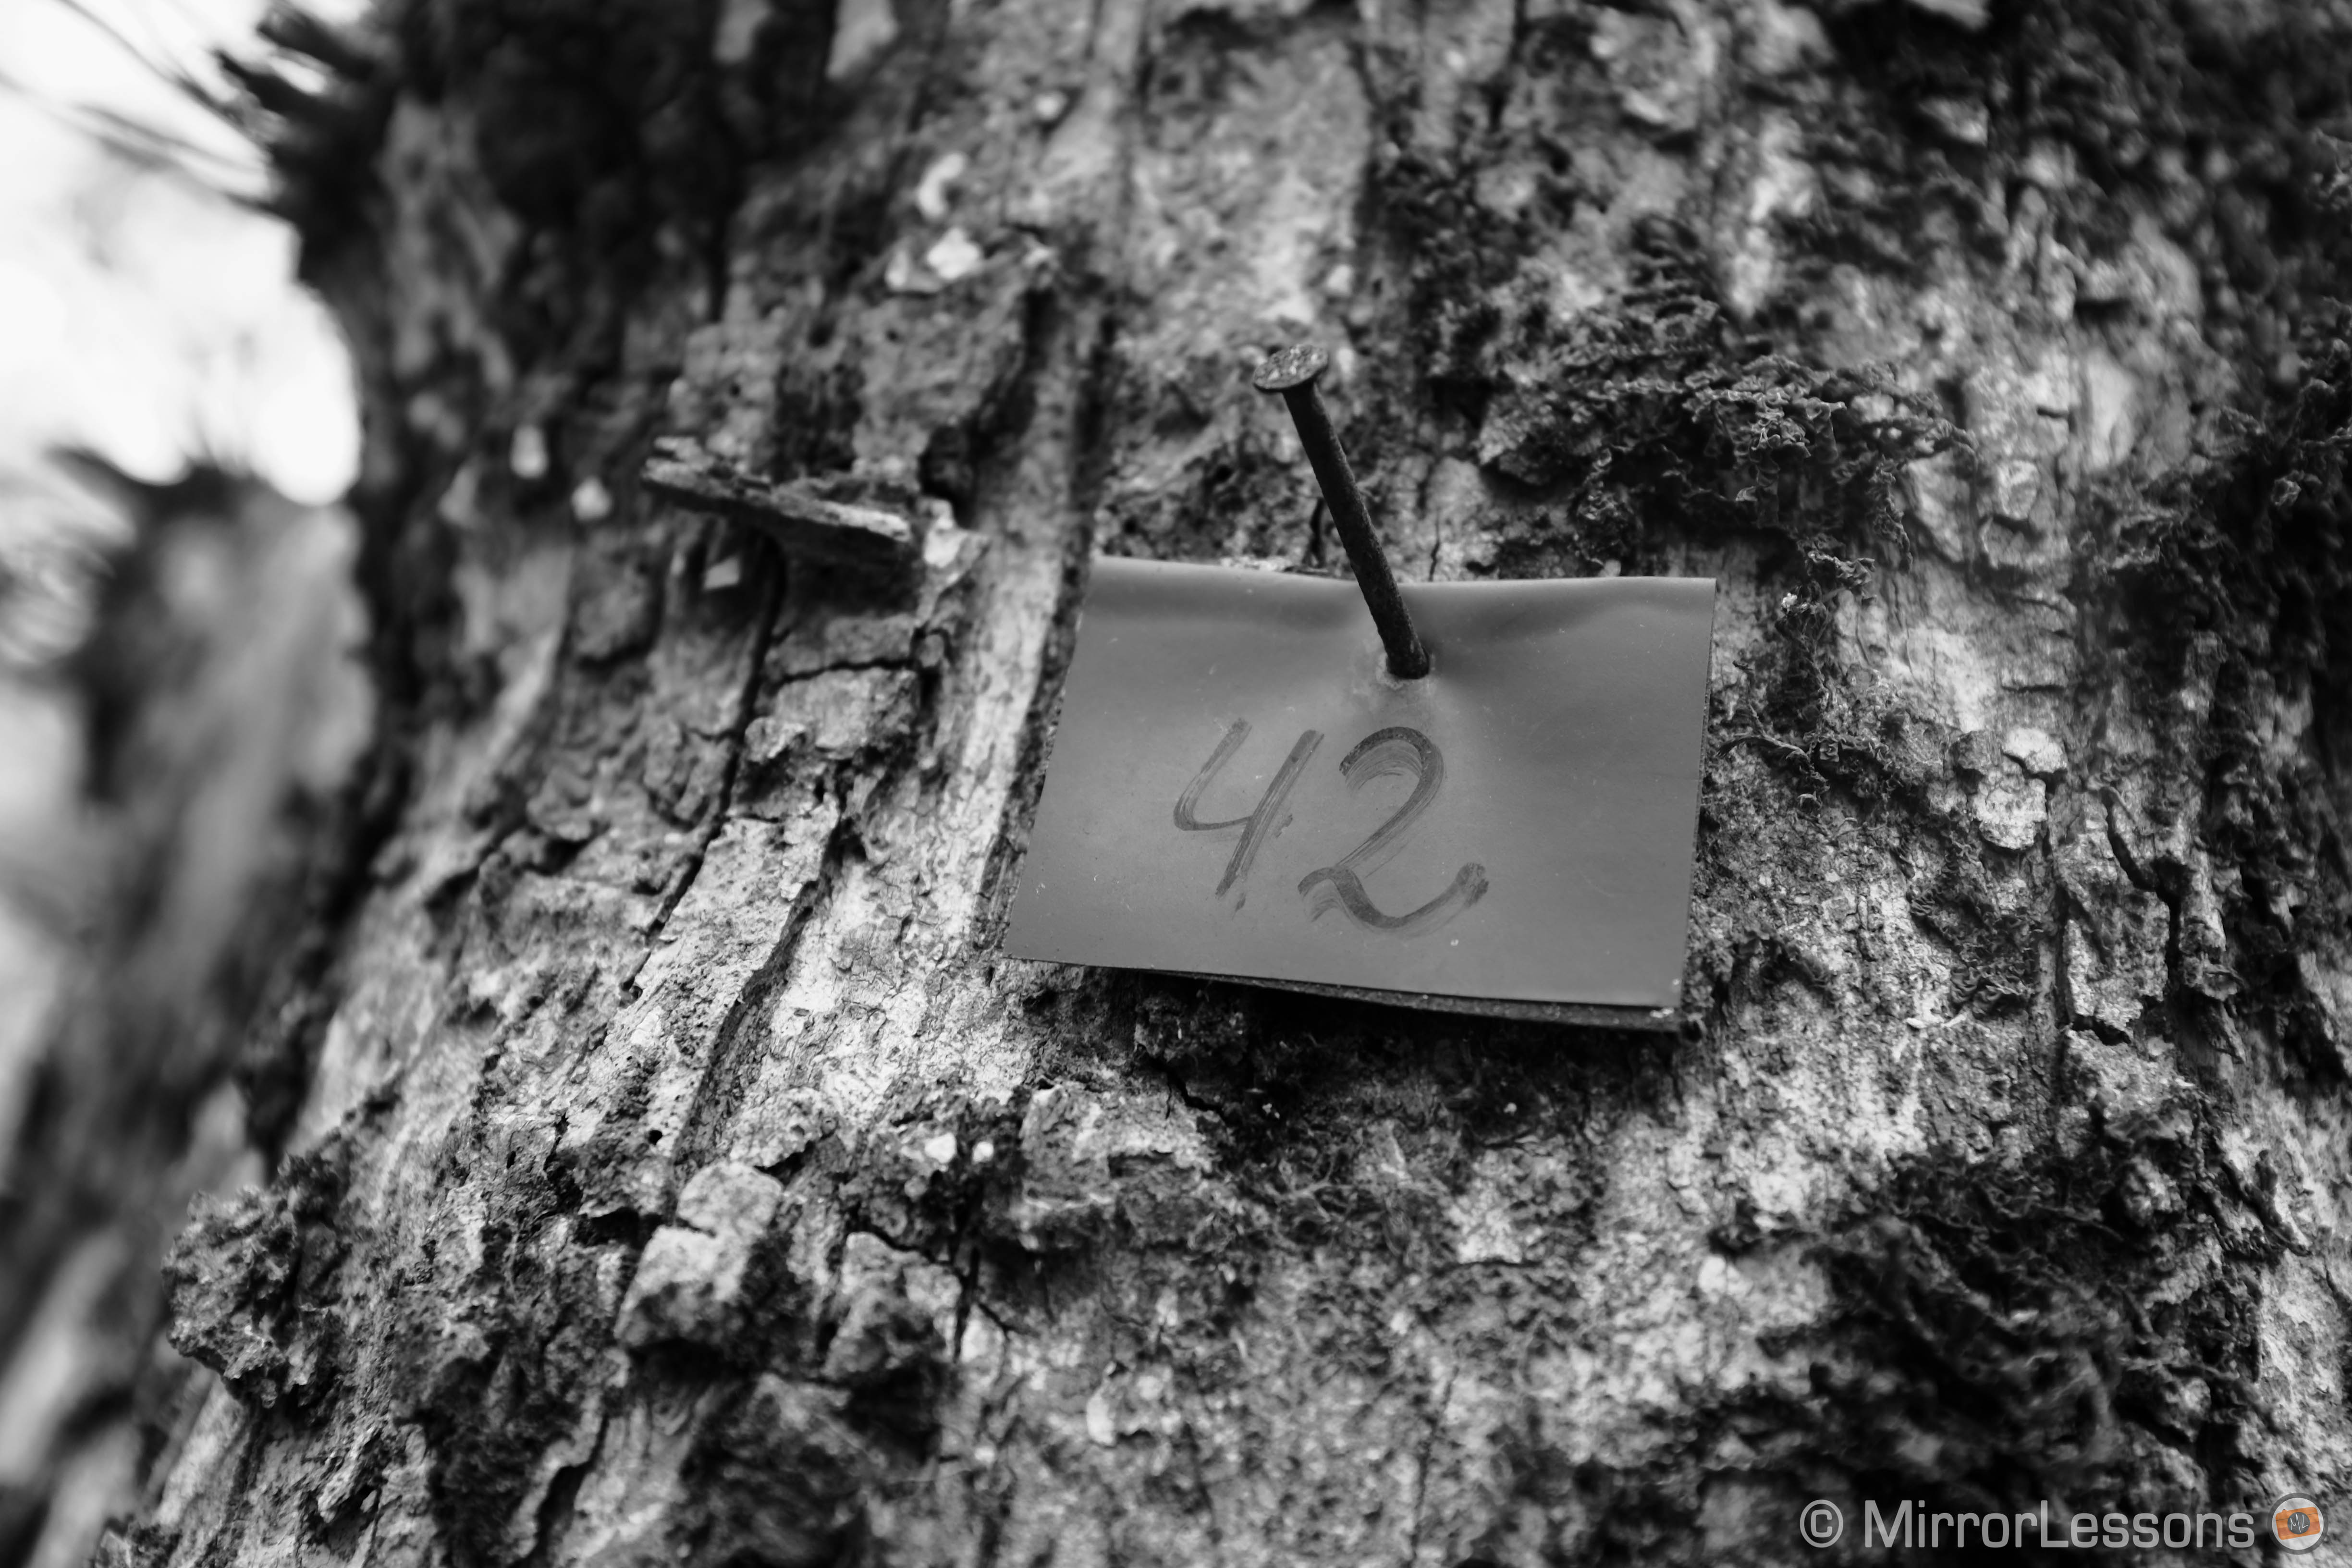
Black and white can also be nice on a cloudy day, where colours are muted. It adds a dramatic effect to the picture or… romantic, why not!

B-r filter

B-r filter
B-r filter
B-r filter
B-r filter

B-r filter

B-r filter

B-r filter
It is also interesting for night shots.


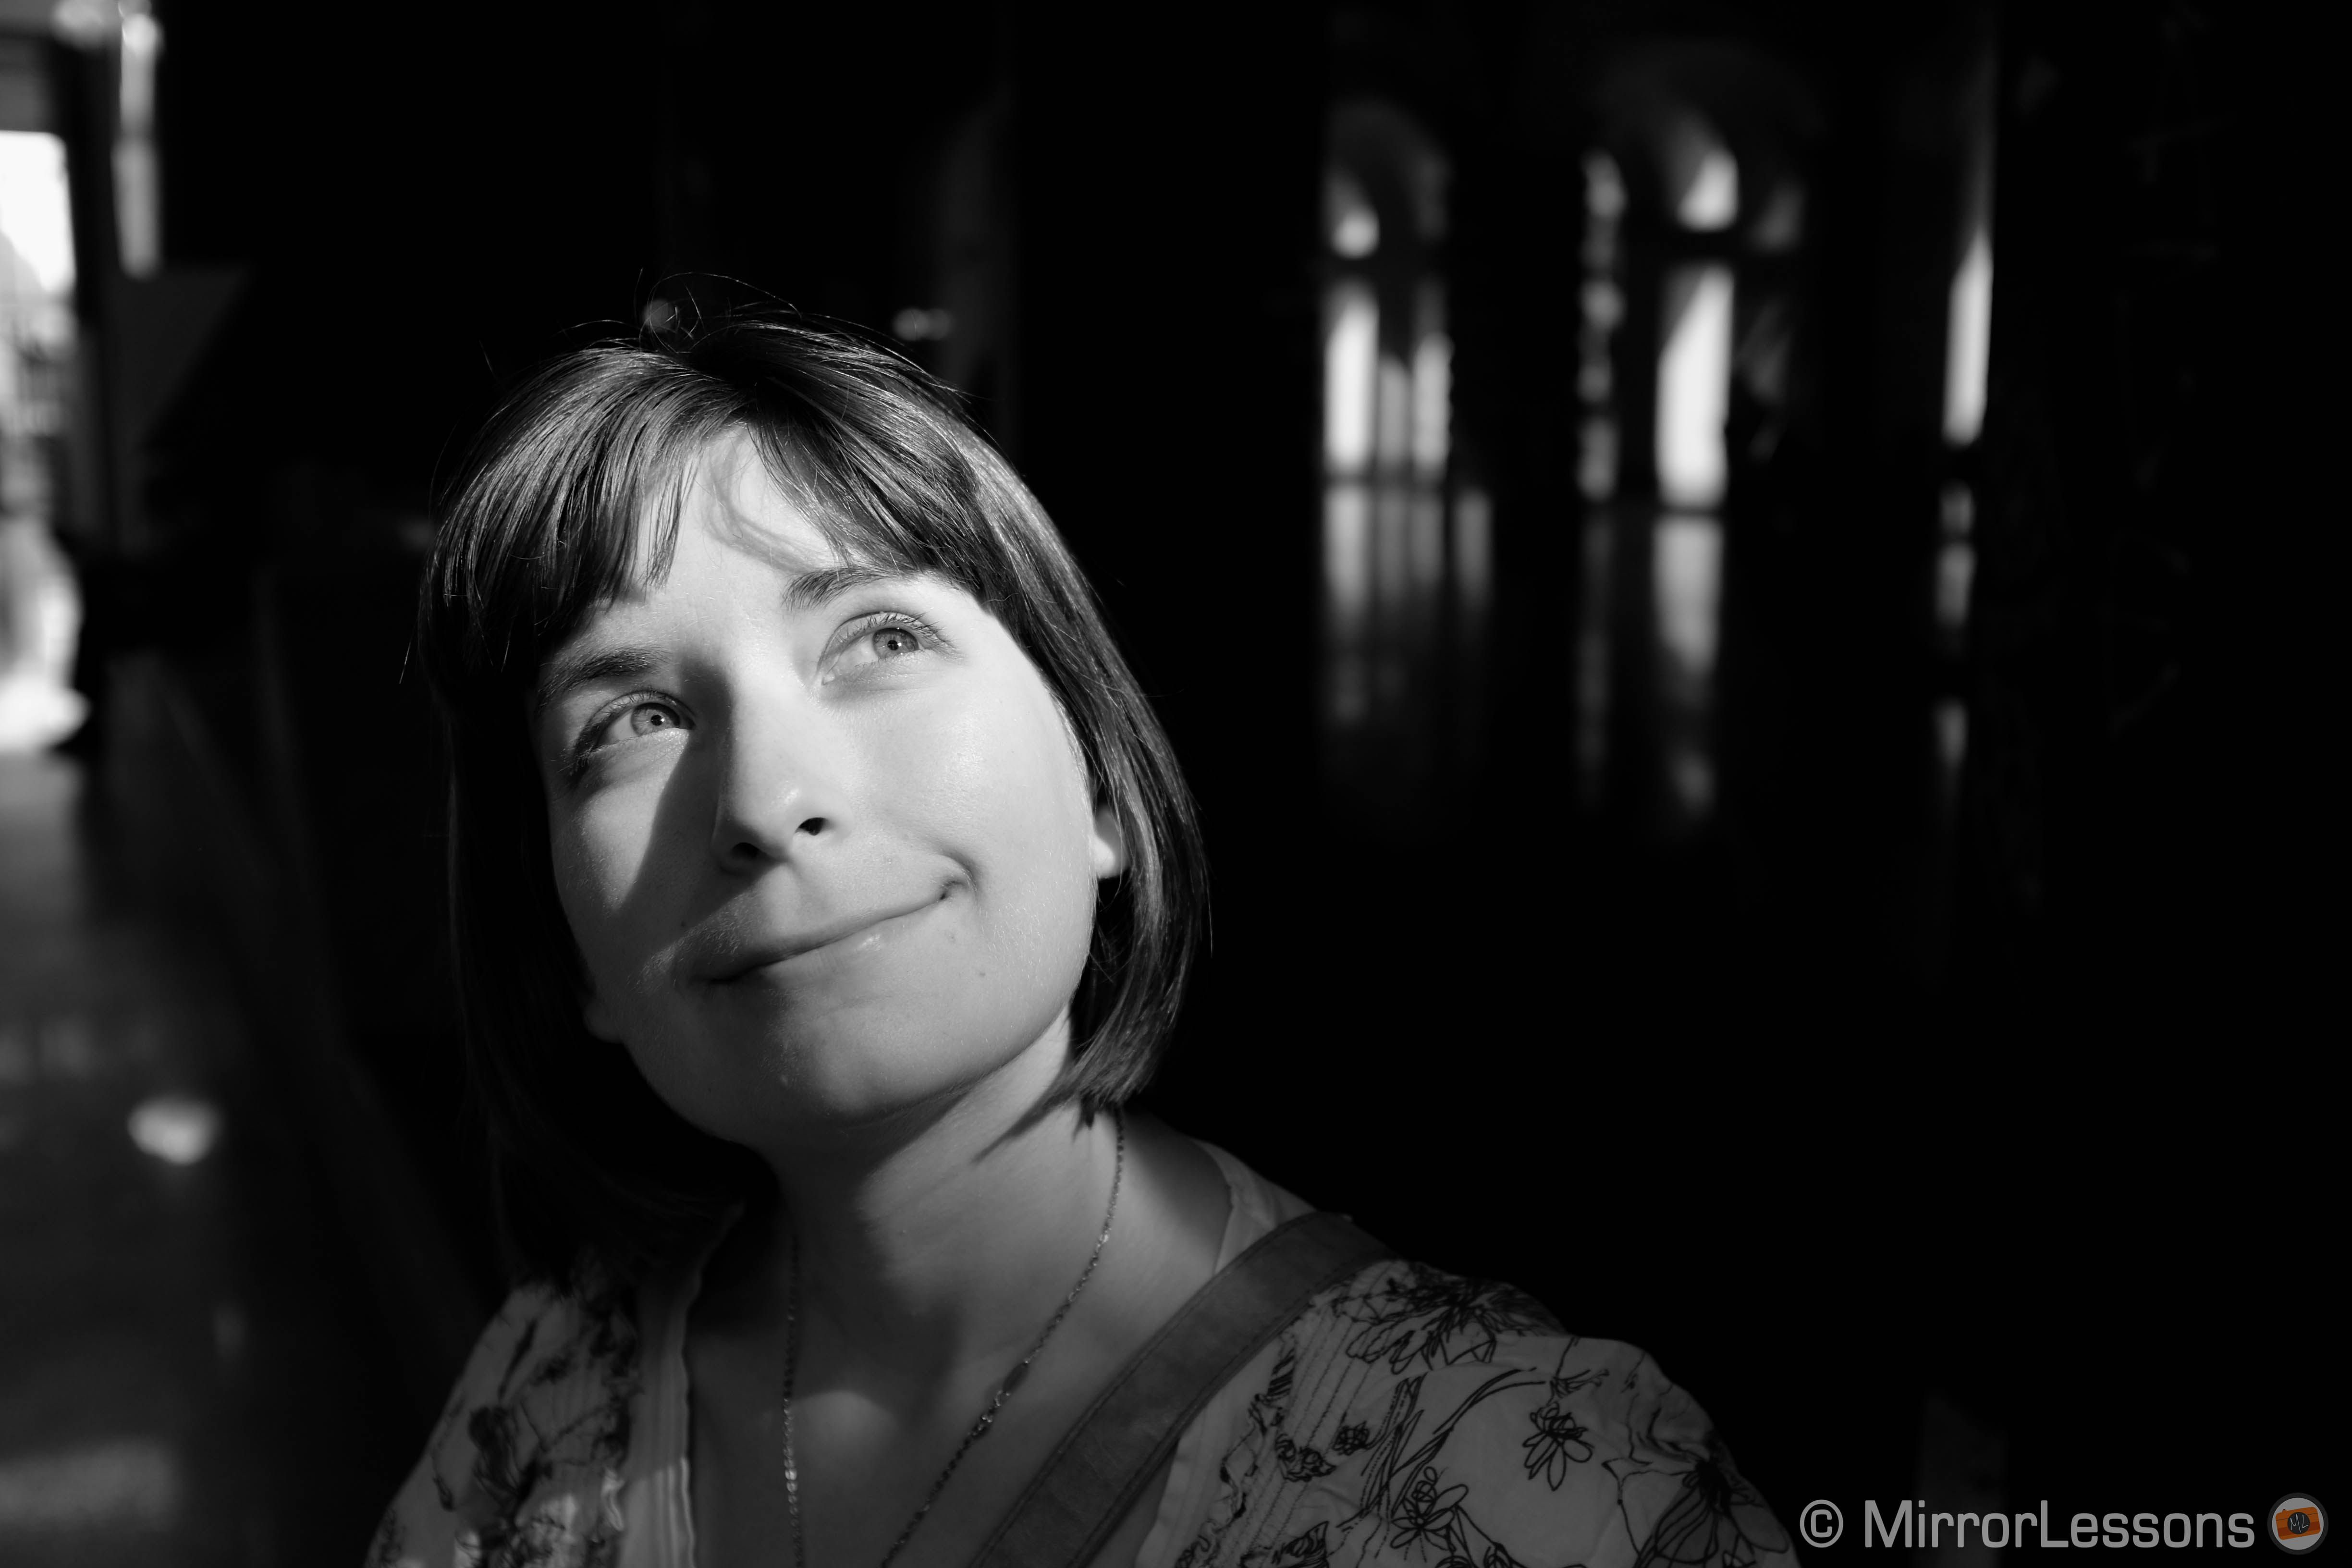
The second filter I use the most is the Monochrome + G Filter for black and white portraits. It gives you a nicer rendering on the skin. During my test, I found out that this filter works better if you slightly overexposed your image by one third or half stop. This is due to the fact that this filter also gives more detail to the skin and can sometimes bring out some imperfections or undesirable traits. I also generally keep the highlight and shadow tone at +1.

Another nice thing about the X100s is its leaf shutter and the built-in ND filter that will decrease the light hitting the sensor by 3 stops. This allows you to use a fast aperture even in daylight and work comfortably with the light surrounding you and the built-in flash.

As for the other settings, I always keep the DR (Dynamic Range) to Auto and the NR (Noise Reduction) to 0. The black and white filters also render nicely at high ISO.
About the DR settings, remember that they work fine with JPGs but can cause bad rendering with RAW files in Adobe Lightroom (shadows are overexposed).
So, if you prefer working with RAW files, keep the DR to 100.
Finally, please note that those settings apply well for other Fujifilm cameras such as the X-Pro 1 and the X-E1 that share the same film simulation modes.
If you too like to shoot black and white, feel free to share your settings (and pictures) with us – we’d love to see them!