Lumix cameras are always overflowing with interesting features and the new Panasonic GX7 is no exception. The challenge, however, is finding a concrete reason to use them. Lumix cameras have always had excellent video features, and in the case of the GX7, it offers a very interesting stop motion animation feature (first introduced on the G6) in addition to time-lapse and standard video recording. Last week, my colleague’s wife Iryna asked us to help her with a project for the Design Masters Course she is finishing for the Red Oddity school in Bolzano. Serendipitously, that project involved stop motion animation. What could have been more ideal?
Stop motion (also referred to as stop frame) is a type of animation technique that consists of taking a series of photographs of an object, and for each shot, slightly changing its position. When all the frames are played in a continuous sequence, the object appears to move. This technique is very old and has been used for many types of productions, including commercials, music videos and feature film animations. If you are a fan of Nightmare Before Christmas or Wallace and Gromit, then you might already know what stop motion is.
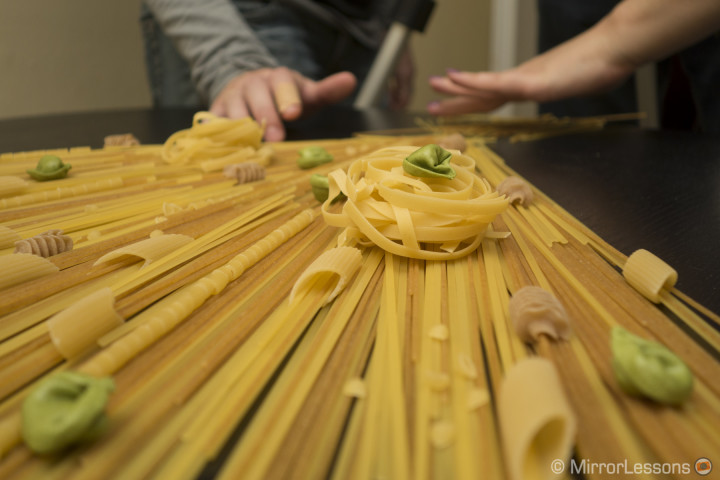
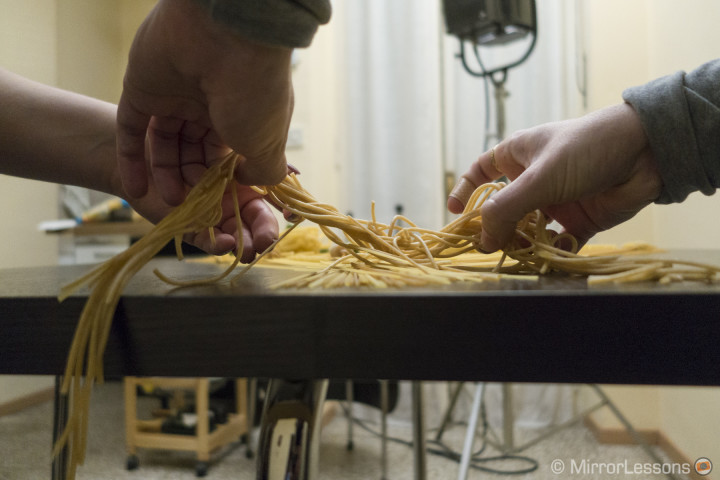
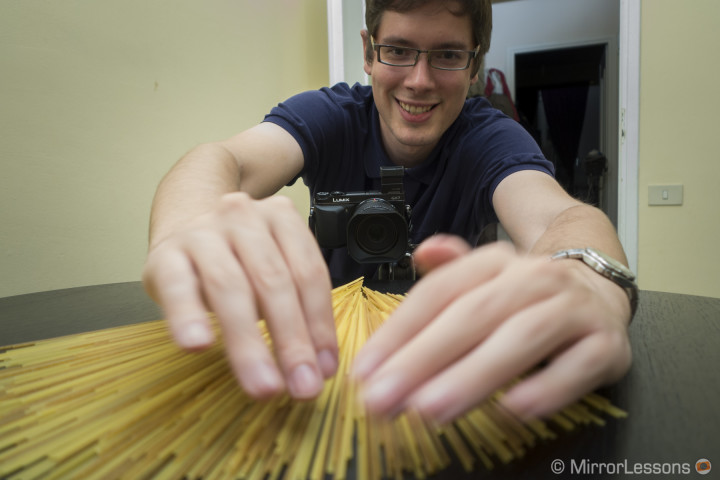
I had never tried stop motion animation before so I was very excited to take on this project. Iryna’s idea was to photography different types of pasta moving across a table to form a bouquet of pasta flowers.
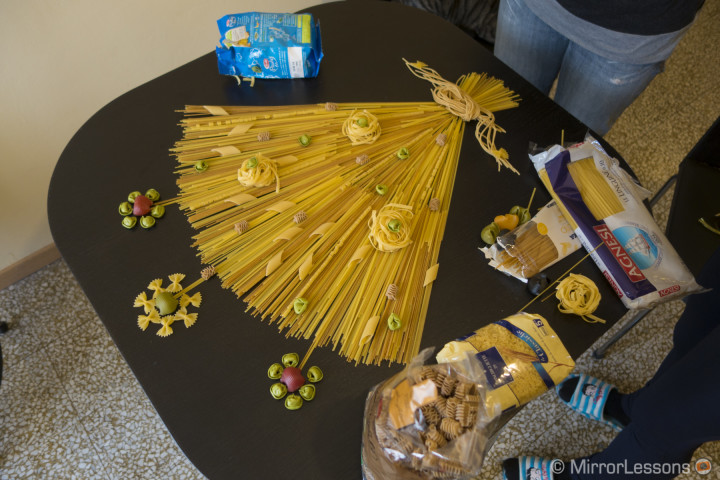
One of the first things you must decide with stop motion is the frame rate of the final video. We chose the standard European 25fps (frames per second). This means that if I want an object to move from point A to point B in one second, I will need to move it in 25 steps and shoot 25 images to create that second. We decided to build our shot list based on that, as the video we were creating was a theme rather than a short film. The final length was supposed to be around 15/20 seconds.
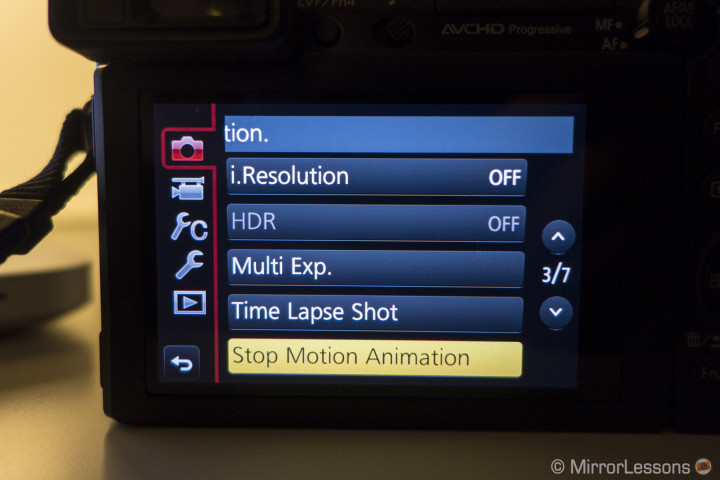
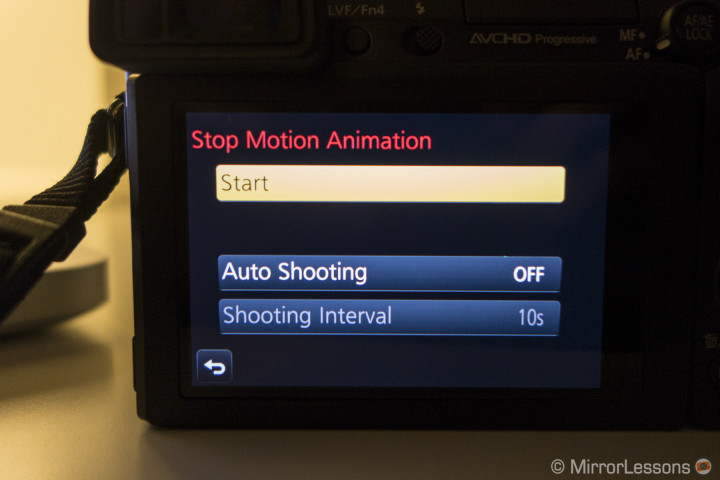
When you set up the GX7, you go into the shooting menu and select “stop motion animation” right below the “Time Lapse Shot” option. You can then choose to set an interval for auto shooting, meaning that the camera will take a picture every 10 seconds for example. Otherwise, you can leave the option off and shoot all the pictures manually. This is what I chose as we didn’t exactly know how much time we would need between one frame and the next to adjust the composition. Once you choose “start”, you can either start a new composition or continue an existing one. This is great if you need to interrupt the shooting for a certain amount of time and spare some battery life.
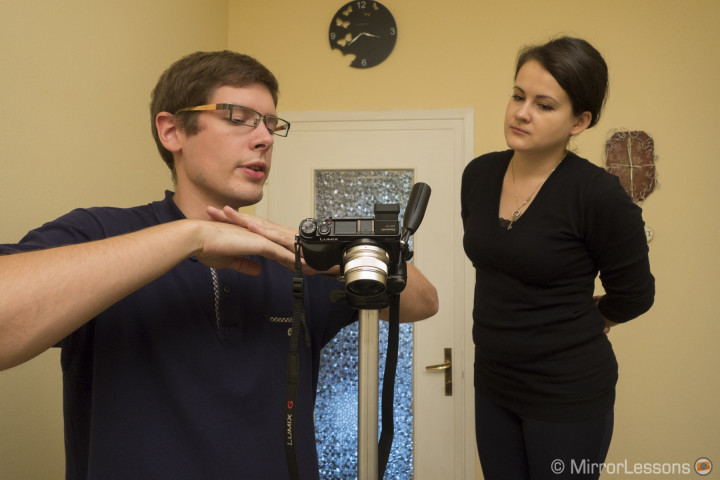
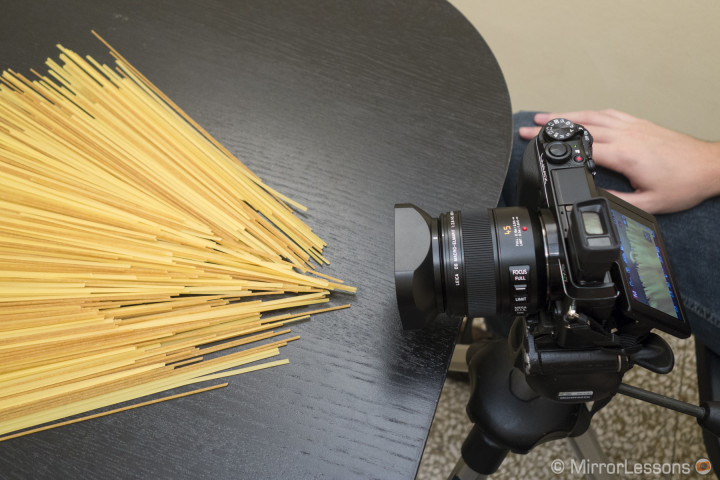
We set the camera on a tripod for the first composition, where we would see the entire bouquet come together little by little. I mounted the M.Zuiko 12mm f/2, set the aperture to f/4, the shutter speed to 1/50 and the ISO to 200. The GX7 has a very good sensitivity. I also had a couple of light projectors aimed towards the white ceiling to create a little bit of diffused light.
We decided to start from the end by first creating the bouquet and dismantling it little by little. The initial idea was to simply reverse the speed in a video editing software afterwards, but interestingly, once you finish shooting and build the movie inside the GX7, you can choose to reverse the speed on-camera. Another very nice option.
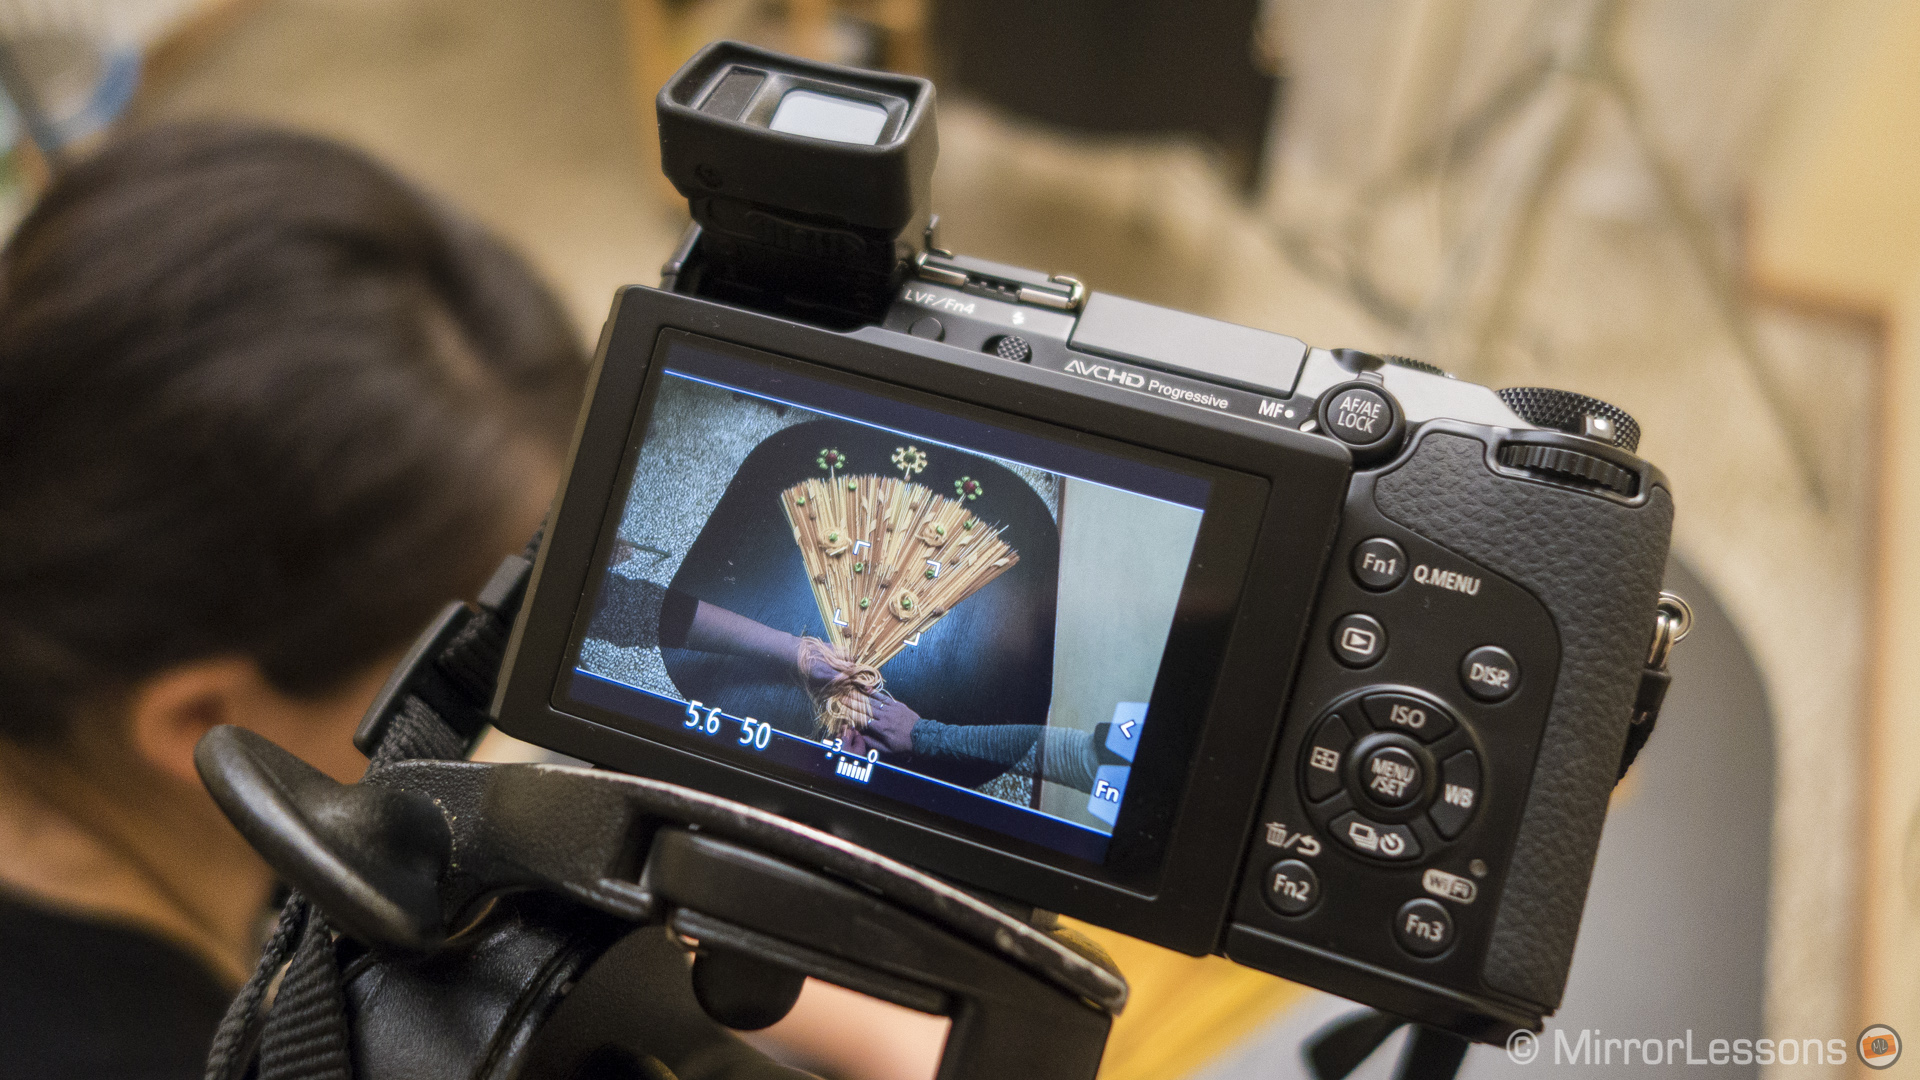
For safety, I also set the self timer to two seconds to avoid any shake when pressing the shutter button. Once you start shooting, the camera will record both RAW and JPGs, depending on the shooting settings, and each time you take a picture, the screen will show an overlay on the live view. This allows you to see where your object was before and where it will be when you move it.
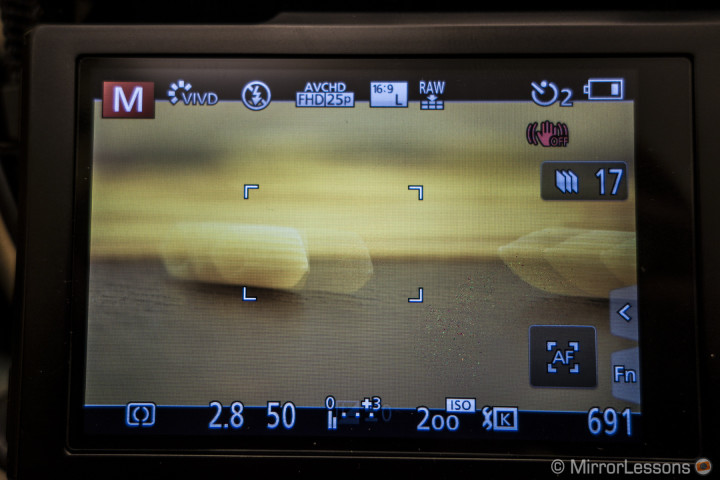
One of the most difficult tasks was removing every piece of pasta little by little without altering the rest of the composition. We had to be very careful when deciding which objects to remove and how to do it without moving the other pieces too much.
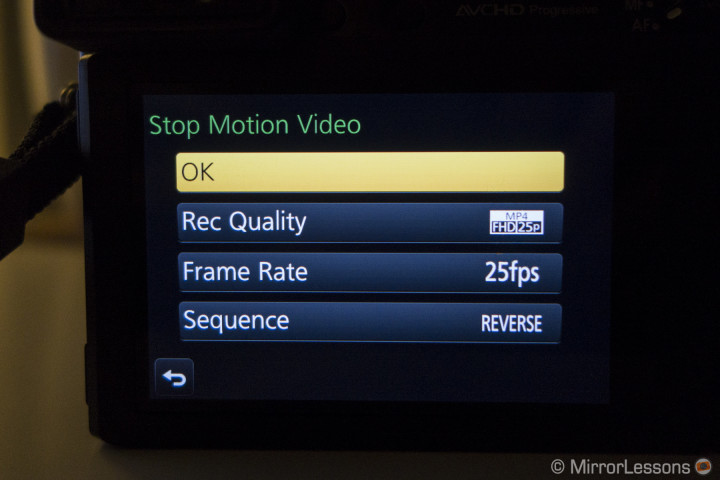
Once the master shot was finished, I created the first video. When you want to create the video file, you can either press the counter button on the screen or press menu and stop motion animation again. The camera will ask you if you want to end the animation and subsequently if you want to create the video. You can then select the frame rate, the video quality (only mp4 is available, not AVCHD) and if you want the sequence to be reversed or not. The camera will tell you then that the process creating time is 1 minute, but it’s actually far less than that.
Afterwards, we composed the title shot from the same camera axis. We then decided to take some close-ups of various pasta pieces moving along the table, so that we could do a little bit of video editing if needed. I changed the lens and mounted the Leica 45mm f/2.8 macro to focus closely on the objects. We played back the first video on the laptop in order to recreate the portions of bouquet we needed and match the movements as accurately as possible.
We tried to shoot as many close-ups as possible but by then it was almost 7pm and the battery had nearly died.
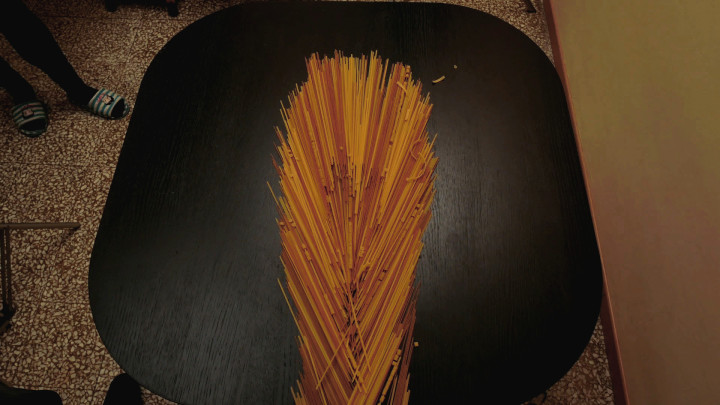
I created the final video clips, and imported the video files into Premiere Pro. We realised that shooting at 25fps wasn’t easy as 1 second of footage for the close-up shots often wasn’t enough – the action was too quick. As such, I “cheated” a little bit and reduced the speed by 70%. Being a stop motion animation, the fluidity of the movements didn’t need to be 100% perfect anyway. Since the table was almost square in shape and the recording format was 16:9, there was some space on the left and right where you could see the floor, which wasn’t very nice. To hide this, we created a mask with Photoshop. Finally, we performed a little bit of colour correction, and added some vignetting to merge all the images together.
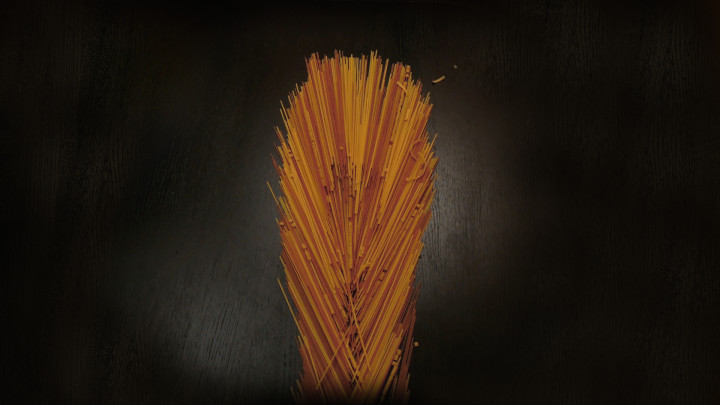
Below you can enjoy the final result! You can also check out Iryna’s project on Behance!
Have you ever experimented with Stop Motion Animation? Share some examples with us!
Thanks!
Very helpfull! Thanks! Love your site.
Thanks Christine 😉
A very enjoyable video.