N.B.: only two images aren’t shot with the GH3 in the video below. There are actually JPGs of paintings inserted into the video (min 1.36 and 2.09).
My first experience with large sensor cameras didn’t start with HDSLRs unlike many of my colleagues in the filmmaking industry. Rather, it began with Micro Four-Thirds and the Panasonic AF101. At the time, it was the only alternative to DSLRs. I still use that camera for my work because it has all the proper features you’d want from a professional camcorder: XLR inputs, ND filters, and so on. But now the AF101’s sensor is old (the same as the GH1), and Panasonic doesn’t seem to be planning any substantial updates for this camera at the moment.
I have always liked working with MFT sensors for video and have never felt the need to upgrade to full-frame. So, when the Panasonic Lumix DMC-GH3 arrived, I was pretty excited to try it and check out all the improvements Panasonic put into this new body, not only in comparison with previous GH models but with the AF101 as well.
However, I didn’t want to test the camera by performing some basic video tests solely from a technical point of view.
So, the idea came to us here at MirrorLessons to shoot a series of short “portrait” documentaries, to have the opportunity to test different aspects of the camera in various situations over time.
In this way, I will be able to review the camera while simultaneously sharing my experience with it in real work situation. So, this isn’t the final review of the camera, but rather the first of many episodes to come. You can also check out the first video we made with the GH3, a quick low light performance test.
Table of Contents
GH3 Main Specs for video
- Type: Digital Single Lens Mirrorless Camera
- Image Sensor Size: 17.3 x 13.0 mm
- Image Sensor Type: Live MOS Sensor
- Lens Mount: Micro Four Thirds mount
- Camera Effective Pixels: 16.05 Megapixels
- Record Motion Image in AVCHD 2.0, MPEG4-AVC (H.264) and (MOV, MP4)
- Record Motion Image in Full HD up to 60p for NTSC and 50p for PAL, up to 72 mbps (ALL-Intra mov only)
- Slow and Fast Motion 40% / 48% / 80% (Records 0.4 times, 0.48 times, 0.8 times slower)
160% / 200% / 300% (Records 1.6 times, 2.0 times, 3.0 times faster) - (1,920 x 1,080, 24p, 24Mbps in MOV, MP4, AVCHD)
- ISO Sensitivity: from 200 to 12800 (expandable to ISO125 and ISO 25600)
- Interface: HDMI mini TypeC, output 4:2:0 8bit signal
- External Microphone Input φ3.5mm
- Headphone Output φ3.5mm
- Internal Stereo Microphone
- Manual input level control
Episode 1: Deborah Rushton – Chaos&Cosmos – Portrait of a Painter
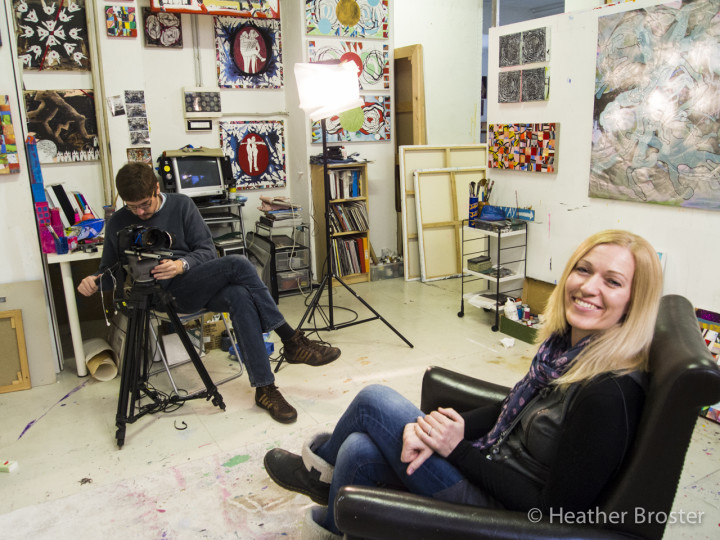
Heather had the chance to meet Deborah a few years ago. When she introduced her to me, I saw a great opportunity to test the GH3 for two of its most important aspects, colour reproduction and audio. And what better way to test colour reproduction than by filming a painter in her studio?
Setting the Camera: Lenses and Accessories
I always use Nikkor lenses with my AF101. I have a set of old Nikon generation lenses, made when film was still predominant. I love them because they have an aperture ring and because they have a nice filmic look, with less contrast and saturation than modern optics.
For Deborah, I used the AF-D 85mm f/1.4 for close-ups. It is a fantastic lens for portraits as the bokeh it gives you is really creamy and soft. For the others shots, I used the Voigtlander Nokton 25mm f/0.95. A good friend of mine lended me the lens for a couple of days, and I seized the opportunity to try it for video after doing the same thing for our portrait session with the Olympus OM-D E-M5. It is a lens that works better for video than for photos, in my opinion. This is because video has less resolution, meaning you can use the lens at f/1.4 or f/2 with less worries about sharpness.
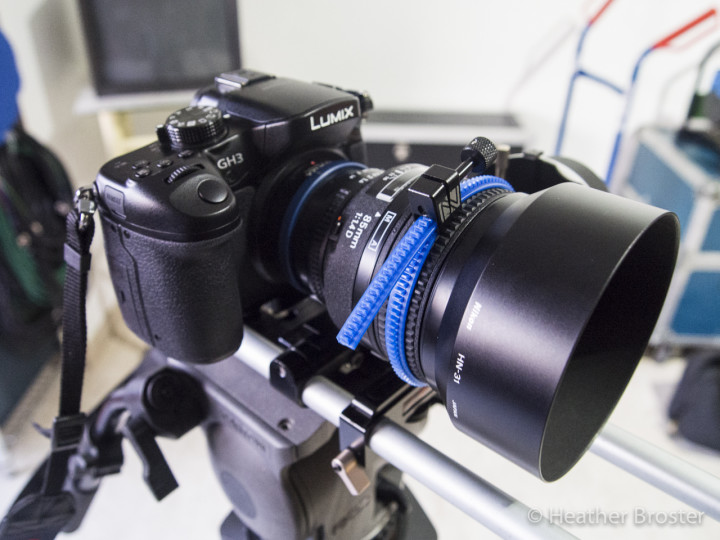
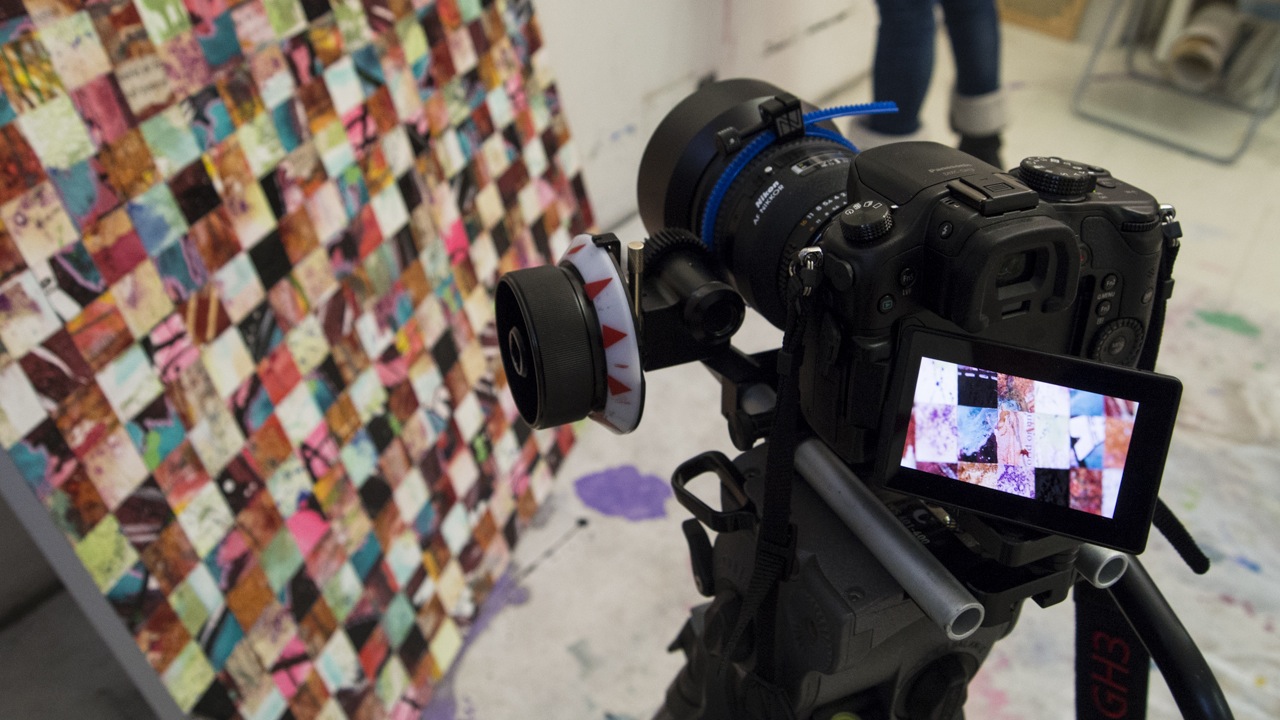
To properly set up a DSLR for video is always tricky. You will need a sturdy base support, proper rods, and a good follow focus. In this case, I opted for the ones I use with the AF101, which are:
- Chrosziel lightweight support DSLR
- 300mm rods
- Genus follow focus
- Novolfex MFT to F mount adapter
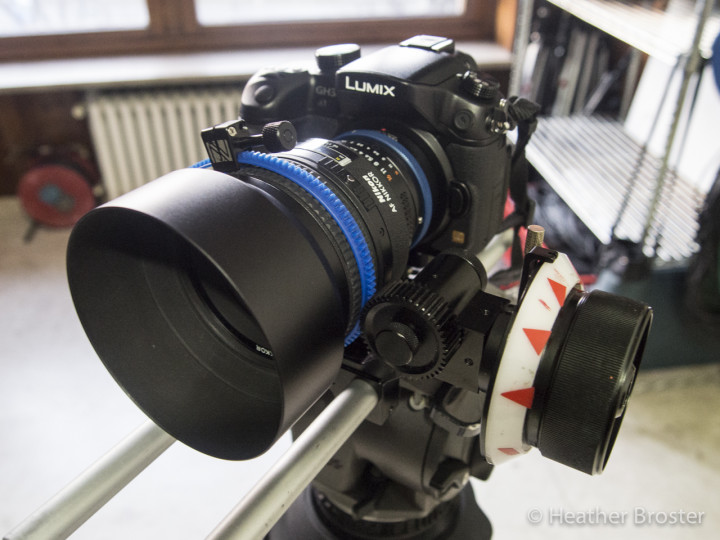
With this configuration, the lens is a little bit too close to the rods. It didn’t bother me because both the 85mm and the 25mm aren’t fat lenses, but with my Nikkor 28-70mm f/2.8, it would have been more difficult. The AF101 has more vertical space between its base and the lens mount, whereas the GH3, being smaller, has the lens mount very close to the bottom. So, the solution is either to find a base support better suited for this camera or to use the GH3 battery grip that will increase the distance.
I didn’t use a matte box or an external monitor. I wanted to work as little equipment as possible, using only the most indispensable gear. I also wanted to test the LCD monitor of the GH3 and see if it was good enough to use as your referral monitor.
Setting the Camera: Recording format, Picture profile
Panasonic implemented a lot of new functions in the GH3. They really seem to have listened to users and professionals. The GH1 and GH2 became so popular thanks to a hacker who managed to create an alternative firmware version that could bypass the AVCHD codec of the camera and unleash the true potential of the sensor with a 140mps recording format. Panasonic took notes, and gave us three different record modes to choose from. You have now AVCHD, mp4 and mov. Mov can be chosen between 50mbps and the new All-Intra at 72mbps. All-Intra, or intraframe, as opposed to the traditional IPB (interframe), means that the camera compresses each frame individually. Long story short, All-I should give better quality footage and the files should also be easier to edit in your non-linear editing software because the computer doesn’t need to interpolate data between each frame. It should also consume less processor power.
So, of course, ALL-I is the record setting I wanted to test first to see if there was a great difference between it and AVCHD.
As opposed to the AF101, which has customisable scene files with a lot of settings such as black pedestal, color matrix, and so on, the picture profile on the GH3 is more limited and you cannot create, for example, a real “flat” profile. I like to use flat profile with my AF101. In general, I raise the black pedestal to around 10, set the knee to high in order to record the largest dynamic range possible, and then bring back contrast when grading the footage. For me, this is also a way to have the cleanest possible image, as the AF101 can be very noisy even at low ISO, especially in the shadows. But since I couldn’t set this with the GH3, I decided to choose the natural picture profile, leaving the contrast/saturation/sharpness at 0.
Shooting with the GH3 – Image
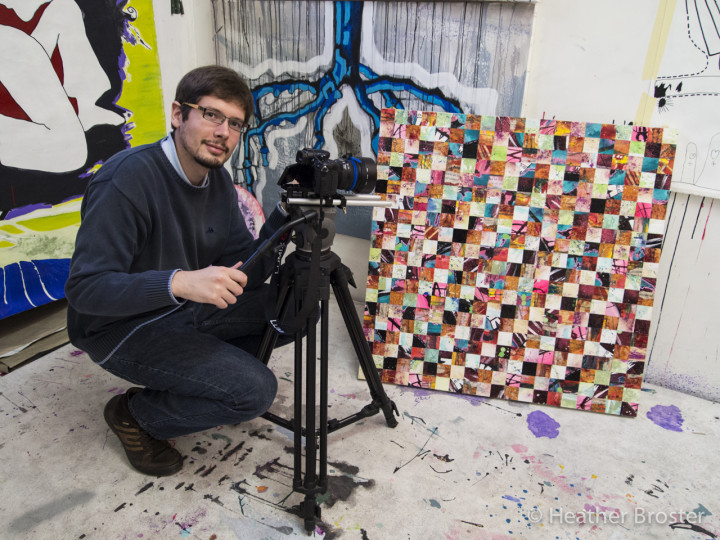
The video of Deborah was shot at ISO minimal (200). I really wanted to see how well the GH3 could reproduce the images, colors and shades of Deborah’s paintings, and how clear and natural they appeared.
For the interview, I limited myself to a small 600W focusing flood light just to make her face stand out more, and that’s it. There was enough light coming in from the window, even if the sun was facing the opposite way. The studio where we were also had some neons lights hanging from the ceiling. With that mix of different light sources, I set the white balance to 4000k. The lens I used had both their aperture set at f/2.
The first thing I noticed is how much the sensibility of this camera has been improved.
The fact that I used fast aperture lenses probably helped, but I always felt comfortable working at 200 ISO without feeling the need to increase it, even when the light from outside started to fade a little as evening approached.
The LCD is very sharp and nice to use. I don’t really like it as in playback mode for photographs, as it doesn’t render really well the high resolution of photos (16mp), but for video it is clear, sharp and the colours are well-reproduced. The only limit is that when you hit the record button, the colour and luminosity of the shot changes slightly, even with the “constant preview” set to on. As such, when you are not recording, the live view isn’t reproducing your image with complete accuracy. If you want to rely solely on the LCD, hit the record button for a few seconds to check your picture before starting to shoot.
Shooting with the GH3 – Sound
For the interview, I used:
- Sennheiser MKE 2 Gold capsule
- Sennheiser Ew100 transmitter
- Sennheiser Ew 500 receiver
The GH3 has a 3.5 jack input, which isn’t our favourite socket for microphones, but, of course, the small body of the GH3 won’t allow for bigger connections such as XLR. Panasonic also introduced a headphone jack, audio meters and manual input level settings, a big improvement from the GH2.
There are a few things about audio recording with the GH3 that you will want to keep in mind:
- Audio meters aren’t as precise as a professional camcorder. I advice that you perform some tests before doing a proper shoot, not only to understand which level to use with your microphone (don’t set it to high) but also to choose a suitable volume to use with your headphones. For this first experiment, I set the input level slightly lower than I should have.
- The mic input only records in stereo. Thus, if you connect a mono microphone such as the one I used, the camera halves the track to the left and right. When I first played back the footage on the computer, I almost had a heart attack: the volume was so low that I could barely hear Deborah’s voice. Then, importing the footage into Premiere Pro, I modified the audio channel from stereo to mono, and Deborah’s voice came back to life. To avoid such nasty surprises, it is better to use an XLR adapter for DSLRs to connect a microphone such as this one. You can find some nice XLR adapters that can be mount at the base of the camera, and provides two XLR inputs with phantom power as well. juicedLink and Beachtek are nice examples.
- The last thing is pretty banal. The headphone port is on the left side of the camera. When you plug it, you cannot orient the LCD screen up when it is flipped to the left.
Editing the Footage and Colour Correction
When I first looked at the footage, despite the audio track, I was positively surprised by the quality of the images. Very sharp, very clean, attractive natural colours, very nice tonal shades, and very good skin tone. The only thing I noticed is that the shadows and particularly the blacks are noisy. This is something that I see in my AF101 as well. I had hoped that the new ALL-I format would have improved that.
Then I read on Emmanuel Pampuri’s blog that a director friend of his, who has used the GH3 for documentaries, wrote that the cleanest format to use isn’t the mov ALL-I but the mov IPB (50mbps). So, I did some very quick homemade tests. Yes it is true that the ALL-I format is noisier, but the difference are minimal in my opinion.
I didn’t perform a huge amount of colour correction – I only adjusted the contrast in some shots of the painting as the blacks were too grey, and the tint in some of the interview shots as there was a little bit of green dominance. This is mostly due to the fact that, as we were holding the interview, light from the outside was decreasing and the artificial lights in the studio were taking precedence.
The ALL-I files were nice and precise to grade, even though the changes I made were minimum. The files are good enough but won’t replace proper 10 bit 4:2:2 footage. It appears to me that you can be a little more precise with ALL-I than with AVCHD, but there isn’t a big difference. The GH3 also has a clean HDMI output but only delivers a 4:2:0 color space and not 4:2:2. To record that signal in an external recorder is a waste of money in my opinion.
Conclusion
 What I like so far about the GH3 for video use:
- great improvement in sensitivity
- very clean image
- nice colour and skin tone reproduction
- ALL-I format is more fluid to work with in editing
- LCD screen is good for both sharpness and colour if you are shooting indoors.
 What I don’t like so far about the GH3 for video use:
- Despite the new sensor and the new ALL-I 72mbps format, there is still noise in the blacks even at lower ISO
- audio meters aren’t very accurate
- regardless of your audio source, it only records in stereo
- you have to adjust the audio input level through the menu
- internal microphone isn’t really usable, you’ll have low electric sounds in your recording throughout.
As you might have guessed, my initial conclusion about the GH3 for video is more than positive.
The limitations it has for audio are common for any DSLR or mirrorless camera. If you are going to use it for a job, my only advice is to take a sound guy with you. He will most likely have all the equipment you need. As for the image, the quality of the GH3 exceeds my expectation. Very clean, very nice colour reproduction and a sensor that seems to have real potential, but I will need more time and experience with the camera to say for sure.
I’d like to take a moment to thank Deborah for her time and for having agreed to do this video with us. I also thank my sound guy and friend/collegue Marco with whom I share my studio, 3DiT Lab.
I hope you enjoyed Deborah’s video, and feel free to leave a comment if you have any experience or questions about the Panasonic Lumix DMC-GH3. And remember, this is only the first episode of many. Stay tuned!
Leave a Reply