Serious photographers who enjoy long exposure and time-lapse photography will most likely list their shutter release remote as one of the most important accessories in their bag. The main purpose of a shutter release remote is to reduce the chance of camera shake produced when your hand touches the shutter button. The less camera shake is generated, the sharper your image will be.
Though it is true that each brand has its own shutter release remote, such as the RM-UC1 for the Olympus series and the RR-90 for the latest Fujifilm models, the functions of these remotes tend to be limited. They will typically mimic the controls of the camera’s built-in shutter button, with a half-press to focus and a full press for exposures. They can also be locked into position for long exposures in bulb mode, but this is where the fun begins and ends.
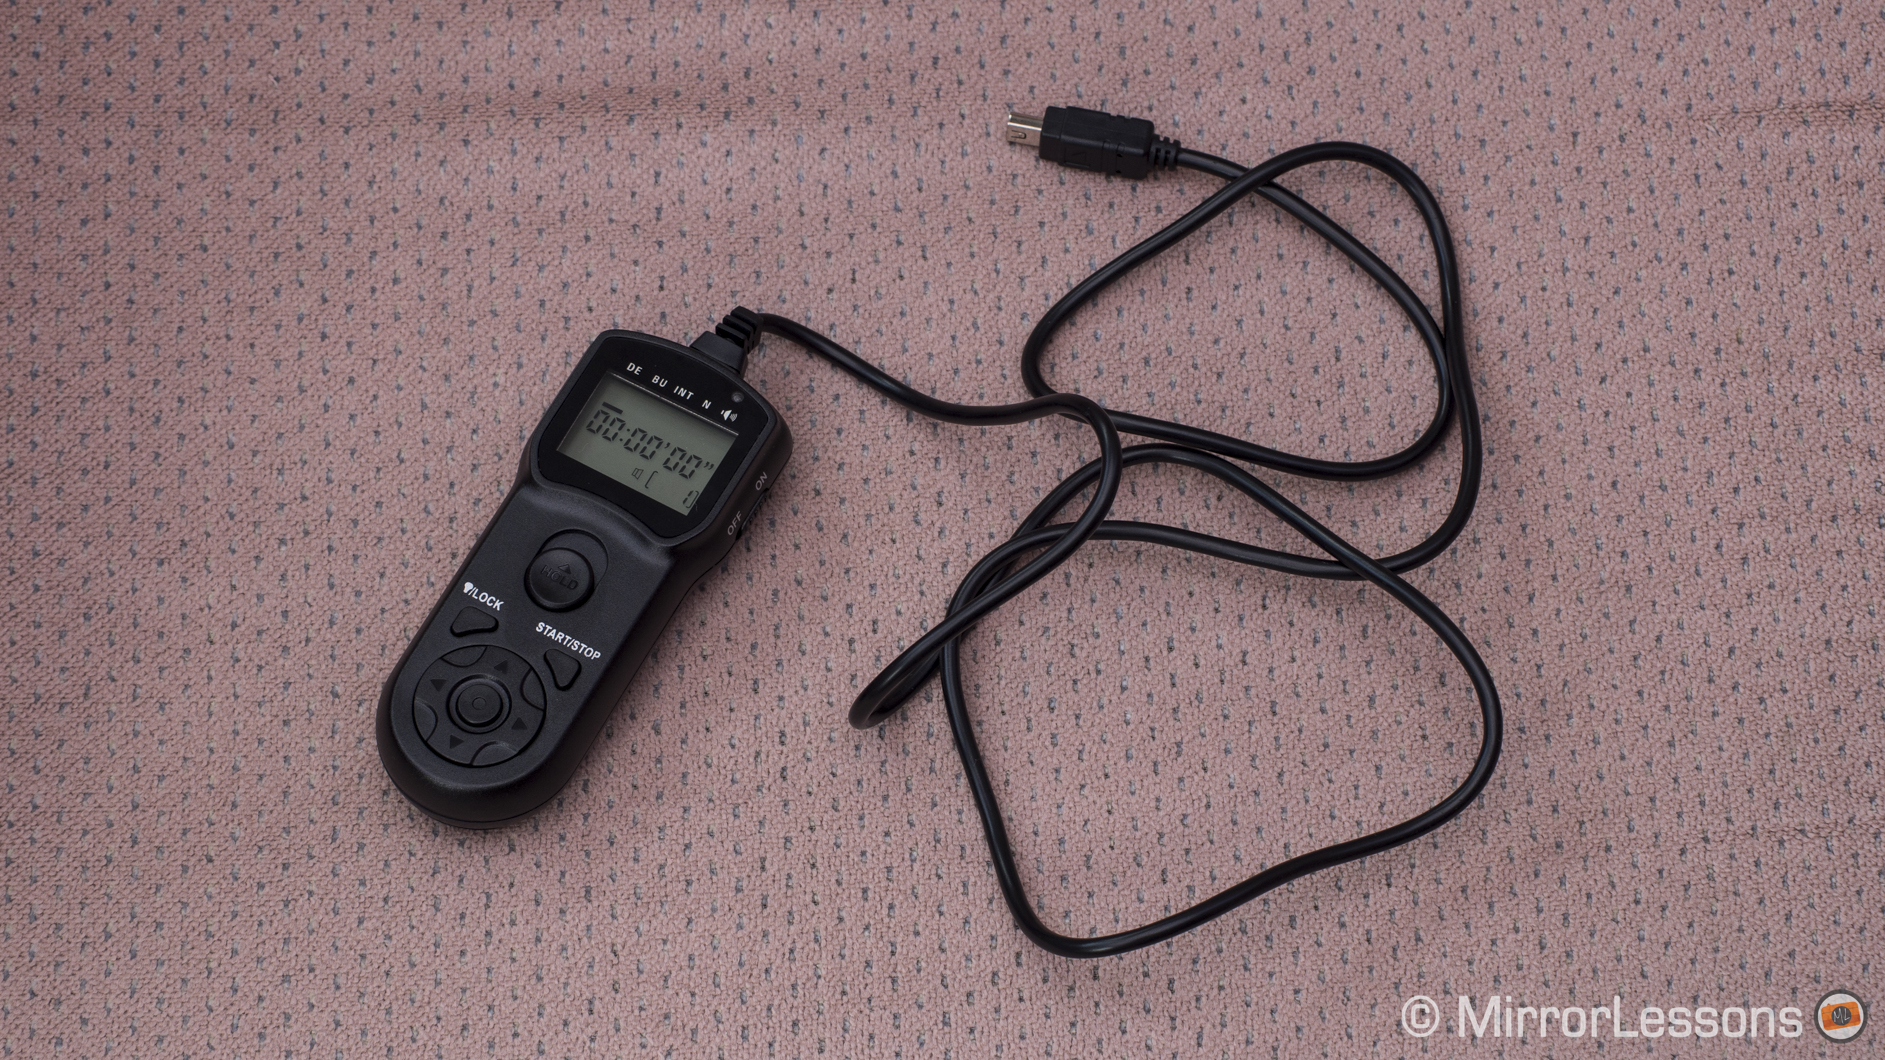
If you are looking for additional functions from your remote, you need look no further than the StudioHut Timer Remote, which we received for testing the other month for our Olympus cameras. In addition to the above-mentioned basic features, you have the advantage of a self timer, exposure count setting and interval timer built right into the remote. In other words, anything concerning the length and frequency of your exposure can be accessed and manipulated from the remote once you have composed your image. All these functions are accessible from an easy-to-use LED control panel that illuminates and a four-way D-pad.
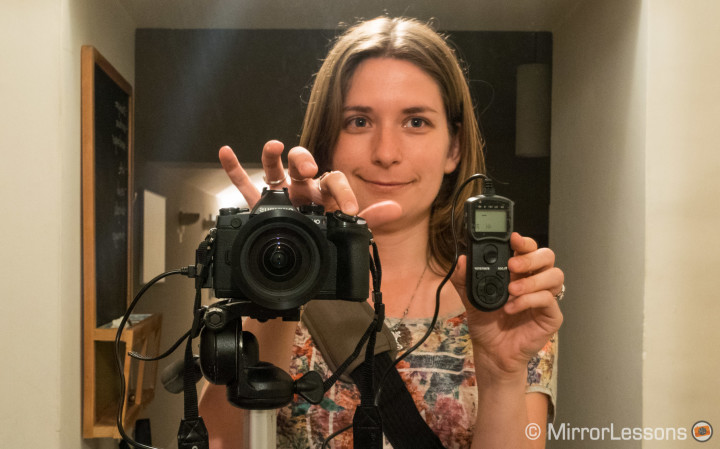
To properly test the StudioHut timer, I decided to create both long exposure images and time-lapses with the E-M1 and E-M10. The former would test the INT (interval timer) and N (number) functions whereas the latter would put the BU (bulb) function to the test.
Time-Lapse with Interval Timer and Numbers
My first goal was to create a couple of very basic time-lapses using the StudioHut shutter remote. To do this, one must go to the INT (interval timer) option and set the number of seconds between each shot. For fast moving subjects like traffic, it is best to use a very short interval such as 1 or 2 seconds. For slower objects like clouds, you could bump the duration up to a 5 or even 10 second interval depending on how “jumpy” you want the final result to be.
In the case of the two time-lapses I performed, I chose a 3 second interval for the view of the river Po in Turin with 250 exposures, and a 1 second interval for the traffic below the Gran Madre church with 250 exposures. My shutter speed was set to 1/5 of a second to add some fluidity to the movement of the people and traffic in the image, and my aperture in between f/8 and f/10 depending on the intensity of the sunlight. Since it was very bright out, I also used the LEE Little Stopper (six stop ND filter).
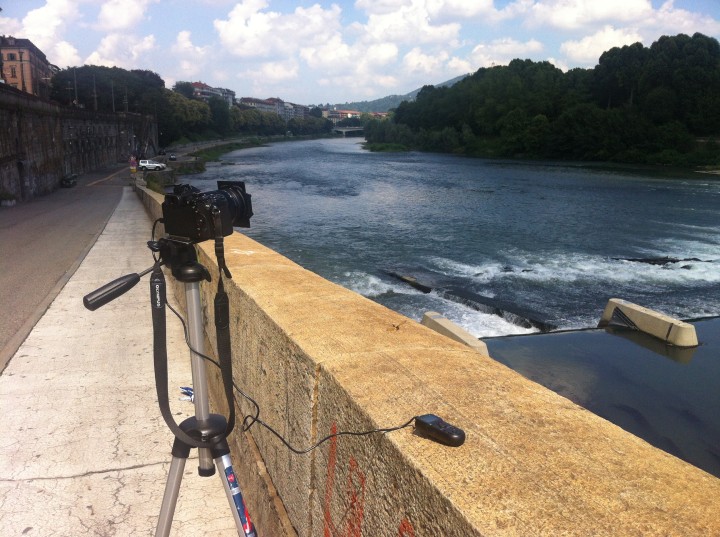
The first thing I noticed when I went to set the StudioHut remote was the limit on the number of exposures I could take. Whereas the E-M1’s built-in time-lapse mode will allow you to take up to 999 exposures, you can only go up to 399 with the remote. Though I never ended up taking a time-lapse with more than 250 images, I do feel that if I were to create a serious time-lapse, I would want the option of more exposures. That said, this small difficulty can be overcome simply by resetting the timer to take 399 more images once it has gone through the first rotation.
Another small gripe I have is the time it takes to select the number of exposures you want with the D-pad arrow. This is especially true if you want a number such as 150 or 200. You either click your way up from 0 or work your way down from 399 to get to the number you want. This is compounded by the fact that the remote forgets its settings if you turn it off to conserve battery life. On the E-M1, on the other hand, you can go directly into each digit column and select a number from 0-9. It is much more quick and efficient.
These small things aside, the timer was easy to set up and use. The cord, at over 3 feet in length, is long enough that you can step back from the camera with the remote in hand and relax your arm. The plug never came loose and the time between each exposure was consistent.
Long Exposures with Bulb
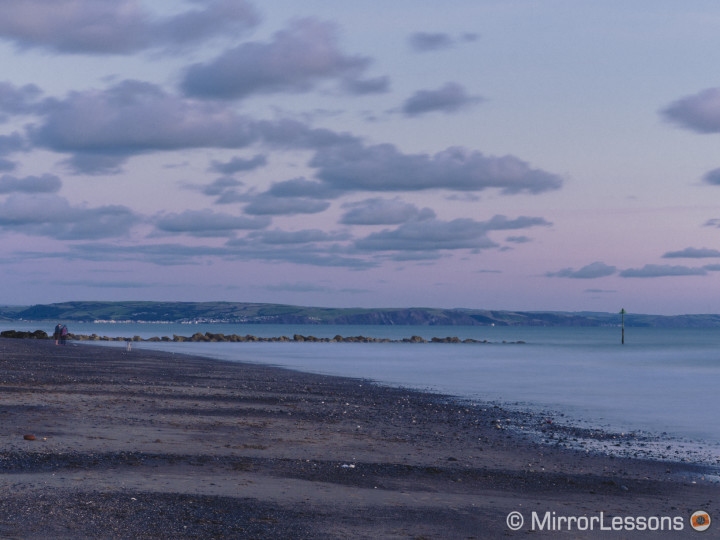
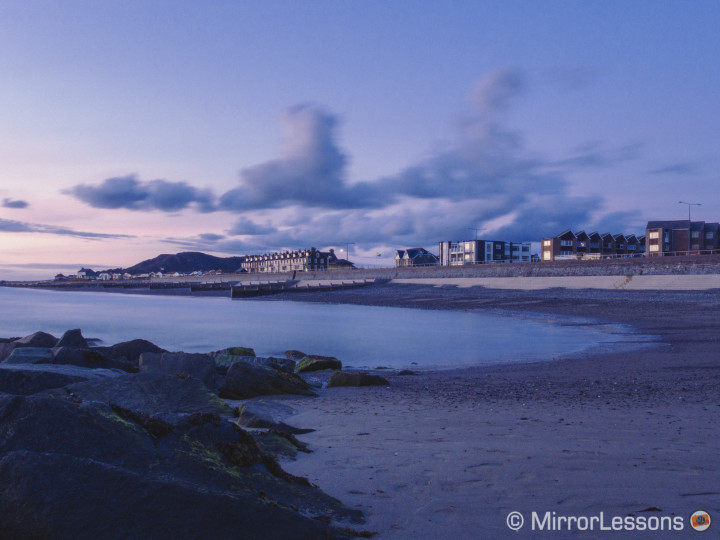
Remote timers can prove very useful for long exposures for two reasons: they allow you to set an exact exposure that lasts longer than the default maximum of 60 seconds on your mirrorless camera, and they make it possible to avoid touching the camera and inducing shake.
Up until 60 seconds, it makes more sense to adjust your settings on-camera as the E-M1/E-M10’s Live Preview will show you exactly what your scene will look like on the LCD screen. However, once you pass the 60 second mark, the camera will shift to BULB mode and cease to give you a preview. This is where the remote timer becomes very useful as it allows you to choose the precise duration of your exposure beyond 60 seconds with a maximum duration of 99 hours, 59 minutes and 59 seconds when in BU (Bulb) mode. It is very unlikely you’ll ever need an exposure of that length, but it is nice to know that the remote gives you complete control over the exposure duration.
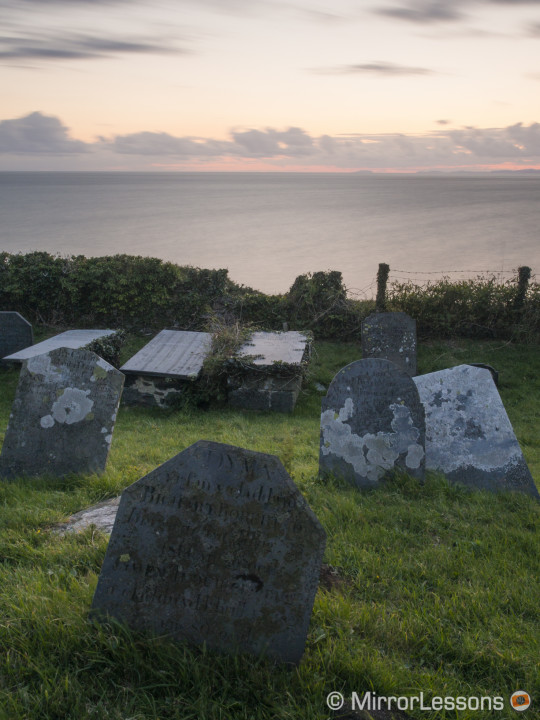
The primary function of a traditional remote timer is to activate the shutter without touching the camera, and this is the function I found the most useful for long exposures. It is simply a matter of setting the camera, and pressing down on the centre button on the remote that says HOLD as if it were the shutter button on your camera.
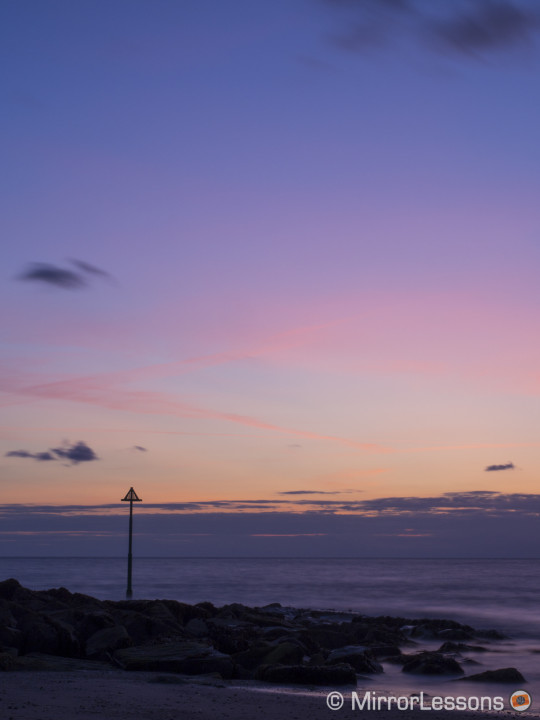
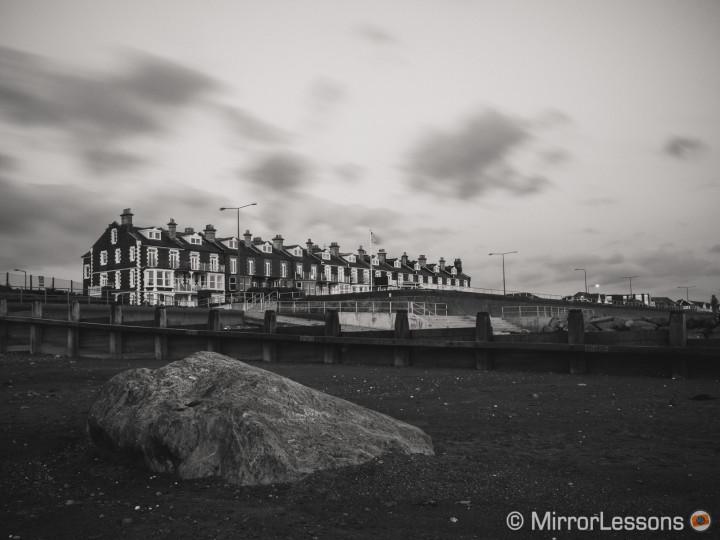
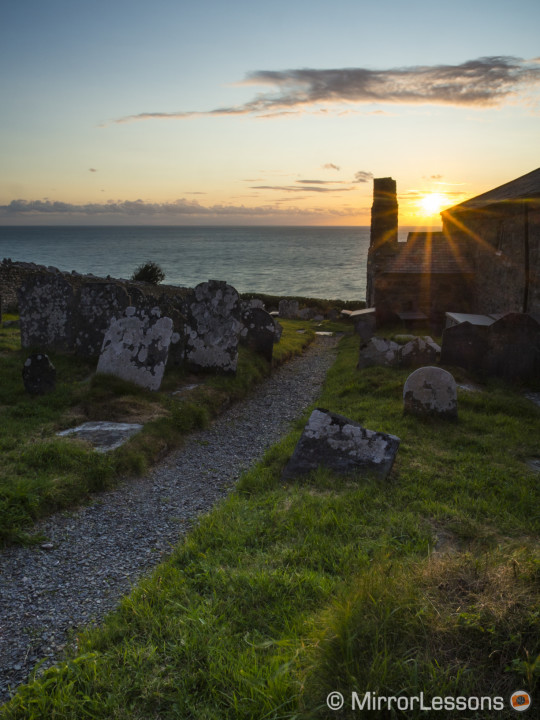
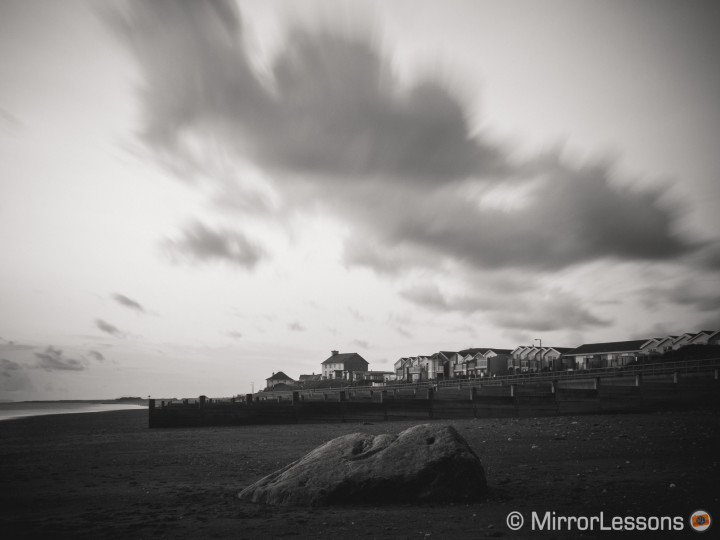
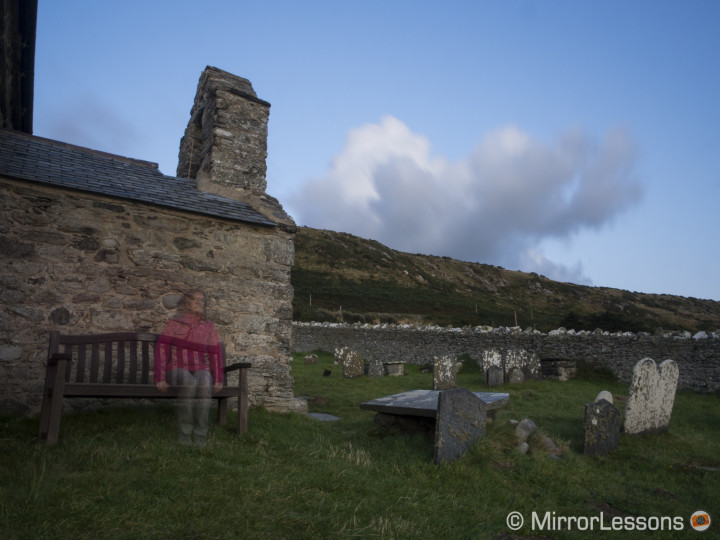
You can also choose to slide the button up and lock it, leaving the shutter open for as long as you desire. For this to work, the camera must be in Bulb mode. The great thing about using this remote with the E-M1 is that the camera will show you how much time has passed on-screen. When you feel that enough time has passed, simply return the button to its default position.
Conclusion
Qualitatively speaking, the StudioHut timer is an excellent tool for producing long exposures and time-lapses. It is far more advanced than the average remote produced by the various camera brands, and has proven reliable out in the field.
However, one point we must bring up, which is completely unrelated to the quality of the product itself, is the overall relevancy of shutter release remotes in this day in age. Many modern day mirrorless cameras such as the OM-D E-M1 and E-M10 are already abundant in features, including built-in time-lapse modes that actually create a time-lapse in-camera, live composite and more, rendering many of the features of the remote redundant.
Not only, but recent smartphone apps such as the OLYMPUS Image Share app already include many wireless settings that control exposure, and these are just the first generation of apps being released.
This said, the battery of your smartphone will run out far before the two AAA batteries used in the remote. The last thing a landscape photographer wants is to find him or herself with a dead phone, so it is far better to have a remote for long excursions, especially if you plan on photographing in a remote area where a phone may become a necessity.
Would I recommend the StudioHut remote to photographers interested in long exposure and time-lapse photography?
Yes, but only if you believe that a remote is an essential part of your workflow. This most likely means that you are an active landscape photographer who often shoots time-lapse videos and very long exposures with multiple ND filters. The truth is that, on a camera like the E-M1 or E-M10, nearly everything the timer does can be done on-camera just as efficiently. The real advantage is for long exposures, where a remote timer will eliminate camera shake caused by human contact, and allow you to set a precise exposure beyond the 60 second limit. Moreover, it has a better battery life than any of today’s smartphones. Since this remote and the official remotes produced by camera brands cost around the same price, it is a good idea to go with the StudioHut timer remote and reap the benefits of the other features it provides.
Leave a Reply