If you’ve read my previous Fujifilm camera reviews, you’ll know that one of my favourite features are the Film Simulation Modes (a.k.a. colour/monochrome profiles). A few years ago, I even wrote a dedicated post about shooting in B&W with the X100s.
So, naturally, the first thing I was curious to try out when I received our Fujifilm X-Pro2 was the new Acros monochrome profile. Like the other Fuji profiles, the name comes from the Acros black and white film produced by Fujifilm.
Black and white is still very popular nowadays. Some photographers choose B&W film while others embrace digital monochrome by applying personal or third party presets to the RAW files (I often use the Rebecca Lily presets). But there are also photographers who like to use the JPGs straight out-of-camera when the results are good enough.
The Fujifilm X series is often praised for the quality of their out-of-camera JPGs. However, having tested many different cameras, I have to say that I find most OOC JPGs good. I agree that some JPG engines require more tweaking of the custom settings to achieve optimal results. Some cameras apply more sharpness, others apply a more aggressive noise reduction and if we start comparing and pixel peeping, we’ll definitely come across some differences. But at the end of the day (and in some cases with a little bit of patience), you can get satisfying results with most cameras and brands.
So for me the real question is: what truly makes an out-of-camera JPG special?

To me the answer is pretty simple: it’s all about the colour and monochrome profiles. Put in other terms, it is about the look that engineers have studied and calibrated for you. There are a couple of reasons I find this important.
First, you don’t always get the same colours or B&W tones if you work with the RAW files. Some RAW developer softwares like Lightroom do include the same profiles you find in-camera for some brands but it doesn’t apply to every single one. Luckily, in the case of Fujifilm, you can find the Film Simulations in Adobe’s software but this might not be the case for other softwares.
Second, it is because I try so many different cameras. For me, it is a way of seeing how much effort the brand has put into creating interesting colours and black and white profiles for its customers. The image profiles represent the colour signature of a particular camera/brand.
Third, I like colour profiles because when you are out there shooting, they are the closest thing to a preview you can have (assessing an image from the rear LCD screen can only be trusted up to a certain degree however). And the truth is that with experience, OOC JPGs can become more than just previews.

I admire (and envy actually) those photographers who rely on JPGs more than anything else (Kevin Mullins is a good example). If you get to that level it means that you trust your camera completely. What you shoot is what you get and you don’t need anything more.
As a former events photographer, I had to rely on OOC JPGs many times so I understand the need for it. But when it comes to my personal photographs, the temptation to post-process the raw files is too great, even if it is just about a few tweaks to the curves, adding saturation or creating a quick mask. However, with monochrome, I often prefer to have an optimal result straight away.
I rarely enjoy spending too much time post-processing my monochrome images. I don’t want to get lost dealing with too many shades of grey or finding the optimal contrast (yes, I am lazy). I also admit I’m rarely satisfied with the results. Once I start getting too involved in heavy post-processing, I always feel there are a few more things I could do and never see the end of it. A solution is to use a preset that I like but at this point, why not try getting it right in camera?
This is where the OOC JPGs come in handy: relying on the profile in-camera can be an excellent problem solver.

Occasionally for my reviews I convert some shots that just look right in B&W but most of the time I prefer to choose prior to taking the pictures. It gives me a goal. You then focus on finding contrast, light and lines that can look great in monochrome. It’s in this case that I also take advantage of the electronic viewfinder that previews my frame in B&W. It’s a nice exercise that I like to do from time to time to restore my trust in the OOC JPGs.
This is exactly what I did last week when Heather and I went to Cardiff in South Wales for a couple of days. Both the road trip and the dynamic city were the perfect opportunity to use the new Acros film simulation mode of the X-Pro2. I shot both RAW and JPG as the former can be of use for my final review later on. For the trip and this article I decided to use just the OOC JPGs. I kept the natural result of the camera most of the time except for a few shots where I applied some slight curve adjustments to the JPG file. All the images were taken with our trusty XF 35mm f/1.4.
What do I think about the new Acros profile?

Well I admit I really like it. I was surprised by the amount of detail and the richness of the various grey tonalities in the images I took. It has a precise style and reflects what I like about black and white: good contrast and lots of detail without any exaggeration that sacrifices the greys and mid-tones. Acros gives a very balanced result but with that extra “je ne sais quoi” I really like. The trip was also interesting because the light wasn’t always optimal. We had lots of rain on the second day so I could really see how the profiles behaved in different light conditions.
Like the other monochrome profiles found on Fuji cameras, Acros includes four different versions:
- Acros
- Acros + Yellow filter
- Acros + Red filter
- Acros + Blue filter
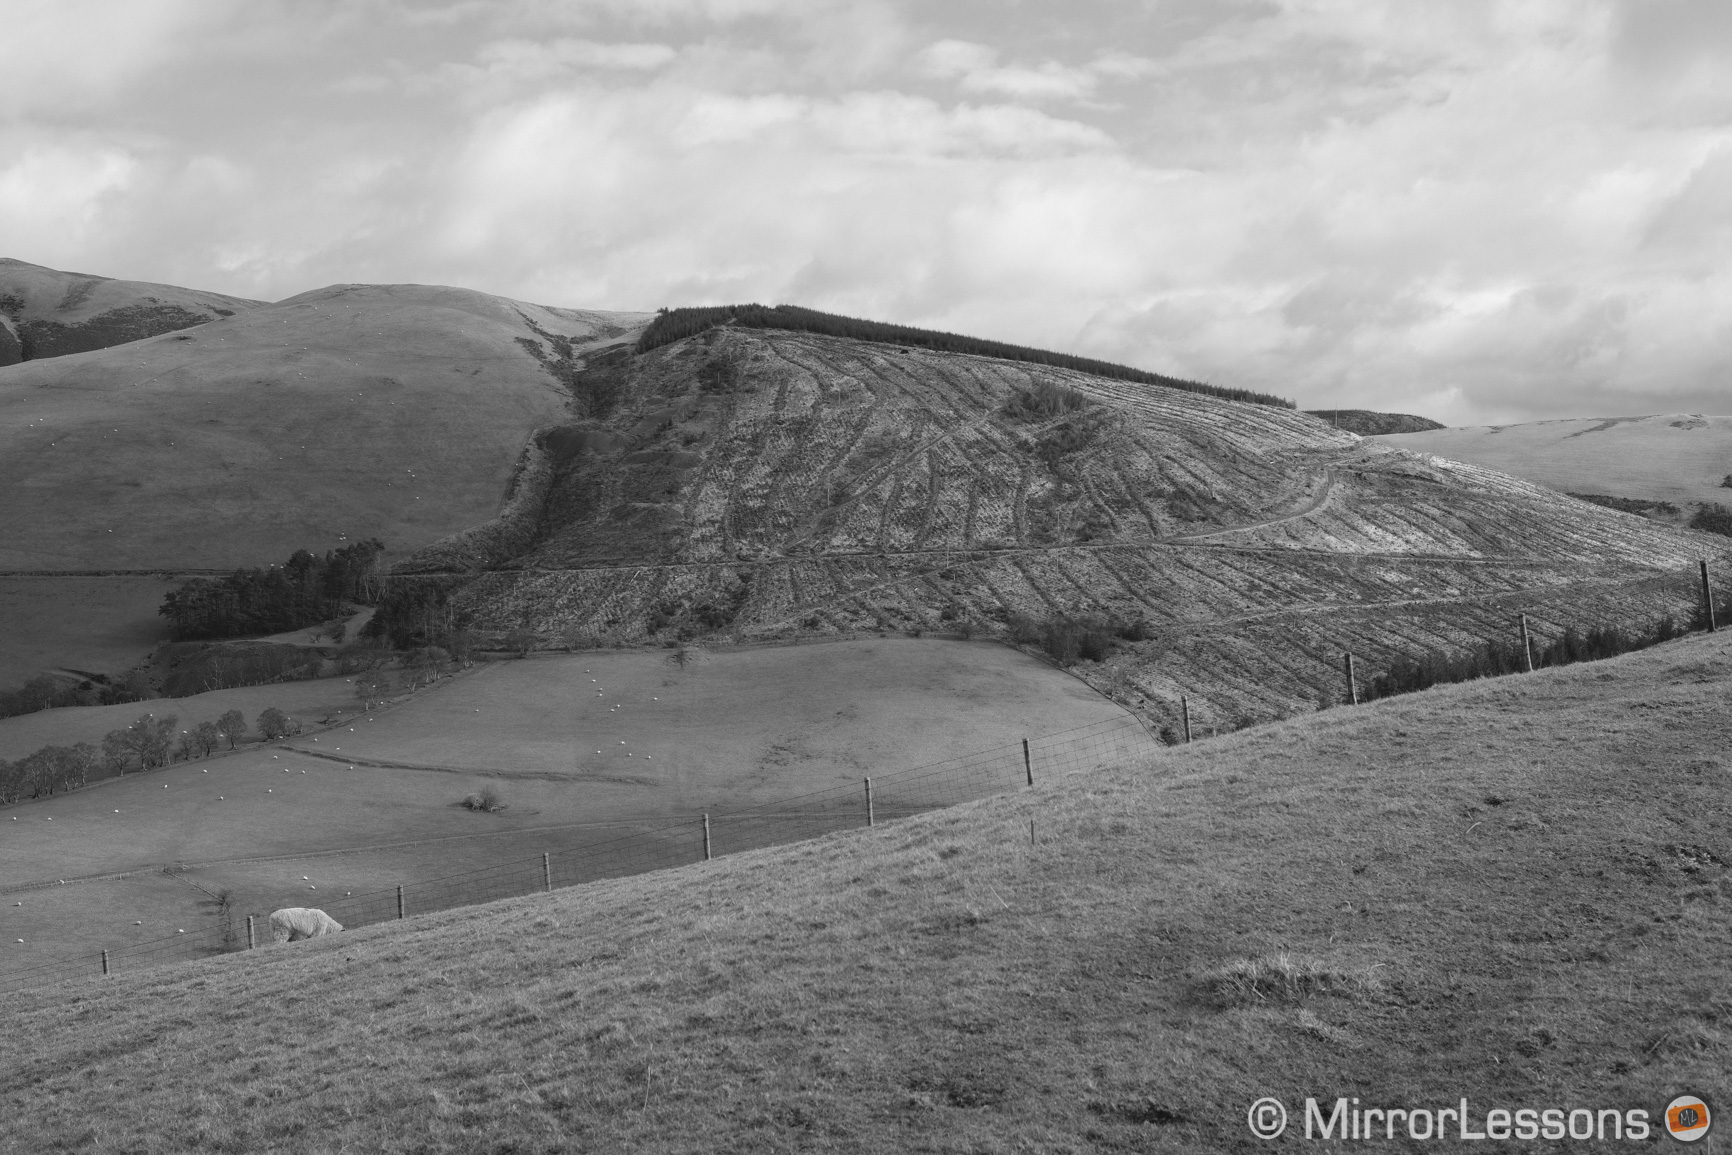
You can see the difference in the first example below featuring a landscape shot. The sun wasn’t too strong and partially shaded by the clouds. You can notice that the Acros+Red version gives more contrast in the sky and to the overall image so it works better in this case.
Note: you can view full res versions of these four images here.


If you look at a second example featuring an environmental portrait (natural light coming from the window on the left), you will notice that the Acros+G version works better for the skin tones, preserving all the details and giving more prominence to Heather’s eyes. The Acros+R or Acros+Ye wash out too many details.


The Acros-Ye filter tends to be my favourite as it gives me the contrast that I like. I use the Red filter if there is a dramatic sky and for landscapes, while I choose the Green filter for portraits. I also tweak the JPG settings with +3 for the shadows and -1 for the highlights for outdoor shooting to get a little more contrast. The nice thing is that all these settings can be saved in the Q-Menu or with the My Menu option.
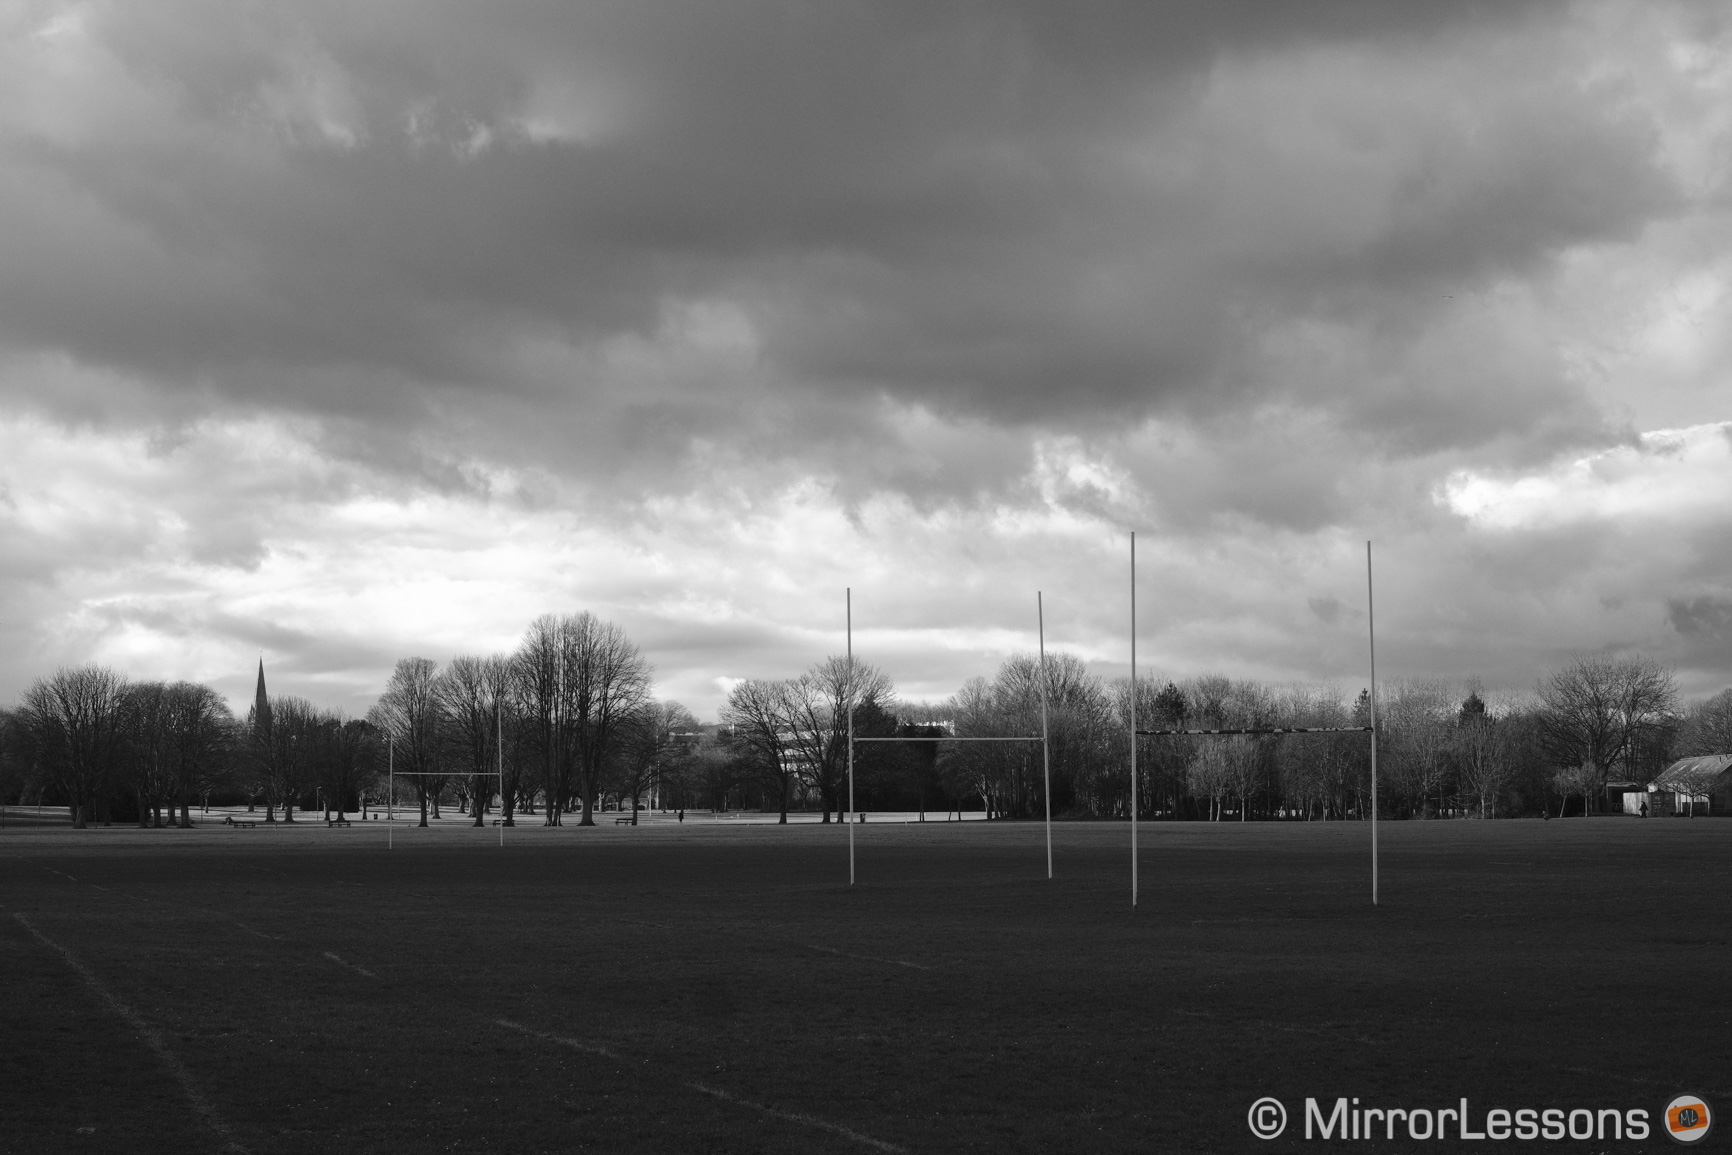
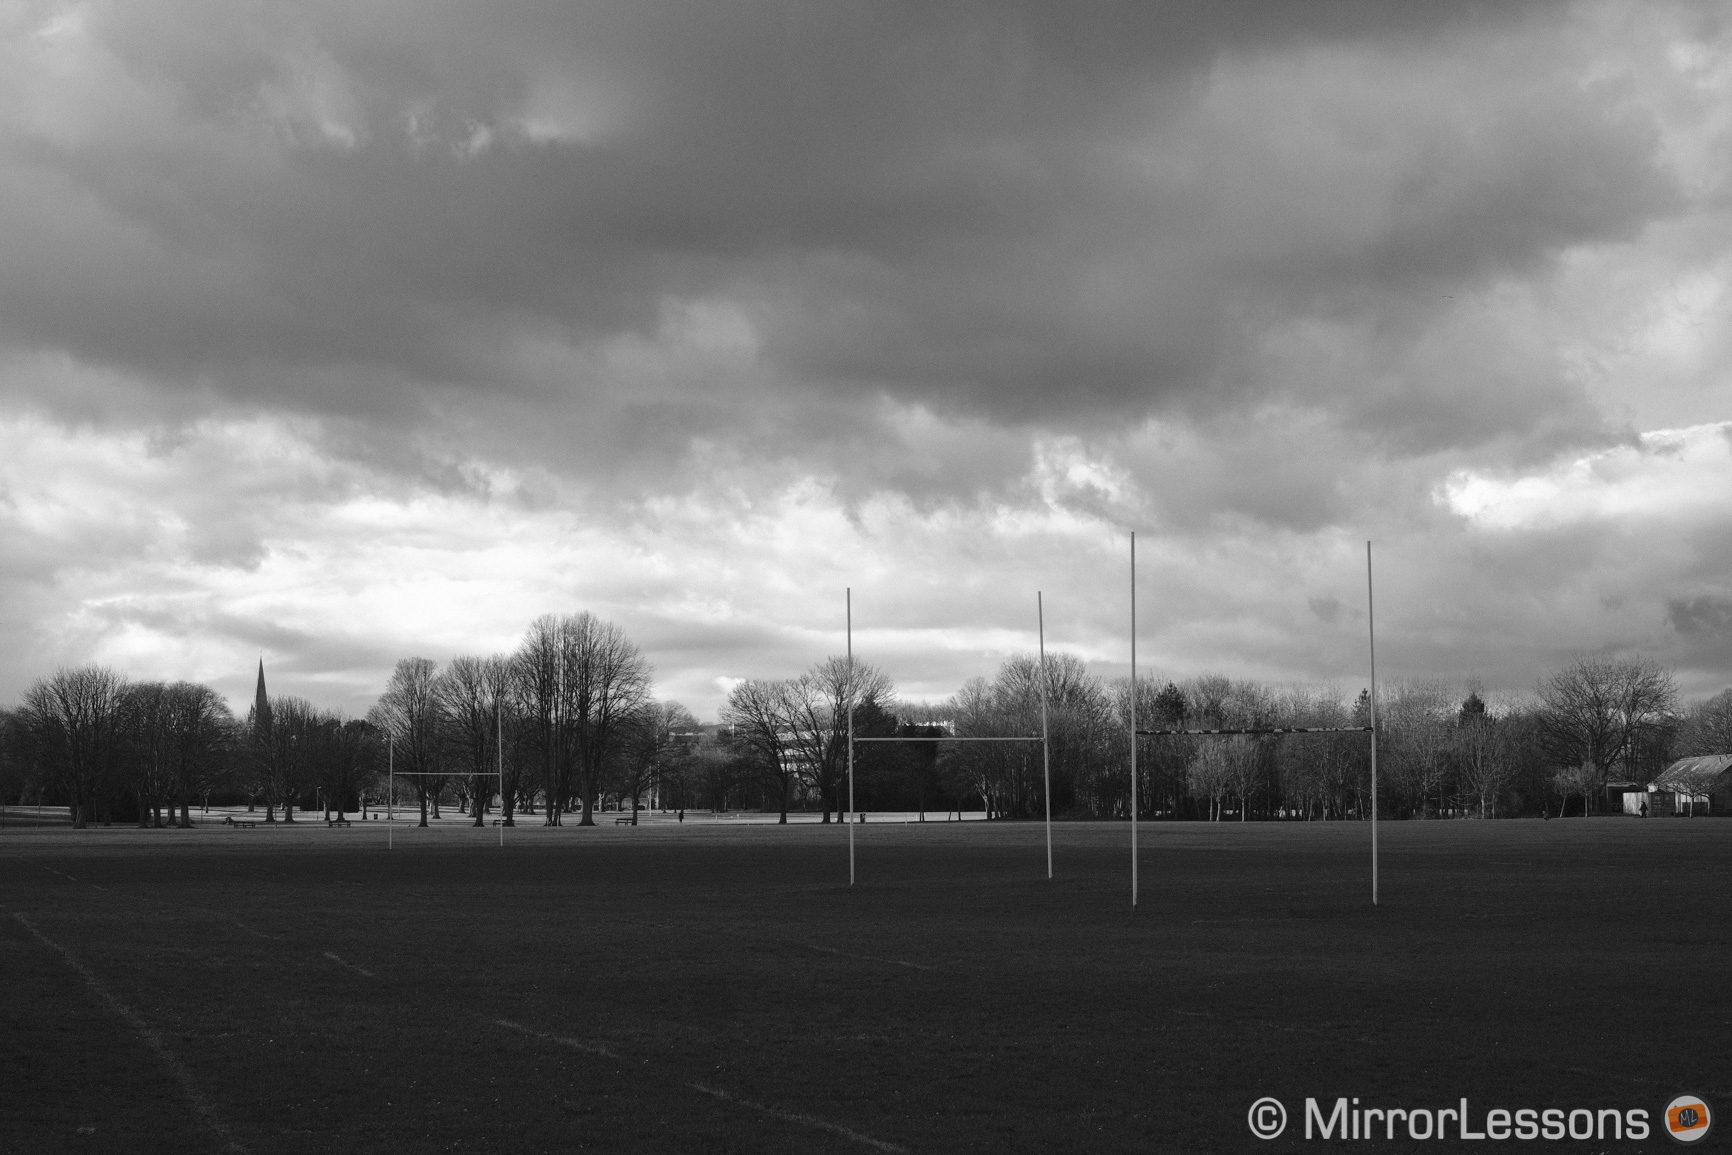
Our road trip to Cardiff always includes a stop in the Brecon Beacons, a mountainous area that always manages to surprise me with its dramatic light. This first shots were already a very good start. You can see the great amount of detail in the frame, the richness of the tones and the good dynamic range.

In Cardiff I also tried out the new Film Grain effect. You can choose between weak and strong according to your taste. I find the strong option a little bit too digital in some situations. I’ve never been a great fan of adding too much noise or emulating film grain. This is why I prefer the weak level that adds just a tiny bit to give your image an organic touch but nothing more.
Note: you can see a high res version of the three images below here.

You can slide between the two images below (100% crops) to see the difference between the weak grain and strong grain effect.
[twentytwenty]


[/twentytwenty]
We arrived the first day at around midday and managed to enjoy some late afternoon sun, knowing that on the second day the weather would be less clement.


The second day as anticipated, we got much cloudier weather and it started to rain in the afternoon. We spent some time in the Arcades and the famous Cardiff market, two places that are always very interesting to photograph.


In the afternoon, the light became very flat and some light rain started. At this point it became difficult to find decent contrast with one exception.

One solution is to sneak into nice churches and cathedrals to capture some low-light architecture and monuments. Acros seems to blend well with the fine grain of the X-Pro2’s high ISO sensitivity.


The truth is that with black and white and digital photography, the possibilities are endless. Whether you are satisfied with the in-camera profiles or prefer to use advanced presets, you will get excellent results in the end. I have no doubt that with the RAW files you can achieve more precise results with more dynamic range and overall better quality since the file is less compressed. That can also be beneficial when printing.
At the same time, the beauty of an OOC JPG is that you get a good result straight away. It doesn’t matter if it is perfect or not, what matters is that it works.
And in the case of this new Acros film mode, I find that it works just fine and that’s all I need. It reproduces what you want to capture without making you worry about how to make it better, and it can certainly save you time in post-production.
You might wonder whether the new Acros profile is very different from the other monochrome profiles found on every Fuji camera. Below you can see an example of the same scene reproduced with different profiles. I used the in-camera RAW conversion to create two JPG files with different film simulation modes. The differences are more subtle than one might think but Acros seems to have lighter blacks and retains more detail in the shadows than the Monochrome profile.
[twentytwenty]


[/twentytwenty]
So once again I applaud Fujifilm for creating another useful image profile. I really liked Classic Chrome when it came out and once again, I am not disappointed. I also look forward to trying the new creative profiles of the Olympus Pen F which could deliver interesting results as well. After all, when the light is perfect, any black and white image can look great. But when the light is more challenging or unpredictable, that’s when you can find a more relevant difference.

Do you like the new Acros film simulation mode? I would love to hear what you think!