I always try to maintain an unbiased approach to all the gear I review. Even when I really like a product, I try not to let my enthusiasm take over completely. In this case, however, I admit I’ve had a hard time following this rule, as part of me simply wants to shout: it’s awesome! Oops, I said it…
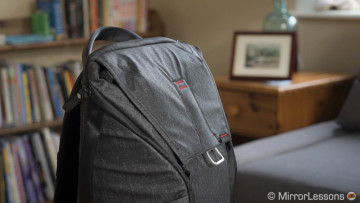
The Everyday Backpack is the best backpack designed for photographers I’ve ever used. Actually, it’s the best backpack I’ve ever used, period.
(Of course I haven’t tried them all, so this statement is confined to my personal experience.)
I love it because it has an original design and is incredibly functional. I love it because it’s extremely resistant and the build quality is top-notch. I love it because during my first week of testing, I kept discovering cool new features. I honestly think it is the most mature product the company has ever created.
So now that I’ve got that out of my system, let’s have an in-depth look at the bag and all its features. I’ve been using the Everyday Backpack for more than a month and I brought it with me everywhere, including several press events, outings in bad weather and other travel adventures.
Table of Contents
Main specs
- Model tested: 20L Charcoal
- Outer Dimensions: 12 X 18 X 21 in. (30 X 46 X 54 cm)
- Weight: 1350g (2.9 lbs.)
- Laptop compartment: up to 15” (15 x 9.75 x 1 in. or 38 x 25 x 2.5 cm)
- Tablet pocket: Max. 14 x 8.5 x 0.4 in. or 33 x 22 x 1 cm
- Materials: Ultralight waxed Kodra synthetic canvas with DWR coating for weatherproofness, poly-spun mixed twill interior, compression-molded high-density EVA foam dividers and protective panels, die-cast and stamped anodized aluminum hardware with sandblasted finish and protective clear coat. Hypalon touchpoints.
Design and build quality
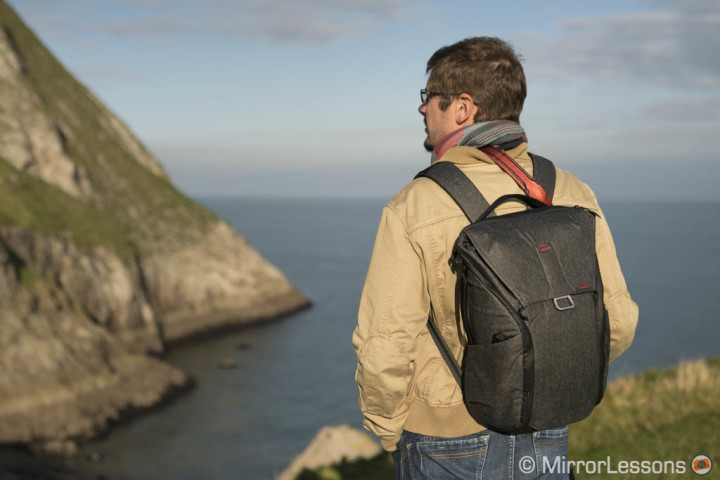
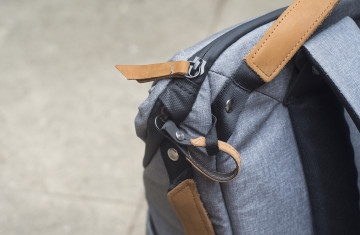
The Everyday Backpack features the same build quality of the Everyday Messenger bag we reviewed last year. It is available in two colours – Ash and Charcoal. In addition to the grey colour variation, the two versions have different materials for the touchpoints, zippers and handles (hypalon for the charcoal version, leather for the ash version).
The backpack is completely weatherproof: unlike other camera bags, a rain cover isn’t supplied with it because there is no need. The materials are 100% water repellent. All the zippers are weatherproof as well. I’ve carried it more than once in light or heavy rain and I never saw a tiny drop of water get inside.
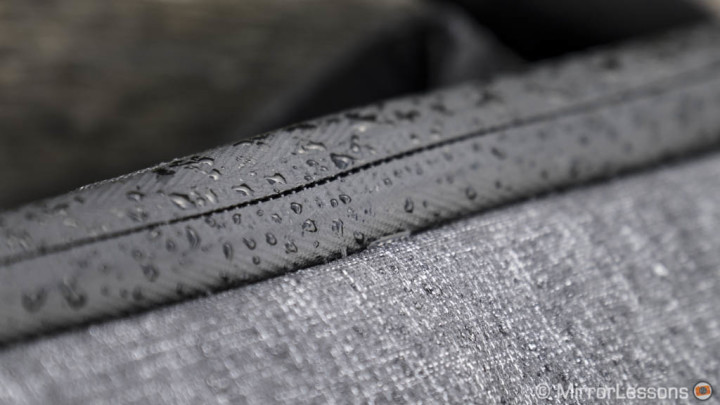
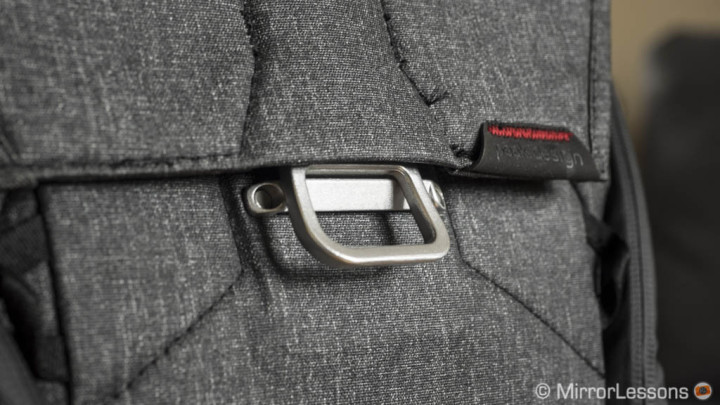
The attention to detail and the solid build quality can be appreciated no matter where you look: the anodised aluminum hardware feels solid and robust, the zippers are strong and smooth, and the soft mixed-cotton twill for the interiors has a nice feel. On my sample, I noticed that some stitching started to come off on the front panel but I wouldn’t worry about it: Peak Design specifically explained that the bag we received is a prototype assembled and stitched by hand so a few imperfections were to be expected.
The backpack is not heavy and is very comfortable to wear.
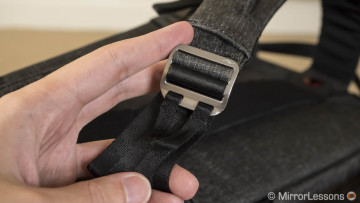
I never felt pain in my shoulders even when it was fully packed. This is thanks to the comfortable shoulder straps and the axial connection point that adjusts easily to your body. The shoulder straps can be easily adjusted as well, even while carrying the backpack.
Alternatively you can use one of three handles that allow you to carry the bag from the top or one of the two sides.
The bag comes in two sizes: 20L and 30L. The former can house a 15” laptop while the second can hold a 17” computer. Choosing the right size for me is not just a matter of laptops, however. Even if you have a 15” one, you may prefer the 30L if you are the kind of person who likes to pack lots of stuff and wants room for last-minute things. The 20L I used is fine for my needs because I tend to be selective about what I bring and leave at home. However when my 20L backpack is fully loaded, some pockets become tight including the laptop compartment so it can be harder to squeeze extra items inside, such as a tablet. You eventually get it inside but it’s not a smooth experience.
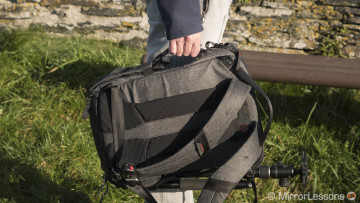
The backpack is carry-on approved by all major airlines and can easily fit under an airplane seat. You will also find luggage sleeves on the rear to attach the backpack to a rolling bag.
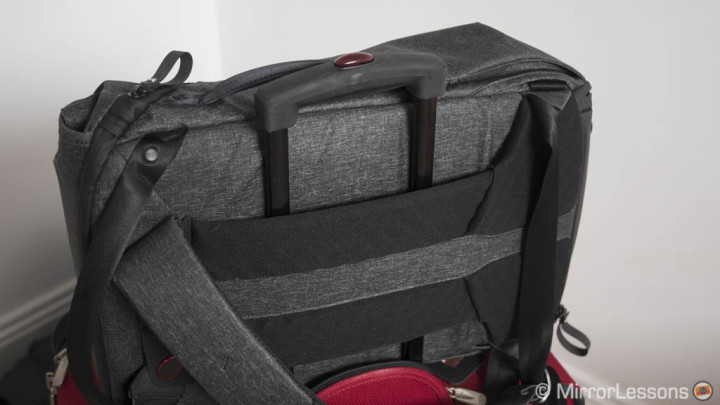
Finally, an aspect I love is that the bag can stand by itself. The Everyday Backpack doesn’t disappoint even when fully loaded.
Ease of use: internal compartments and pockets
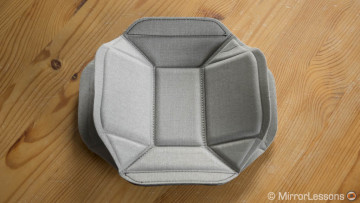
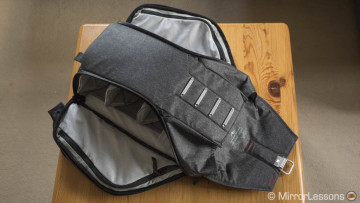
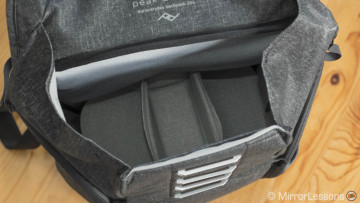
The main compartment of the bag is a single space that can be divided in multiple ones thanks to the Flex Fold dividers, which are similar to the ones found on the Messenger Bag. You also have 3-way access to the different subdivisions: from the top, from the left or right side.
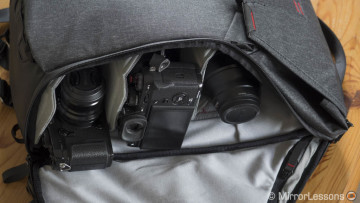
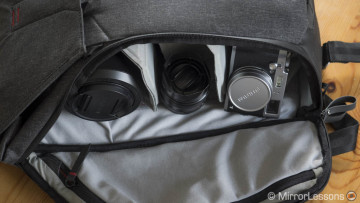
The Flex Fold attaches inside with robust velcro. You get three pieces and each one is made of a double layer. This allows you to fold them in various ways and create two or three compartments for each divider depending on your needs. Below you can see a practical example with one of the configurations I used when carrying some Fujifilm gear recently.
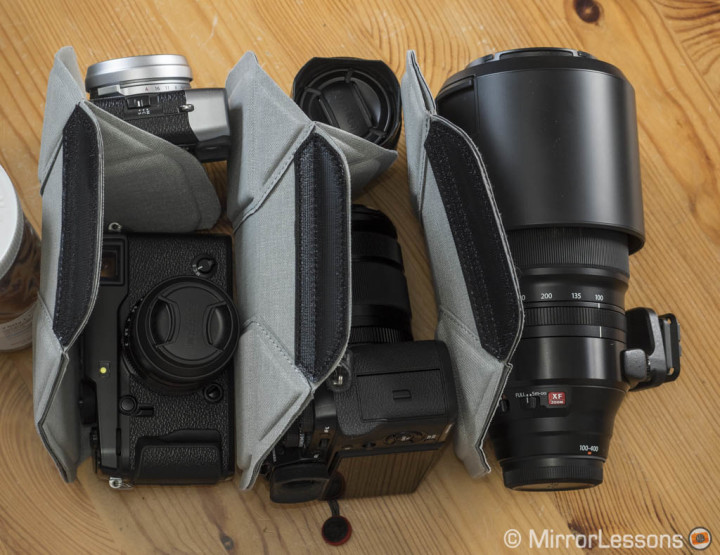
X-Pro2 with 23mm f2, X100T
X-T2 with 18-135mm, 35mm 1.4
XF 100-400mm
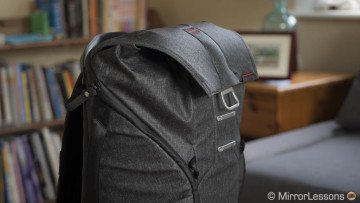
The top of the bag features the MagLatch closure mechanism that can be used in four steps, allowing that part of the bag to expand to house more volume. It is also the largest space once the Flex Fold dividers are placed inside.
Just to give you an idea, when I went to Spain for the Olympus event earlier this month, I managed to squeeze my pyjamas, a spare sweatshirt, a scarf and the essential cleaning items (toothbrush, etc) in that top compartment. All my gear fit below. The backpack is useful not just for carrying photographic equipment but also personal belongings.
Alternatively, the top compartment can be useful for additional gear or large lenses such as the XF 100-400mm.
Inside the top compartment, you will also find a small pocket that closes magnetically and is useful for a passport, some SD cards or similar items.
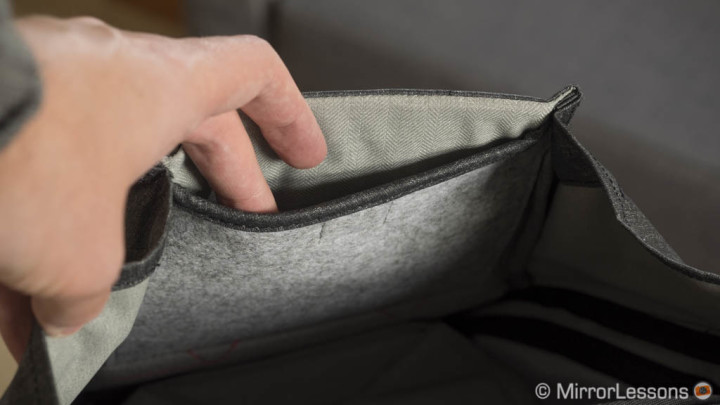
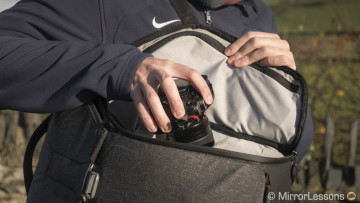
You can access the rest of the gear with the two side openings. This allows you to take your camera out or change a lens while keeping your back on one shoulder.
With these two side openings comes the whole smart concept of Flex Fold dividers. You can unfold one side and get the gear underneath, or bend two of them to have more space to place something else. Everything can be done in a matter of seconds.
I admit that during the first days of use, I was a little bit lost because I had to remember which side to open first to take the gear out.
Once you get used to it and you learn to organise everything, you realise how clever, quick and straight-forward this system is.
If your gear involves a long lens and you want to keep it mounted on the camera for immediate use, you may need to pull out one or two Fold Flex dividers in order to have enough vertical space to insert the combo from the top. Folding all the dividers to one side won’t solve the problem as you won’t have enough leeway to close that panel.
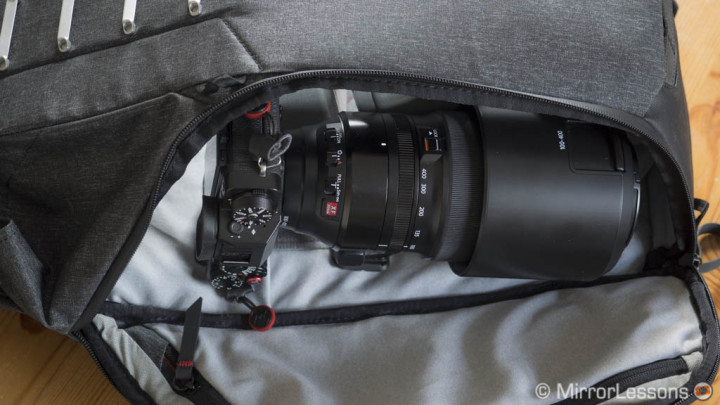
Personally I find best to keep the lens separate from the camera: it will fit horizontally on any level and you will have additional space for other things.
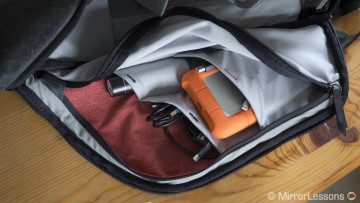
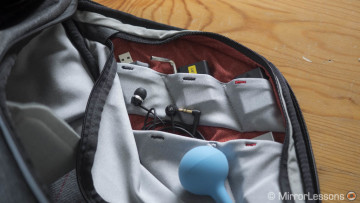
When you open the side compartments you will notice one internal zipper on each side. This allows you to store small accessories and you will find elastic pockets of different sizes depending on your needs.
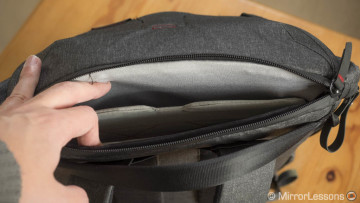
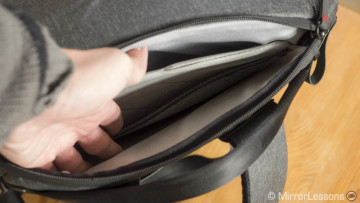
Finally we have the laptop compartment that is composed of three pockets. The main one of course will house your computer while two additional flat pockets can house a tablet (up to 10”) or documents. As I said earlier, this compartment becomes tight when the backpack is fully loaded and it can be more difficult to squeeze stuff inside.
Ease of use: external pockets and features
On the outside, you will find two side pockets that are useful to carry a bottle of water or other things. The pockets can expand depending on what you need to carry.
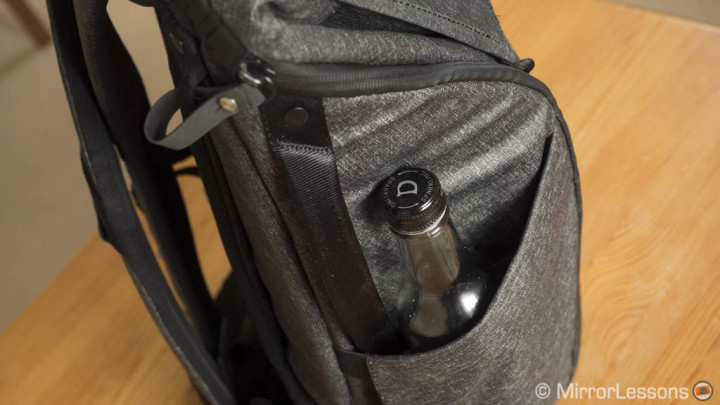
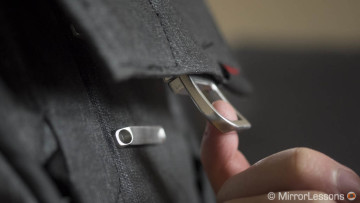
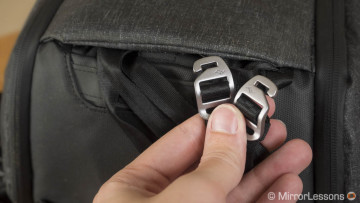
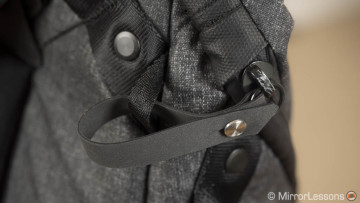
Inside these pockets you will find additional straps. First we have a key tether: a great solution to carry your car or house keys safely via the anchor link.
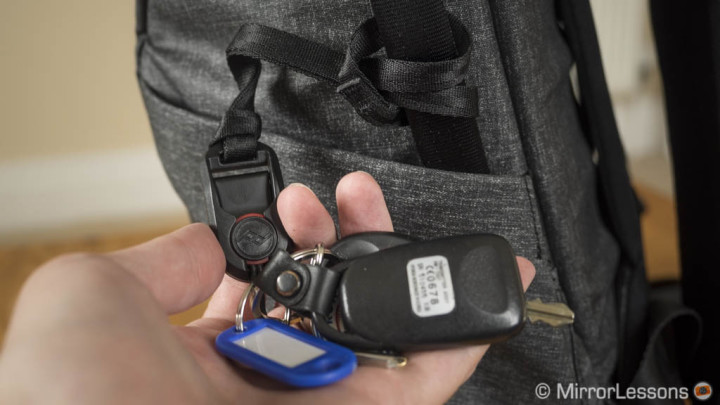
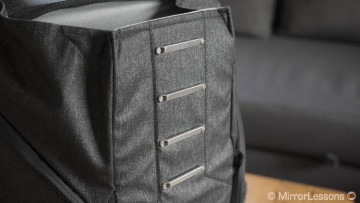
Then we have additional tension straps (6 in total): 4 are found in the side pockets and two are in another pocket located at the bottom front side of the bag. First let’s talk about the straps in the side pockets.
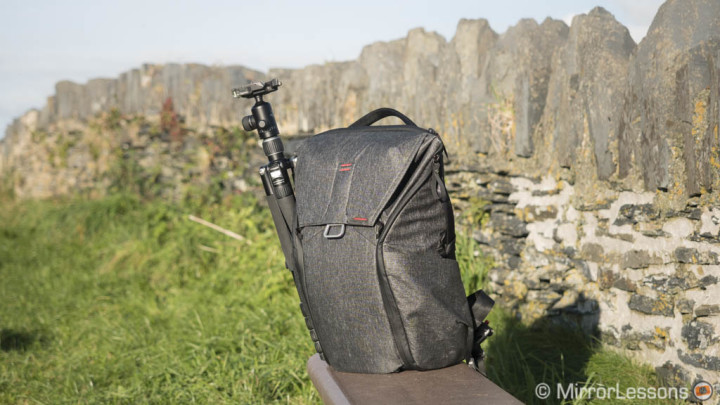
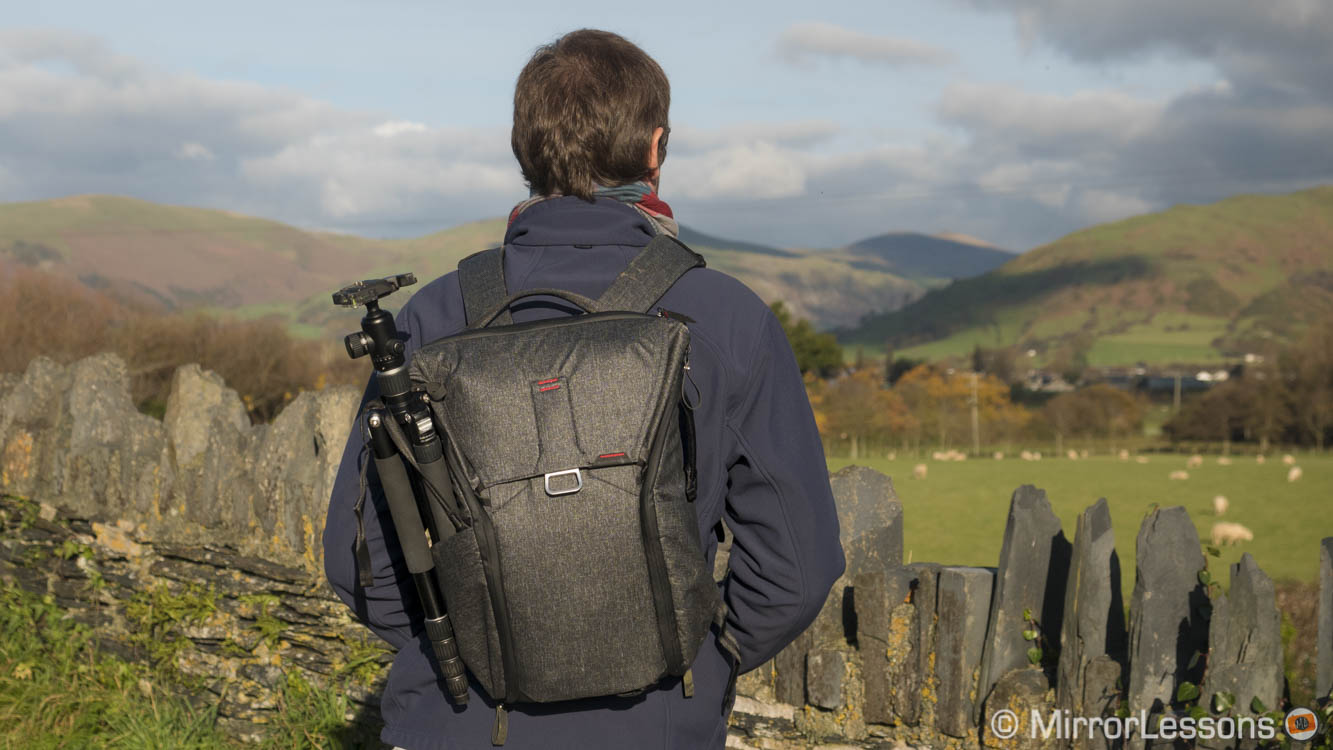
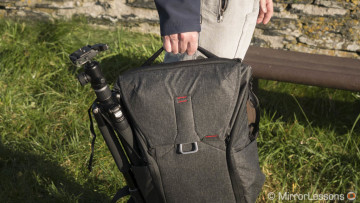
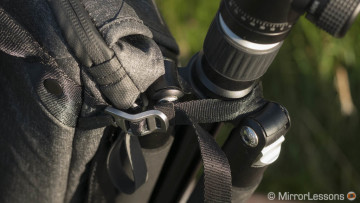
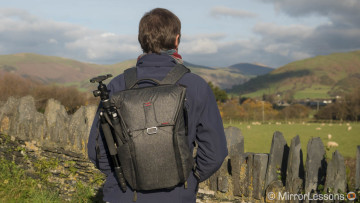
You can use a single one to carry a tripod for example: you place two legs it one of the side pocket and secure it with the tension strap located inside that same pocket. The strap can be attached to one of the many anchor points found on the bag.
If you use the two tension straps found in the side pockets plus the two available in the front bottom pocket, you get a 4-way configurable tension strap system to carry extra items.
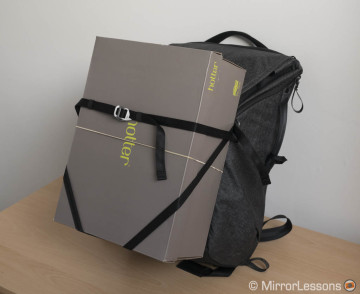
The four straps attach to various anchor points found on the backpack and can be used to carry additional things on the outside of your backpack. Peak Design showed a good example with a drone but you can carry a shopping bag or in my silly example below, even a shoe box! Each strap can be adjusted in length and the 4-way configuration can be adapted to almost any shape.
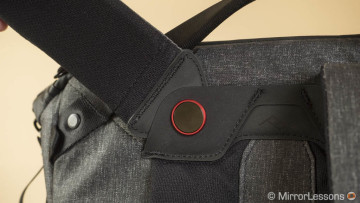
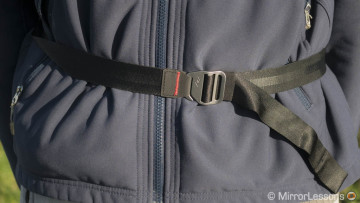
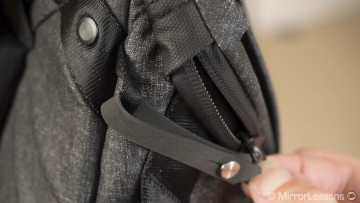
And that’s not all you can find in the two external side pockets. There are also two straps (one on each side) that comprise the waist strap. You access them from two small holes on the rear on each side. Those holes connect directly inside the two side pockets. However I find them difficult to pull out: I had to place the backpack on a bench to do it, as it is almost impossible with the bag on your shoulder. Once out, the waist strap is easy to adjust and provides extra comfort but personally I never felt the need to use it.
With these external pocket and strap combinations comes one of the only real complaints I have about this backpack: I wish that the straps could be stored in a separate pocket instead of the same side pockets where you might insert a bottle or your tripod. Having everything together makes it difficult to access the straps or the key tether without pulling everything out first.
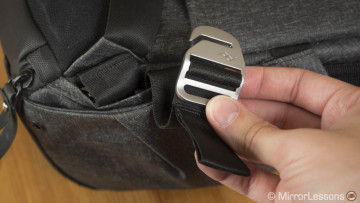
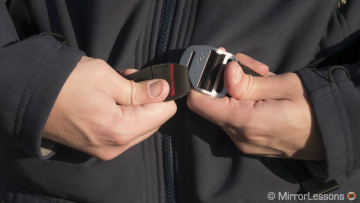
The sternum strap, however, is something I use all the time and here I really like the innovative design. You will find it on one side of the shoulder strap. You just slide one of the two ends and attach it to the other shoulder strap. It is very intuitive and can be a one-handed operation.
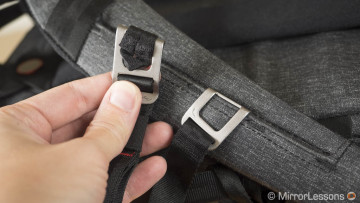
One last thing worth mentioning concerns the zippers for the dual side access. They include a lock mechanism that you can attach to the anchor points found on the rear top and bottom. It’s a way to secure the zippers and prevent them from opening when walking in crowded locations.
Compatible accessories
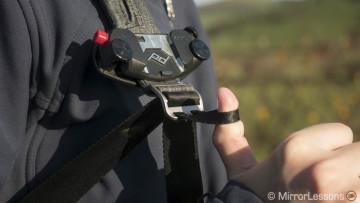
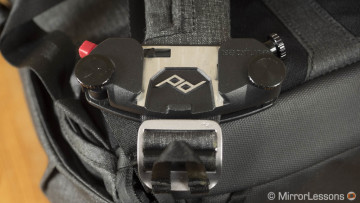
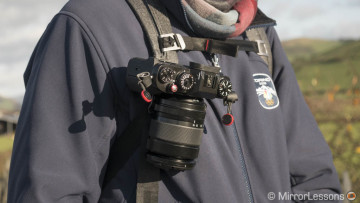
It wouldn’t be a Peak Design product without compatibility with other accessories from the San Francisco based company. I already mentioned the anchor link for your keys but you can also attach the Capture Pro clip.
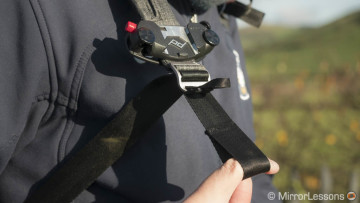
Here comes another small complaint however: I don’t feel that the shoulder straps have a proper space for the Capture Pro. The most convenient place I found is at the very end of the shoulder strap but it is really difficult to put it on and lock because the strap is thick and hard at that point. I wish they could have come up with a better solution to insert the capture pro. That being said, once you manage it, it stays there and is comfortable to use.
How much gear can I carry? A practical example
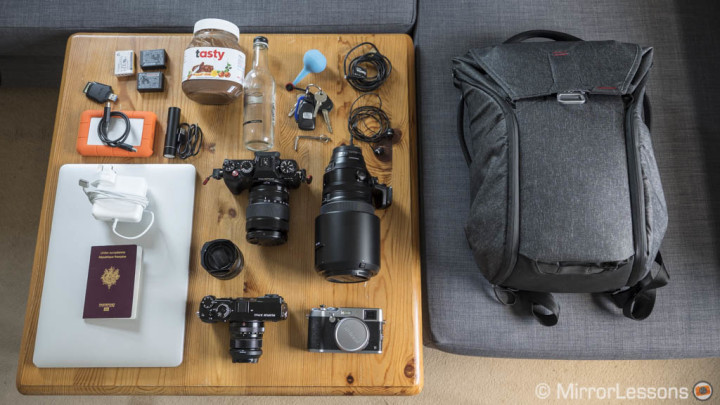
Below is a good example of the amount of gear you can carry inside the Everyday Backpack. This is a configuration I used a lot over the past weeks while finishing my X-T2 review and comparisons.
Top compartment:
- Fujinon XF 100-400mm
- Nutella jar (because it’s tasty!)
- Passport (internal pocket)
Main compartment:
- Fuji X-T2 with 18-135mm attached
- X-Pro2 with 23mm f2 attached
- X100T
- XF 35mm f1.4
Internal side pocket – left:
- Spare batteries (x3)
- Anker USB mobile charger
- SD card reader
- PD Hex key
- Hearphones
Internal side pocket – right:
- Lacie rugged 500GB SSD drive
- USB and thunderbolt cables
- Macbook pro charger
External pockets:
- water bottle
- air pump
- house keys (attached with anchor link)
Conclusion
It is difficult not to shower praise on Peak Design for the original concept, exceptional functionality, impressive robustness, comfort and most of all, internal organisation of the Everyday Backpack.
After several weeks, I did find a few small drawbacks but this is me nitpicking more than anything else. These tiny issues didn’t stop me from loving this backpack: in fact, it has now become my main carrying solution. The name “Everyday” couldn’t have been more appropriate.
 What I like about the Peak Design Everyday Backpack:
- Minimalistic yet elegant and modern
- Strong build quality and weatherproofing (no need for rainproof covers)
- Smart and innovative internal organisation thanks to the Flexfold dividers and 3-way access
- The Maglatch closure system for the top compartment is easy to use and allows you to expand the top for last-minute items
- Good amount of internal and external pockets to store various accessories
- Easy to adjust carrying straps
- Additional straps allow for external carrying such as tripods or other things
- Very comfortable to wear
 To consider:
- The various zippers and the laptop compartment can feel tight when the backpack is fully packed in the case of the 20L version.
 What I don’t like about the Peak Design Everyday Backpack:
- The extra straps found inside the external side pockets can be uncomfortable to pull out if other items have been placed in these pockets already. The waist straps are difficult to pull out regardless.
- the Capture Pro is difficult to place on the shoulder strap.
You may also like:




You will be fine with the 20L, unless you need to pack a lot more stuff.
If you were to order one yourself, would you choose the 20L or 30L? I would most likely have a GH4, a GX8, either the Panasonic or Olympus standard zooms(12-35, 25-100 or 12-40, 40-150), plus the Panasonic 42.5mm f1.2 and a MeFoto tripod
OK…you convinced me!!! I just preordered one and you saved me $25.99! Thanks. It will make a great transport for my new EM1 II and some long Oly lenses. The bag and the camera should be shipping out all at the same time. 🙂
Can you get me 10% off my EM1, too? LOL!
Thanks Bob.
Yes it is expensive but worth every penny in my opinion. It’s one of those backpack I can easily bring with me on a daily basis even when I don’t need to carry a camera (although I admit that’s rarely the case LOL).
Hi Peter, the tripod can unbalance a little but if attached on the side but you can easly adjust the shoulder straps a little to fix that.
You can also attached it on the rear with the 4-ways strap system but I just find more convenient to attached it on the side (much quicker operation).
Nice review and photos (shot with EM1! :-)). I am considering this bag for my MFT kit. I am a fan of Peak Design’s products and own Slides, Slide Lites, Captures, and a Field Pouch. They all bring smiles and functionality. The 20L size seems right for my intentions. What makes me hesitate is the price…which is somewhat extreme…but it is quality all around. Your review call my attention to more nice touches than could be garnered from their website and some downsides..which are minimal…. I wish I had gotten in on the Kickstarter savings…. I was not paying attention when they sent me that email! LOL!
Your enthusiasm is infectious.
Great review Mathieu. Did it feel a bit unbalanced with the tripod in the side? Seems it might get in the way of easy access to the side pocket. I was thinking it would be more balanced and out of the way if the tripod could be attached on the back of the pack rather than the side. Regardless, I will order one. I had wondered about 20L v. 30L. You answered my question. The 20L will be quite adequate. Thanks for the 10% discount code 🙂 !