Since its inception in 2011, Peak Design has had one goal: to help people better transport and handle their creative gear and everyday items. They take ordinary camera accessories such as straps, clips, and bags and make them more intuitive and streamlined, not by recycling old ideas, but by striving to come up with brand new ones.
The latest example is the Everyday Tote, one of four products in Peak Design’s bag series along with the Everyday Messenger (review here), Everyday Backpack (review here), and Everyday Sling. Though it looks like a standard tote bag on the outside, with its parallel handles and unfastened closure, the inside hides intelligently arranged compartments for your camera gear, and a few other surprises too!
Peak Design Everyday Tote Specifications
Outer Dimensions: 40cm (16″) x 34cm (13.5″) x 20cm (8″)
Weight: 1088g (2.4 lbs.)
Capacity: 18 L min to 20 L max
Laptop compartment: 12.5” x 8.65” x 0.75″ (32 x 22 x 2cm)
Materials: Ultralight waxed Kodra synthetic canvas with DWR coating for weatherproofness, poly-spun mixed twill interior, compression-molded high-density EVA foam dividers and protective panels, die-cast and stamped anodized aluminum hardware with sandblasted finish and protective clear coat. Charcoal bags have Hypalon touchpoints, Ash bags have natural leather touchpoints.
[toc heading_levels=”2″]
Design, Build Quality and Ease of Use
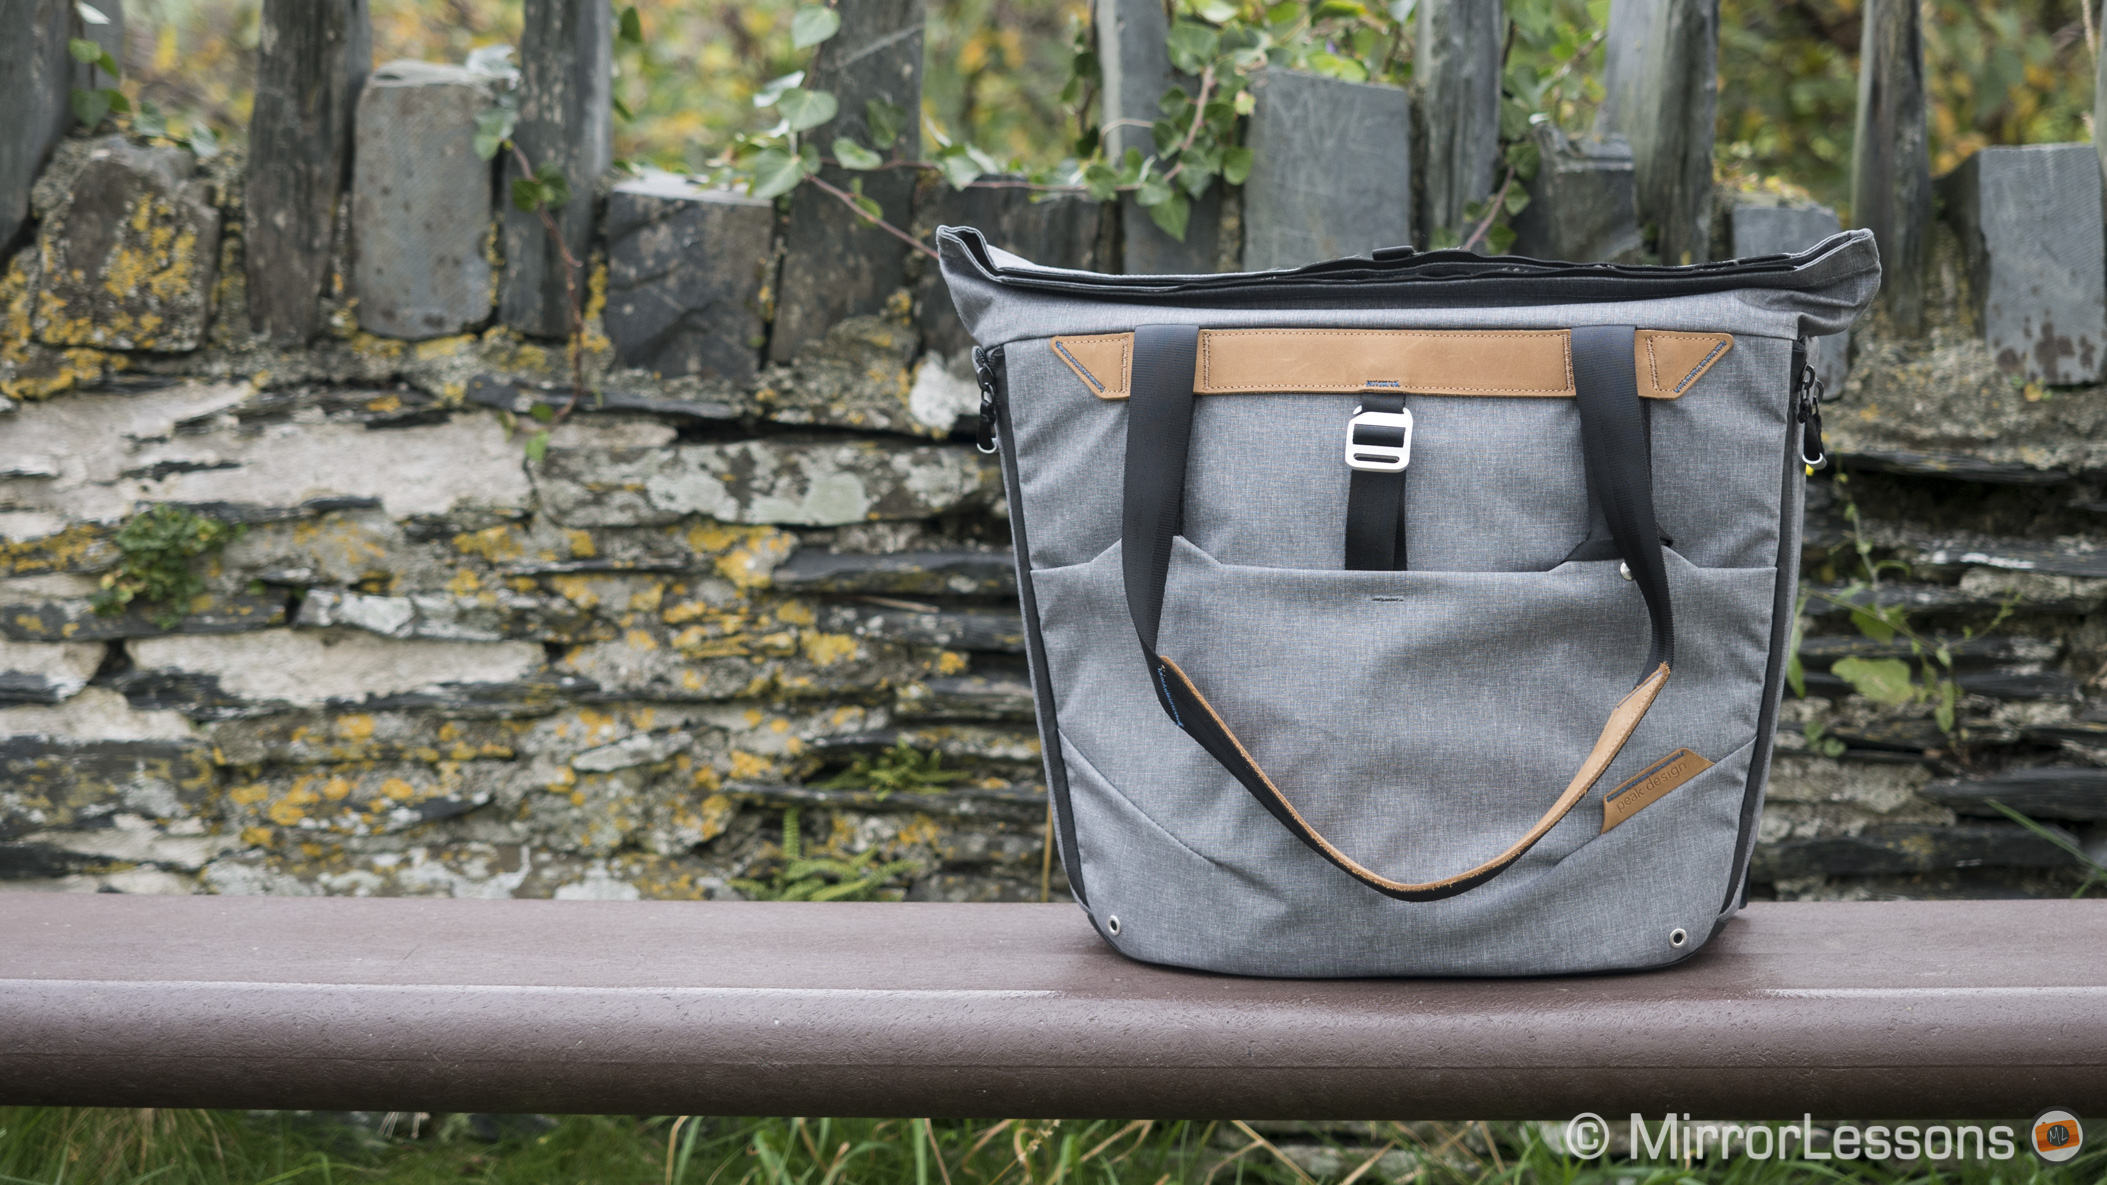
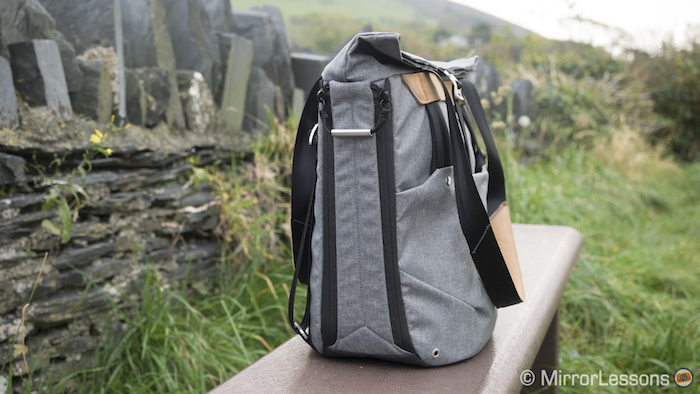
In keeping with the other bags in Peak Design’s range, the Everyday Tote is available in two colour variations – in this case, charcoal and ash. As you can see from the pictures, I received the ash version to test, whose tan leather accents make it a little more conspicuous than the charcoal version and its black leather accents. Their decision to use grey tones for both bags was a good one in my opinion, as dust and stains don’t tend to show.
The body of the bag is constructed from lightweight, dust-and-water proof canvas that keeps your gear safe and dry at all times. I’ve used the bag in all sorts of weather conditions and never had a problem with my gear getting wet.
The canvas is soft enough to feel comfortable against the skin, but robust enough to keep the bag standing upright, even when it isn’t packed to its full capacity.
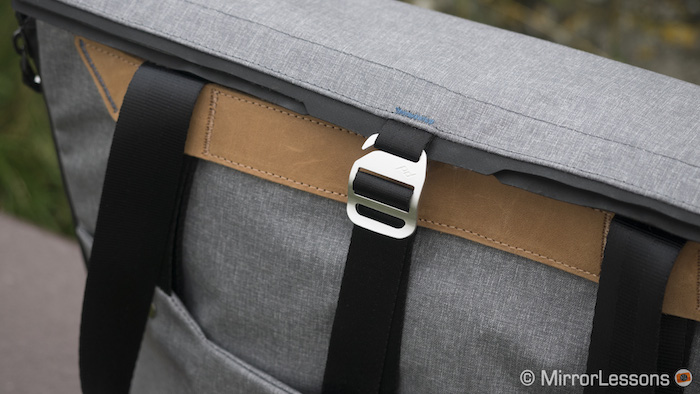
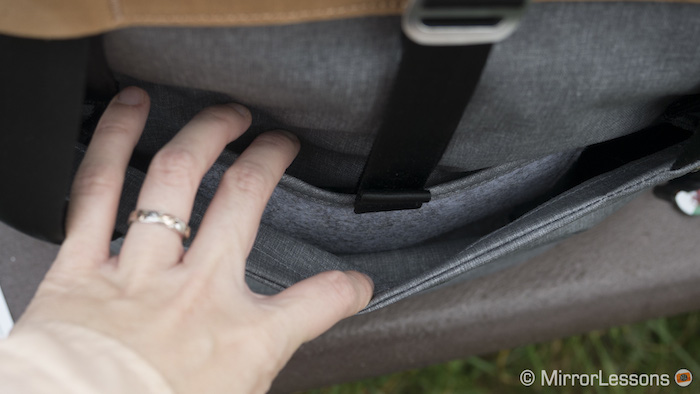
Along the closure of the bag is a reinforced leather strip with an embedded magnetic clasp. This solution makes it easy to rapidly open and close the bag and provides a tight enough closure to stop water from seeping through.
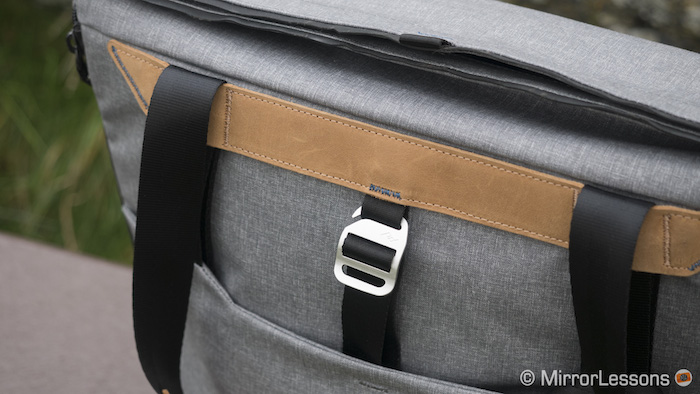
For added security when your bag is fully packed, there is also an adjustable tension strap with a metal clasp that slides through a loop at the closure. In my experience, I’ve found the magnetic closure to be sufficient for most situations but it’s comforting to know that the metal clasp is there if needed.
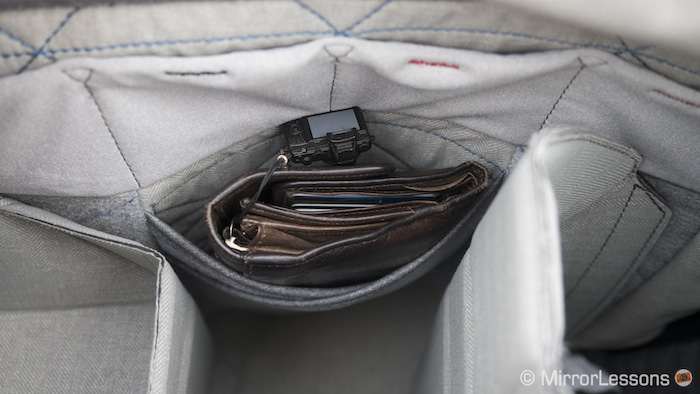
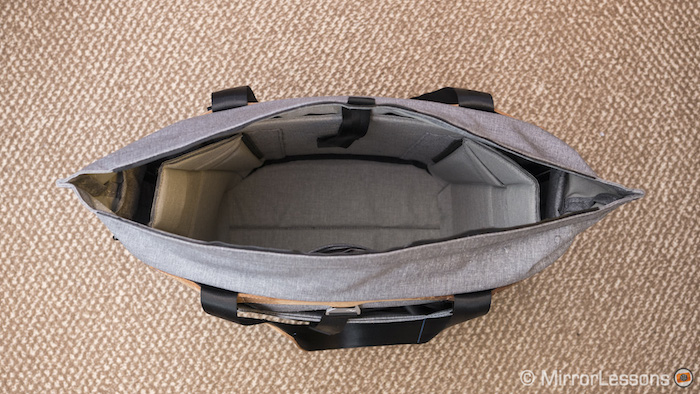
Inside the bag is a cavern of customisable space. On one side, you’ll find two flat pockets for a 15” laptop and a tablet, while on the other, there are four pockets for small items such as memory cards or batteries and a larger pocket underneath which is the perfect size for a wallet or flash unit.
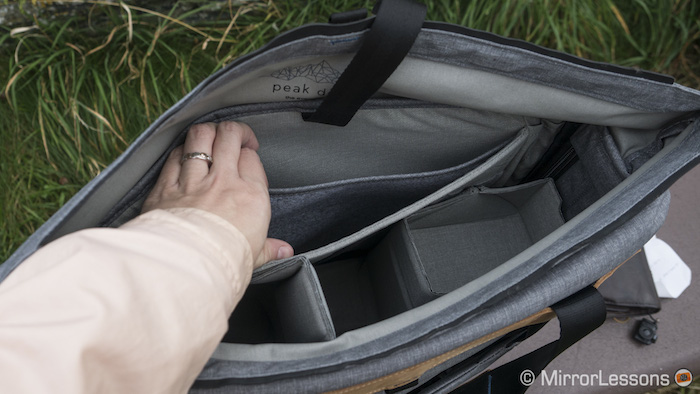
Now we come to the show-stopper: the twin FlexFold dividers that can be folded origami-style to match the size, kind and amount of gear you are carrying.
In their default position, they stand upright, creating three similarly-sized compartments that can easily house mirrorless camera bodies, lenses, water bottles, or anything else of a similar size.
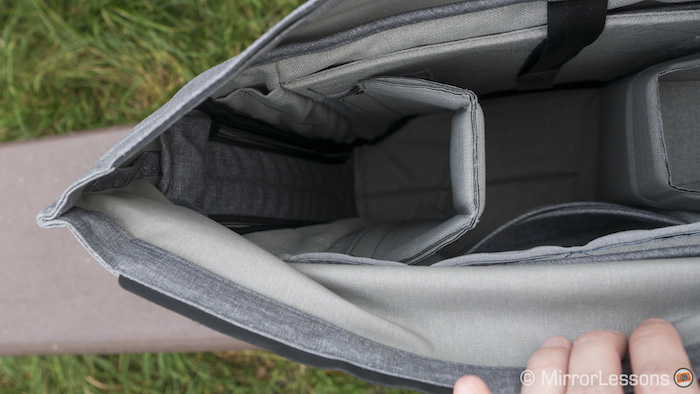
Fold down the top half of each divider, however, and you end up with the perfect platform for smaller lenses, external hard drives, or a small premium compact like those in the Sony RX100 series.
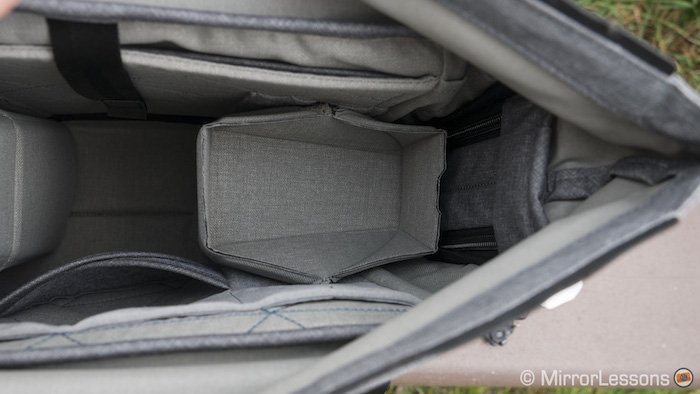
Alternatively, you can do away with the dividers altogether, not necessarily by removing them (though this is also an option) but by flattening them against the sides. Doing so will transform the bag into a standard tote, leaving you with lots of space to house non-camera related items such as clothes, towels, or blankets.
The beauty of these dividers is that, unlike the floppy velcro kind that come with most bags, you don’t have to remove or physically move them to change the layout of the inner compartment. This system worked really well on the Everyday Messenger we reviewed a while ago, so it’s great to see Peak Design has carried it over to the Tote as well.
Usefully, when the dividers are in either the first or second position, you can access your gear via the dual zip side panels even when the bag is on your shoulder. Simply pull down on the zipper to release the panel and remove your gear.
Like the main closure, these panels also come embedded with magnets, so you don’t have to zip it back up if all you want to do is take a quick shot and immediately return your camera to its place.
Keep in mind that this way of accessing your gear tends to work better with smaller, flat-topped mirrorless cameras that aren’t larger than the width of the panel but it can work with larger SLR-like models as well as long as you’re prepared to wiggle the camera out of the compartment. The body/lens combo I was able to fit comfortably was the Lumix G85 with the M.Zuiko 12-40mm f/2.8 PRO attached.


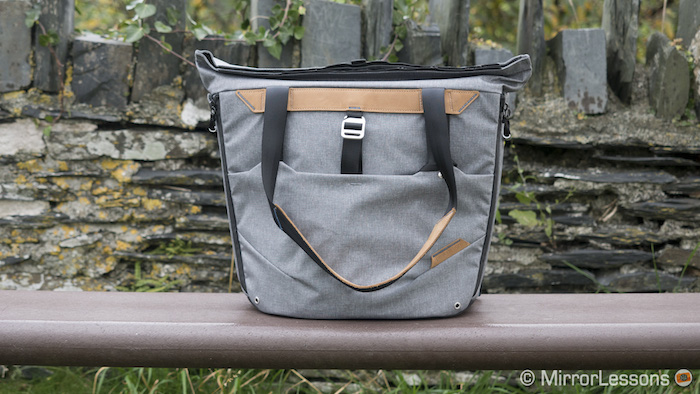
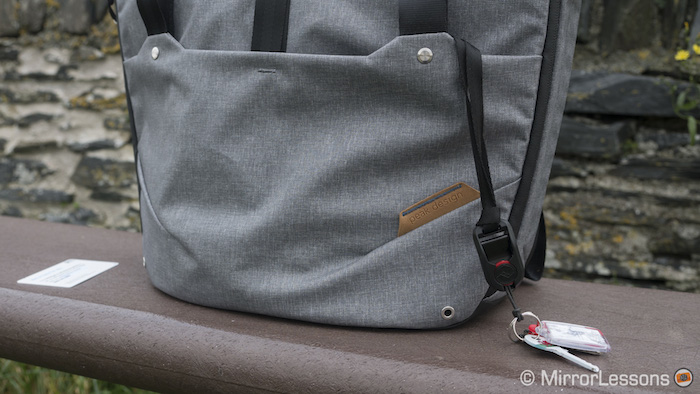
Turning to the outside, we find a large pocket out front that works as a storage area for flat items such as phones or business cards. Inside this pocket, there is also a second, smaller pocket if you want to keep certain items separate.
It is here that you’ll also discover one of my favourite features of the Tote: the key tether. As someone who always loses her keys, it is incredibly useful to be able to keep them attached to the bag with one of Peak Design’s anchor links.
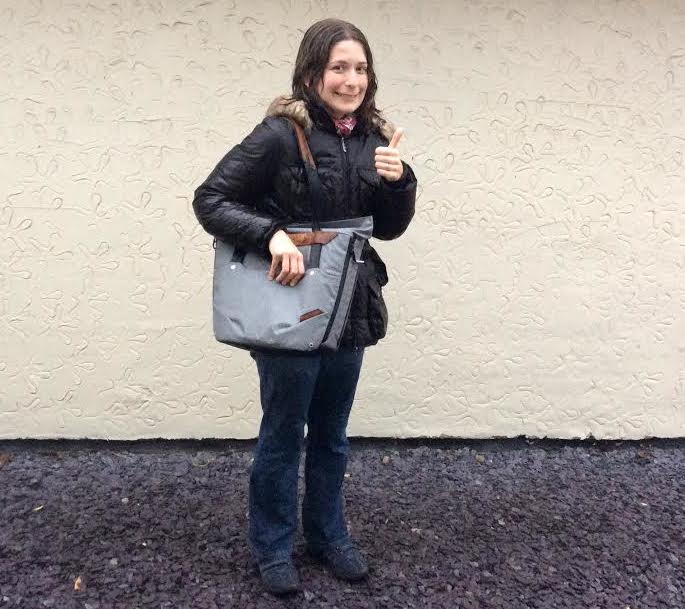
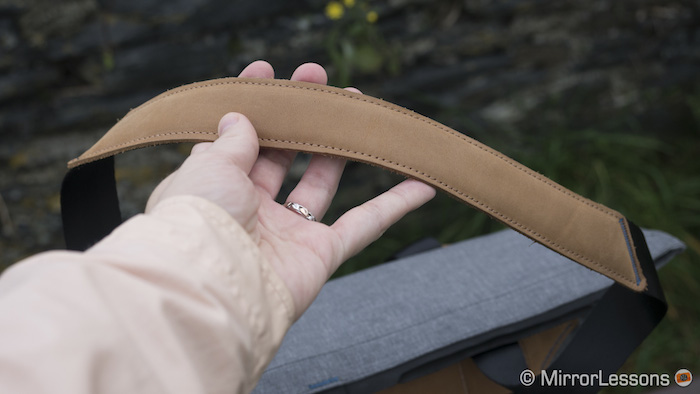
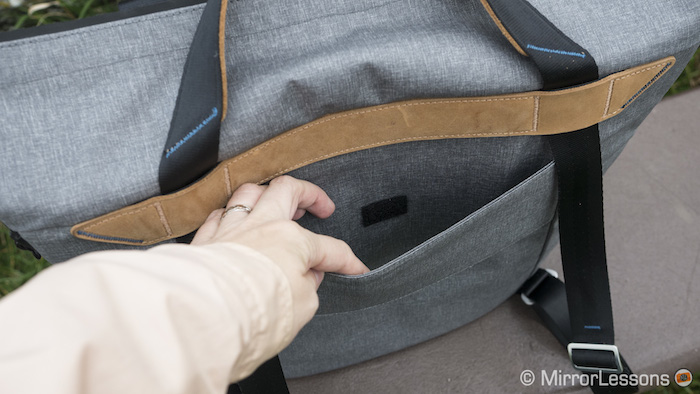
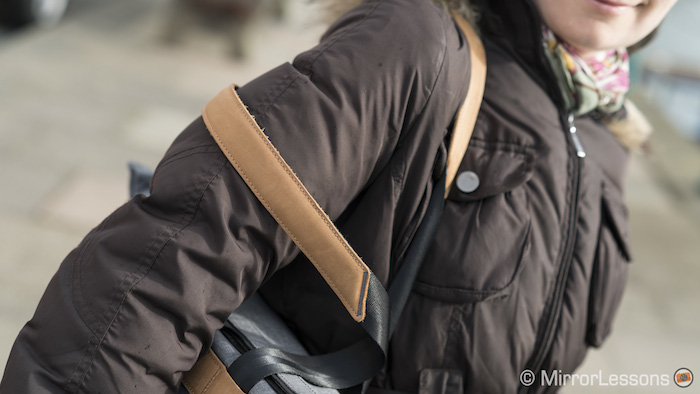
Being a tote bag first and foremost, it features two short handles near the closure, both of which are lined with leather for better handling. These handles are made of the same seatbelt-like webbing used for Peak Design’s other products, and are very easy to adjust on the fly.
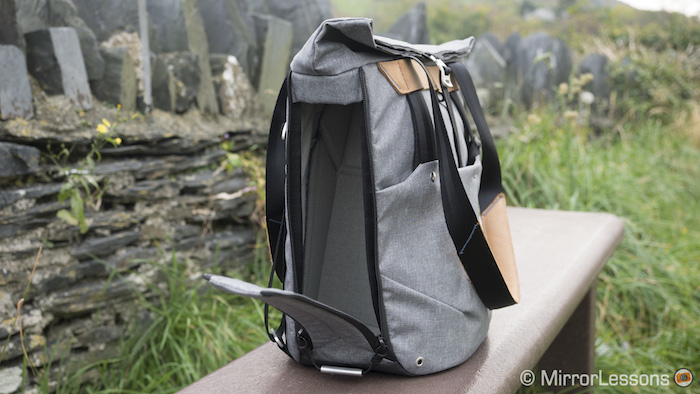
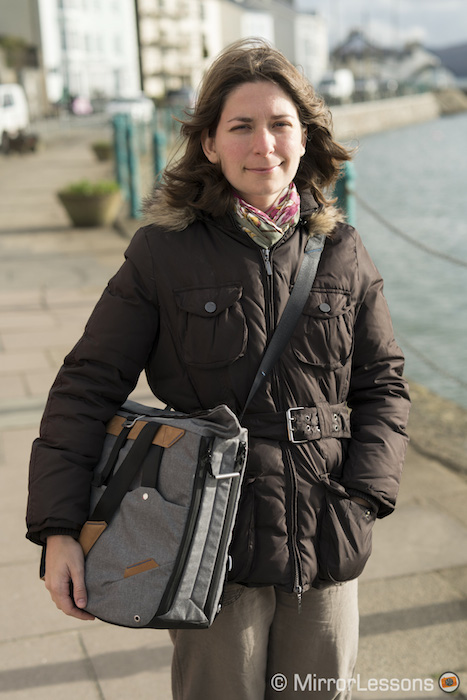
Since it isn’t always comfortable to carry a bag over your shoulder in the traditional tote-style, one of the handles has been designed to extend to the length of a messenger bag strap, allowing you to carry it across your chest.
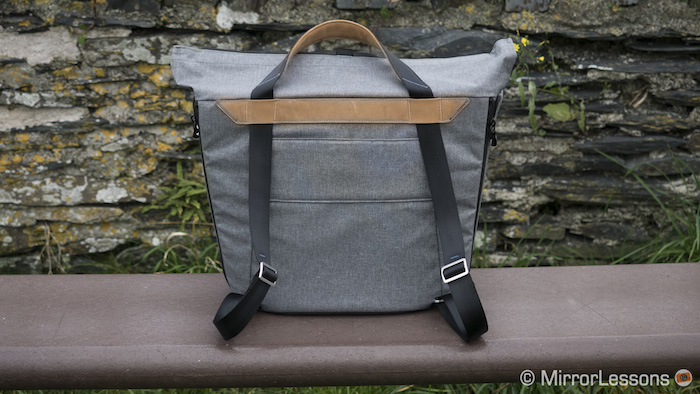
And if that doesn’t float your boat, you can always use the Tote as a backpack by simply pulling the straps that make up the handle over your shoulders.
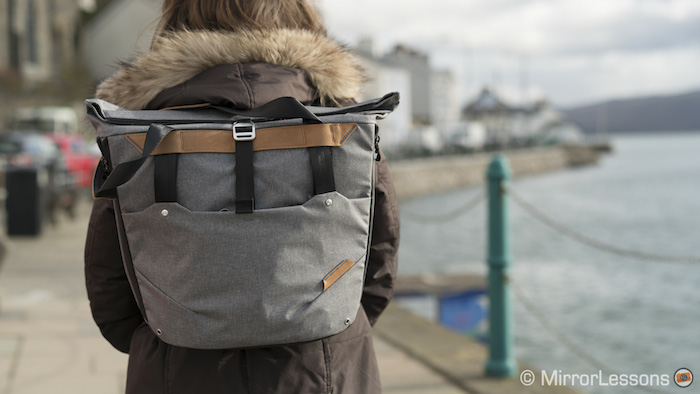
I wouldn’t go as far as to call the Everyday Tote an all-in-one messenger/backpack/tote because the straps don’t provide the same kind of padding as a dedicated messenger or backpack, but as a quick solution to get your gear from point A to B, the adjustable handle works very well.
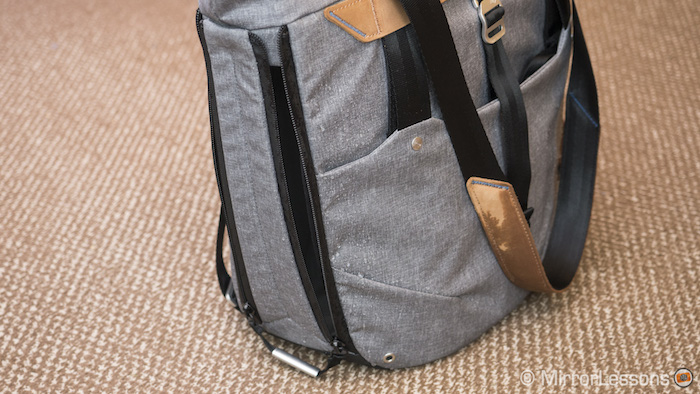
Finally, the rear of the bag features a pass-through for your luggage handle. And speaking of travel, the bag is also carry-on approved, so you can rest assured that you won’t encounter any issues at the airport.
My only real complaint about this bag has more to do with tote bags in general than the Tote itself.
I sometimes find handles of this sort uncomfortable for long outings or walks, especially if the bag is heavily loaded with lots of gear. In the case of the Tote, the handles don’t provide enough cushioning for the shoulder and you have to keep your hand on them at all times to stop them from slipping.
I also find that carrying around a laptop can render the bag quite rigid which, once again, is fine if you aren’t walking far but can prove uncomfortable for longer excursions.
For these reasons, I consider the Tote a more plausible solution for short outings or trips where you know you’ll be spending a lot of time in or close to the car. For anything more intensive, you’ll have better luck with a messenger bag, or better still, a comfortable backpack.
How much gear can I carry? A practical example
On Peak Design’s official website, there are a couple of images showing all the items you can fit inside the Tote if you make good use of every nook and cranny. While it is technically possible to pack this amount, your shoulder won’t thank you for it. This is why I’ve opted to show you how much gear you can carry around without compromising your comfort.
Since we own more Micro Four Thirds gear than anything else, this is what I’ll be using to demonstrate the holding capacity of the bag.
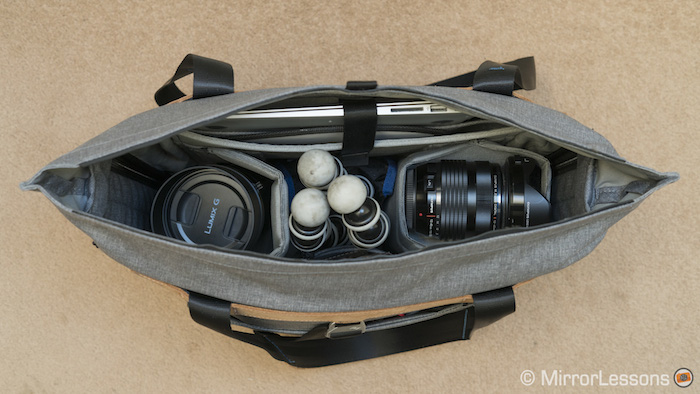
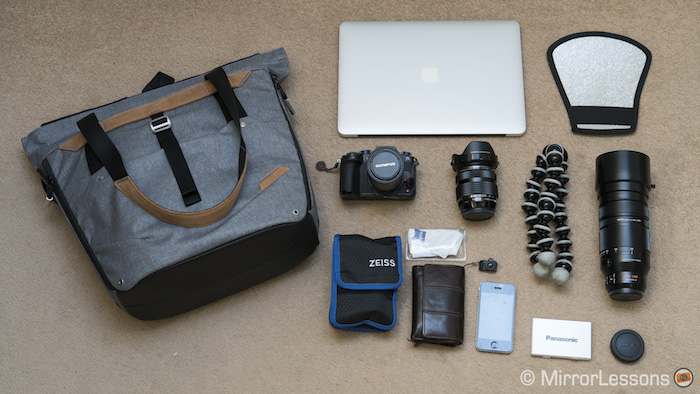
- Panasonic Lumix G85 with M.Zuiko 60mm f/2.8 attached
- Olympus M.Zuiko 12-40mm f/2.8 PRO
- Panasonic Leica 100-400mm f/4.0-6.3
- MacBook Air 15″
- GorillaPod
- Wallet
- Smartphone
- Lens caps X2
- Business card holder
- Cleaning kit
- Lens cloth
- Reflector
Conclusion
You’ve got to hand it to Peak Design – the company knows how to take a worn-out concept and breathe new life into it, which is exactly what they’ve done with the Everyday Tote. By giving it adjustable compartments, you can transform it from a standard tote into a reliable carrying solution for your camera gear (and back again) in the blink of an eye.
That said, the Tote cannot replace a proper camera bag, especially if you regularly walk long distances on your photography outings. This is mainly because the handles and straps lack the proper padding. Rather, we can call it a bag that also makes room for a camera, which is more than enough for shorter outings or trips in the car with the family.