• Skip to main content
  • Skip to primary sidebar
  • Archive
    • Camera Reviews
    • Lens Reviews
    • Accessory Reviews
    • In-Depth
    • Galleries
    • Guest Post
  • About Us
  • Our Websites
  • Contact Us
  • Privacy Policy
  • Youtube

MirrorLessons

Mirrorless camera reviews right at your virtual doorstep!

Heather

First Signs of Spring – A gallery edited with Tammy Lee Bradley’s Lightroom presets

05/05/2015 By Heather

They say that Christmas is the most wonderful time of the year but I would dare to argue that there is nothing quite like the first few weeks of spring. The sounds, smells and colours assault our senses, reminding us that beauty and new life always return, even when winter seems never-ending.

E-M1, 1/320, f/ 28/10, ISO 640
TLB Amazing Preset II – E-M1, 1/320, f/ 28/10, ISO 640 with M.Zuiko 60mm
X-T1, 1/450, f/ 18/10, ISO 200
TLB Tints and Hues 12 – X-T1, 1/450, f/ 1.8, ISO 200 with Touit 32mm

One of my favourite springtime hobbies is searching for wildflowers in the fields behind our neighbourhood and photographing them. Not only is it an enjoyable and relaxing exercise for me as a photographer, but it also helps the National Plant Monitoring Scheme, an organisation that monitors changes in plant populations across the UK.

E-M1, 1/500, f/ 8/1, ISO 400
TLB Amazing Preset – E-M1, 1/500, f/ 8, ISO 400 with M.Zuiko 60mm
E-M1, 1/1250, f/ 8/1, ISO 640
TLB Amazing B&W XXII – E-M1, 1/1250, f/ 8, ISO 640 with M.Zuiko 60mm

A half a world away in sunny Florida, there lives another photographer who enjoys shooting plant life and nature as much as I do. Tammy Lee Bradley has been an inspiration for us since we first began MirrorLessons, as she always manages to beautify even the simplest objects through her use of impeccable composition and light. Not only is she a great photographer but she is also a talented artist who works with a variety of mediums including pencil, watercolour and oil.

, , f/ , ISO
Tammy Lee Bradley

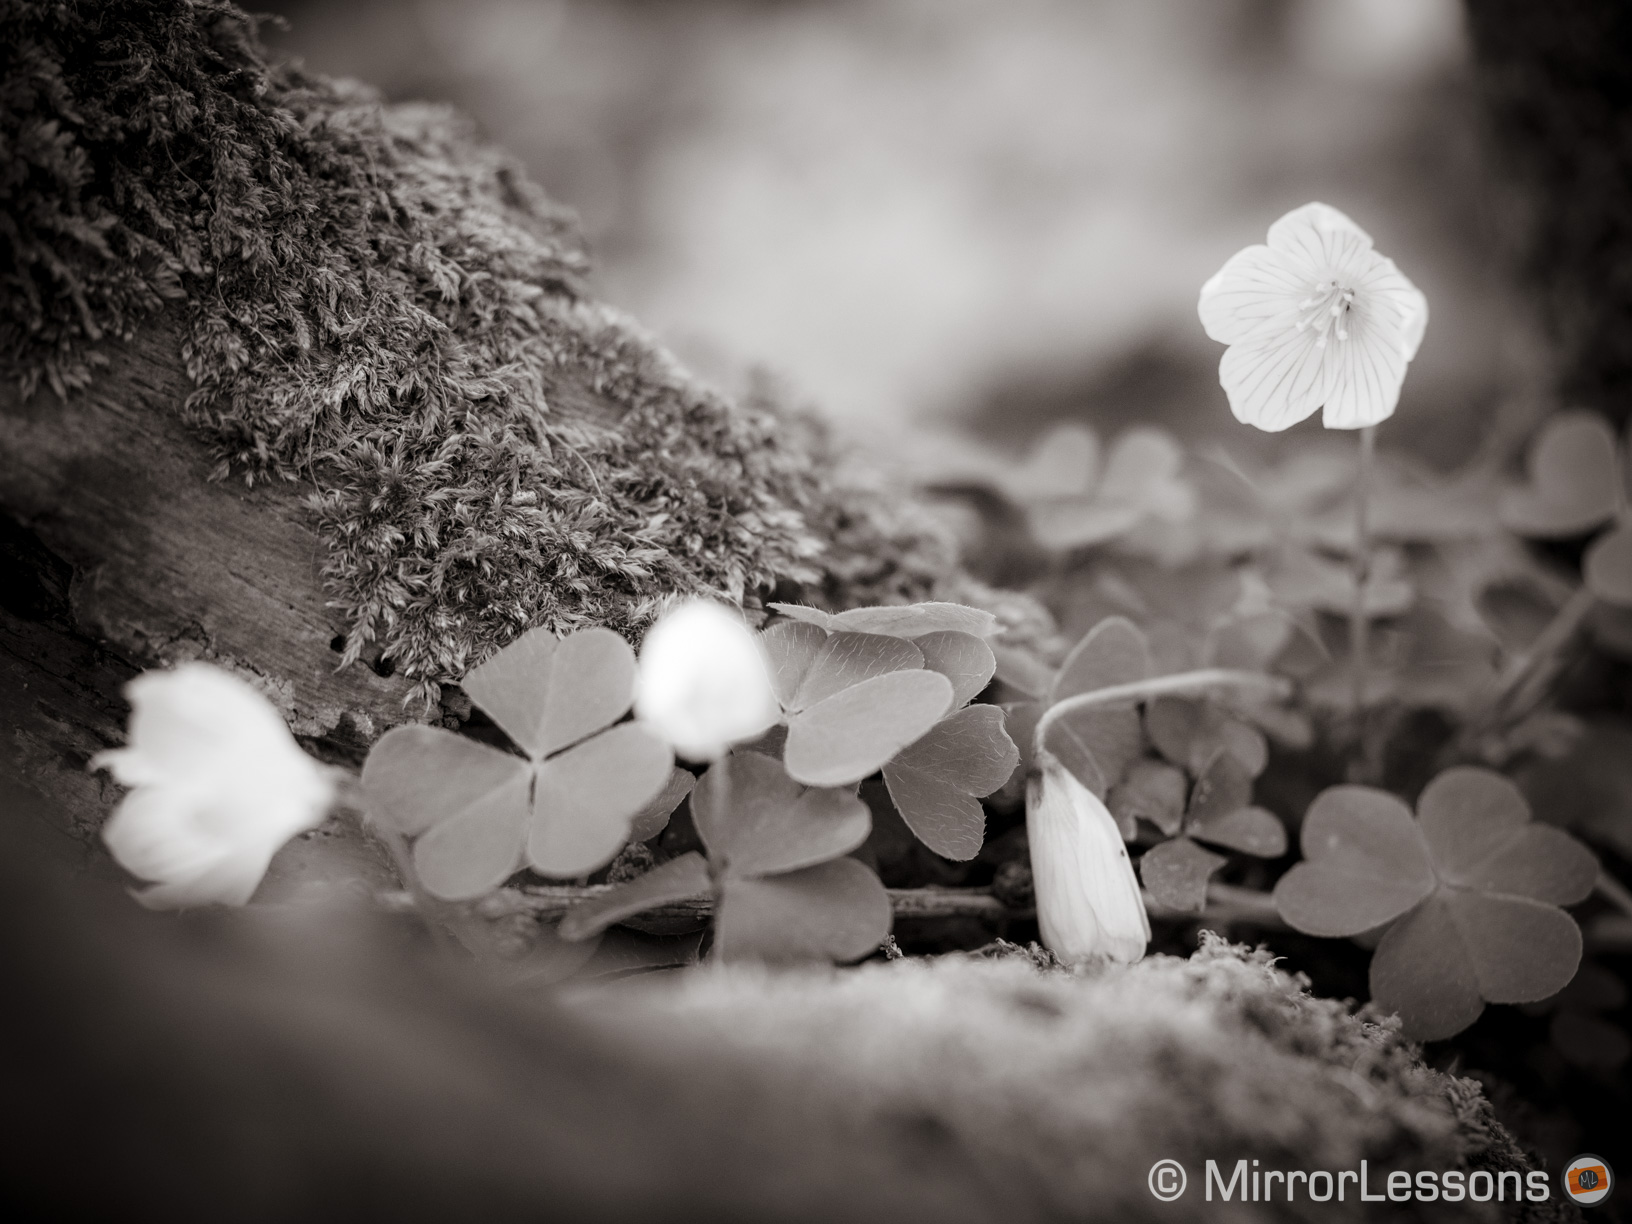
Recently she developed a set of 98 black and white and colour presets for Lightroom, which she kindly send us to try. These presets are based on the post-processing techniques she uses for her personal images, and are heavily influenced by her knowledge of the fine arts.

Lightroom Presets Download
TLB Amazing Preset XX – E-M1, 1/200, f/ 28/10, ISO 640 with M.Zuiko 60mm
tammy lee bradley
TLB Amazing B&W XX – E-M1, 1/2500, f/ 5, ISO 400 with M.Zuiko 60mm

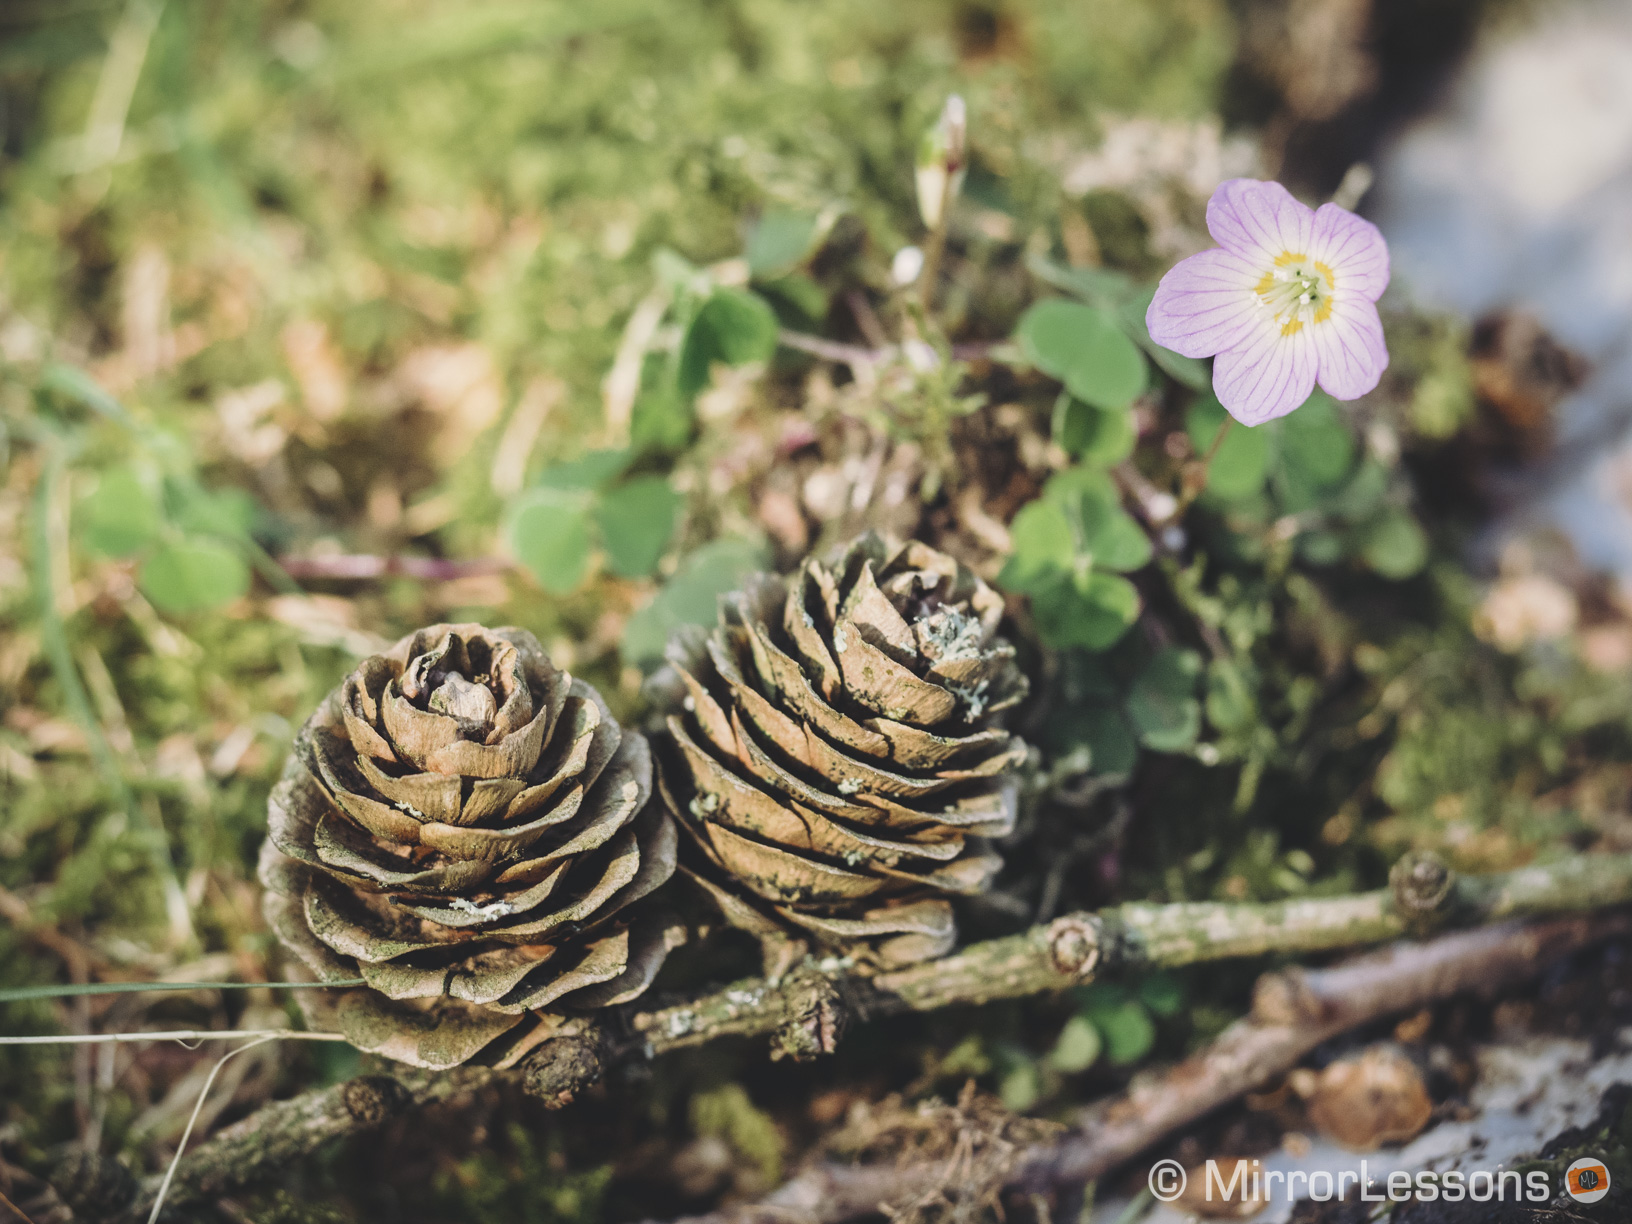
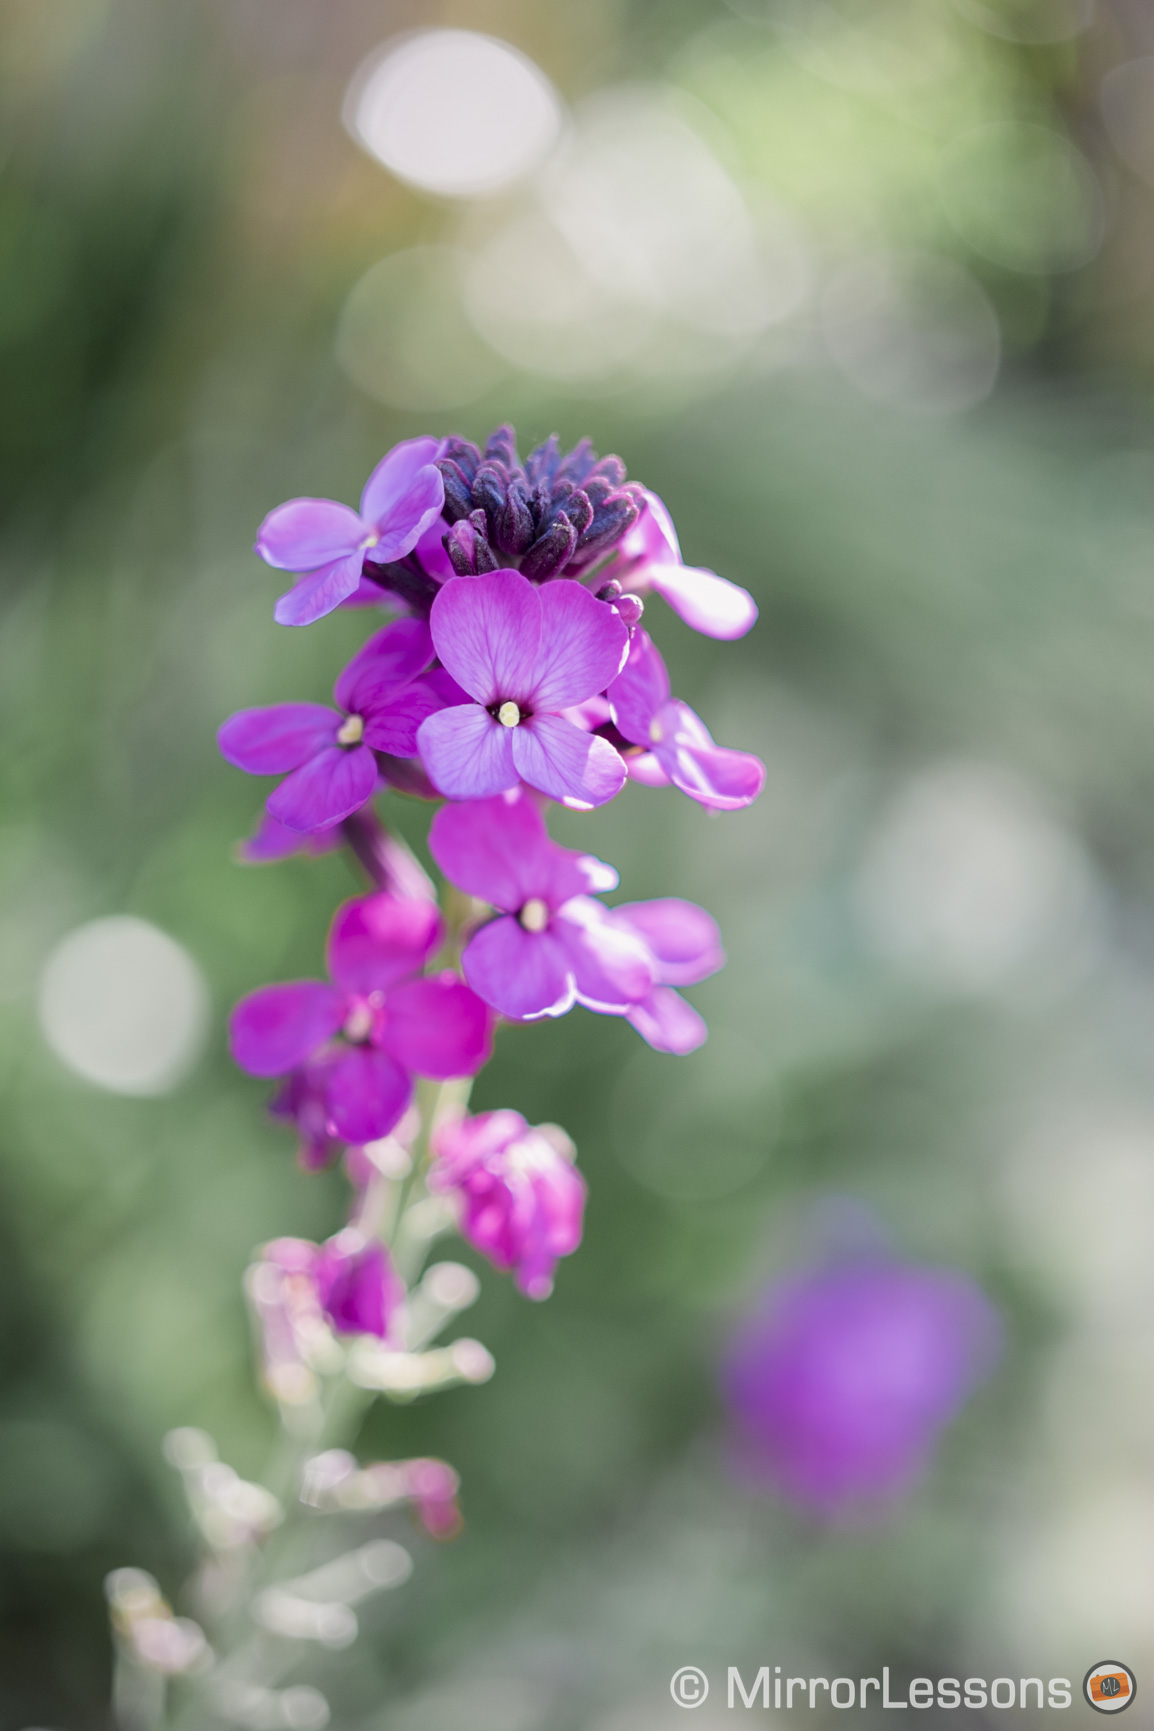
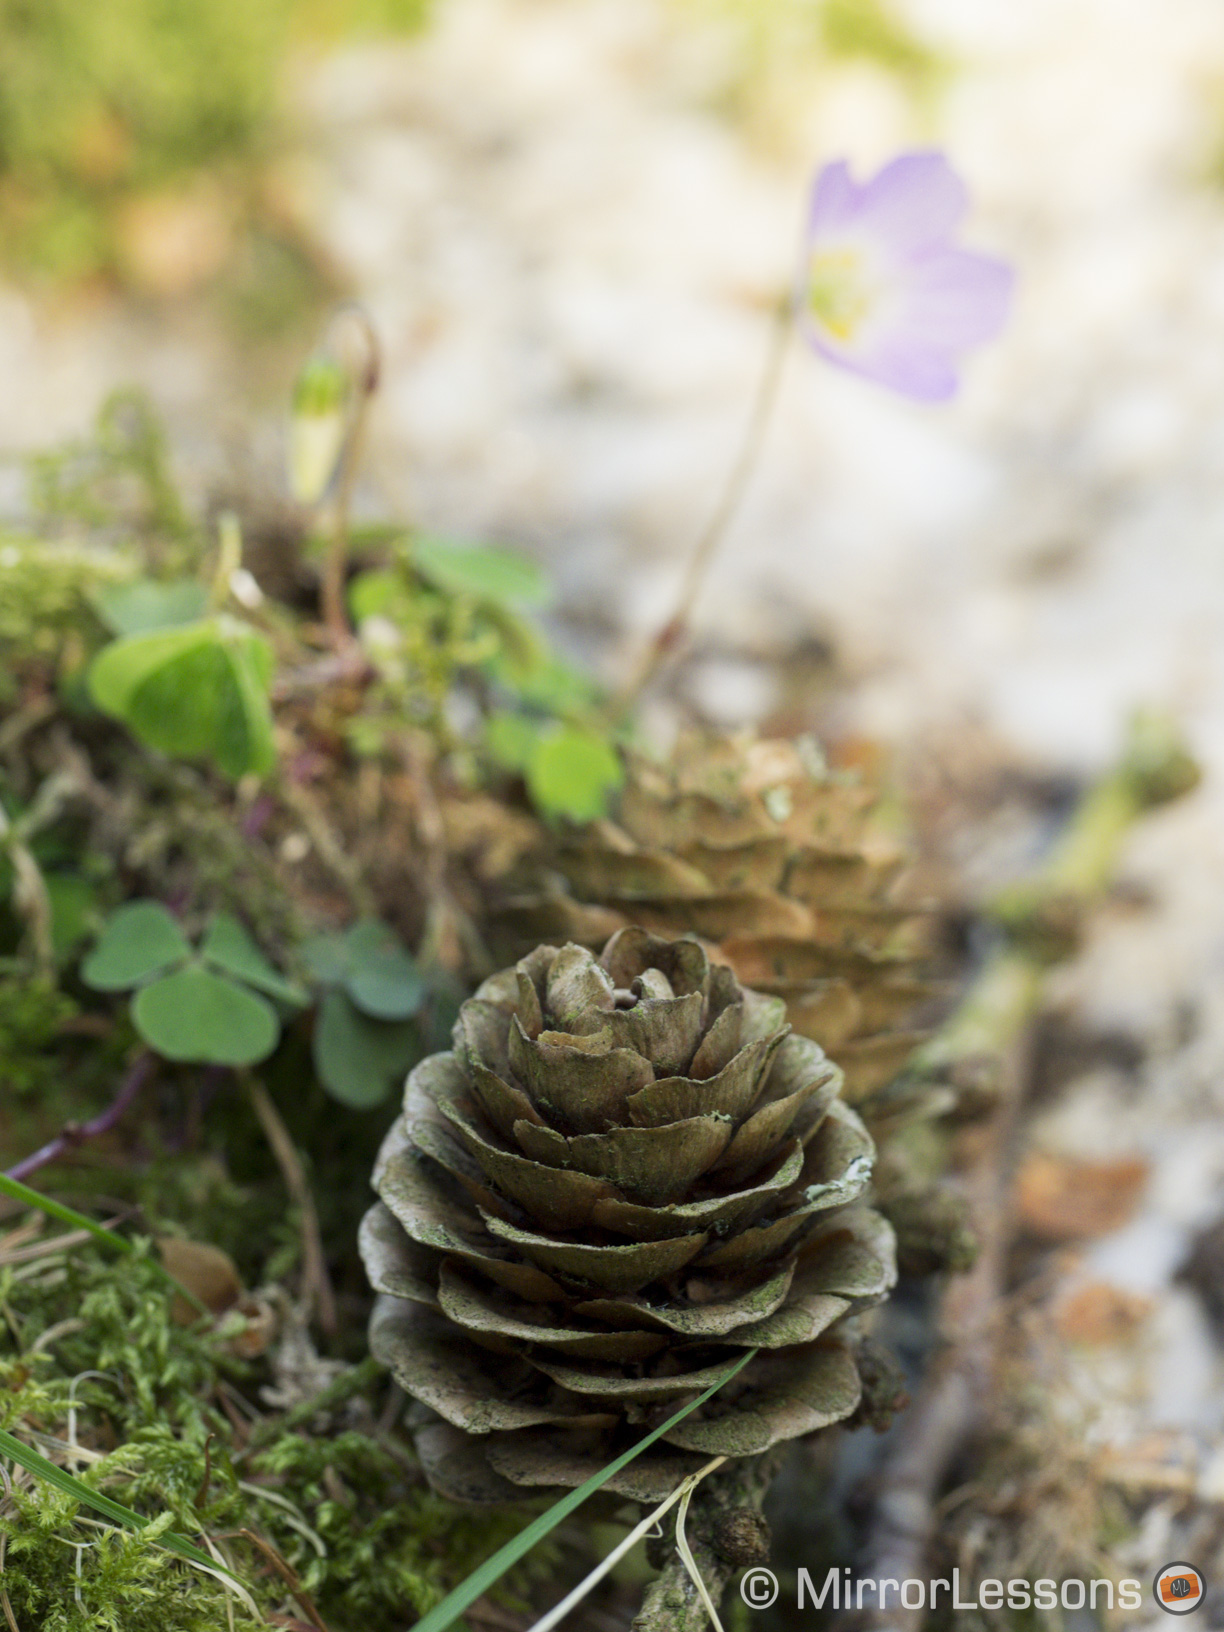
In the collection, you’ll find a medley of styles, from the overpowering to the extremely subtle. Not every preset will suit every image but by experimenting, it is quite easy to find one that matches the image you are trying to post-process. The image below for example would look good with any of the following four presets, as well as many others.

TLB BW IV – E-M1, 1/160, f/ 2.8, ISO 640 with M.Zuiko 60mm
TLB Amazing Preset VI – E-M1, 1/160, f/ 2.8, ISO 640 with M.Zuiko 60mm
TLB Amazing Preset XXI – E-M1, 1/160, f/ 2.8, ISO 640 with M.Zuiko 60mm
TLB Tones IV – E-M1, 1/160, f/ 2.8, ISO 640 with M.Zuiko 60mm

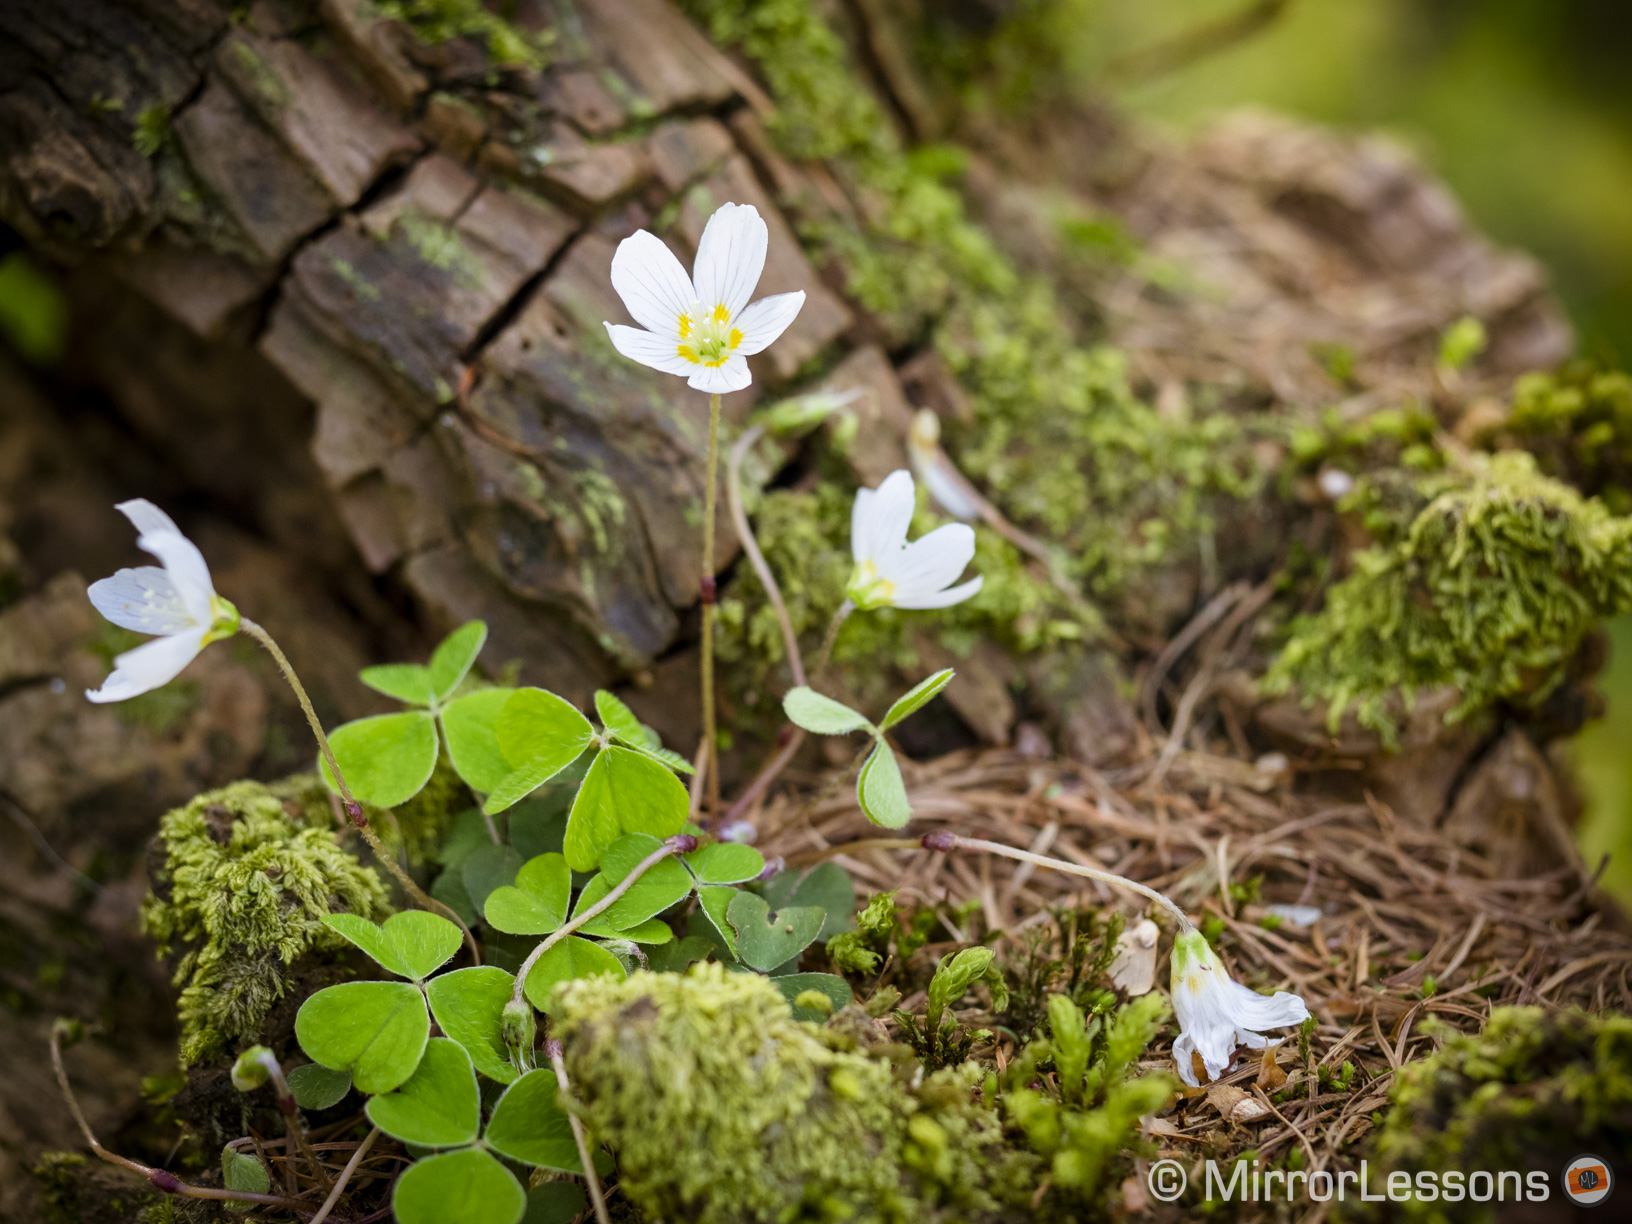
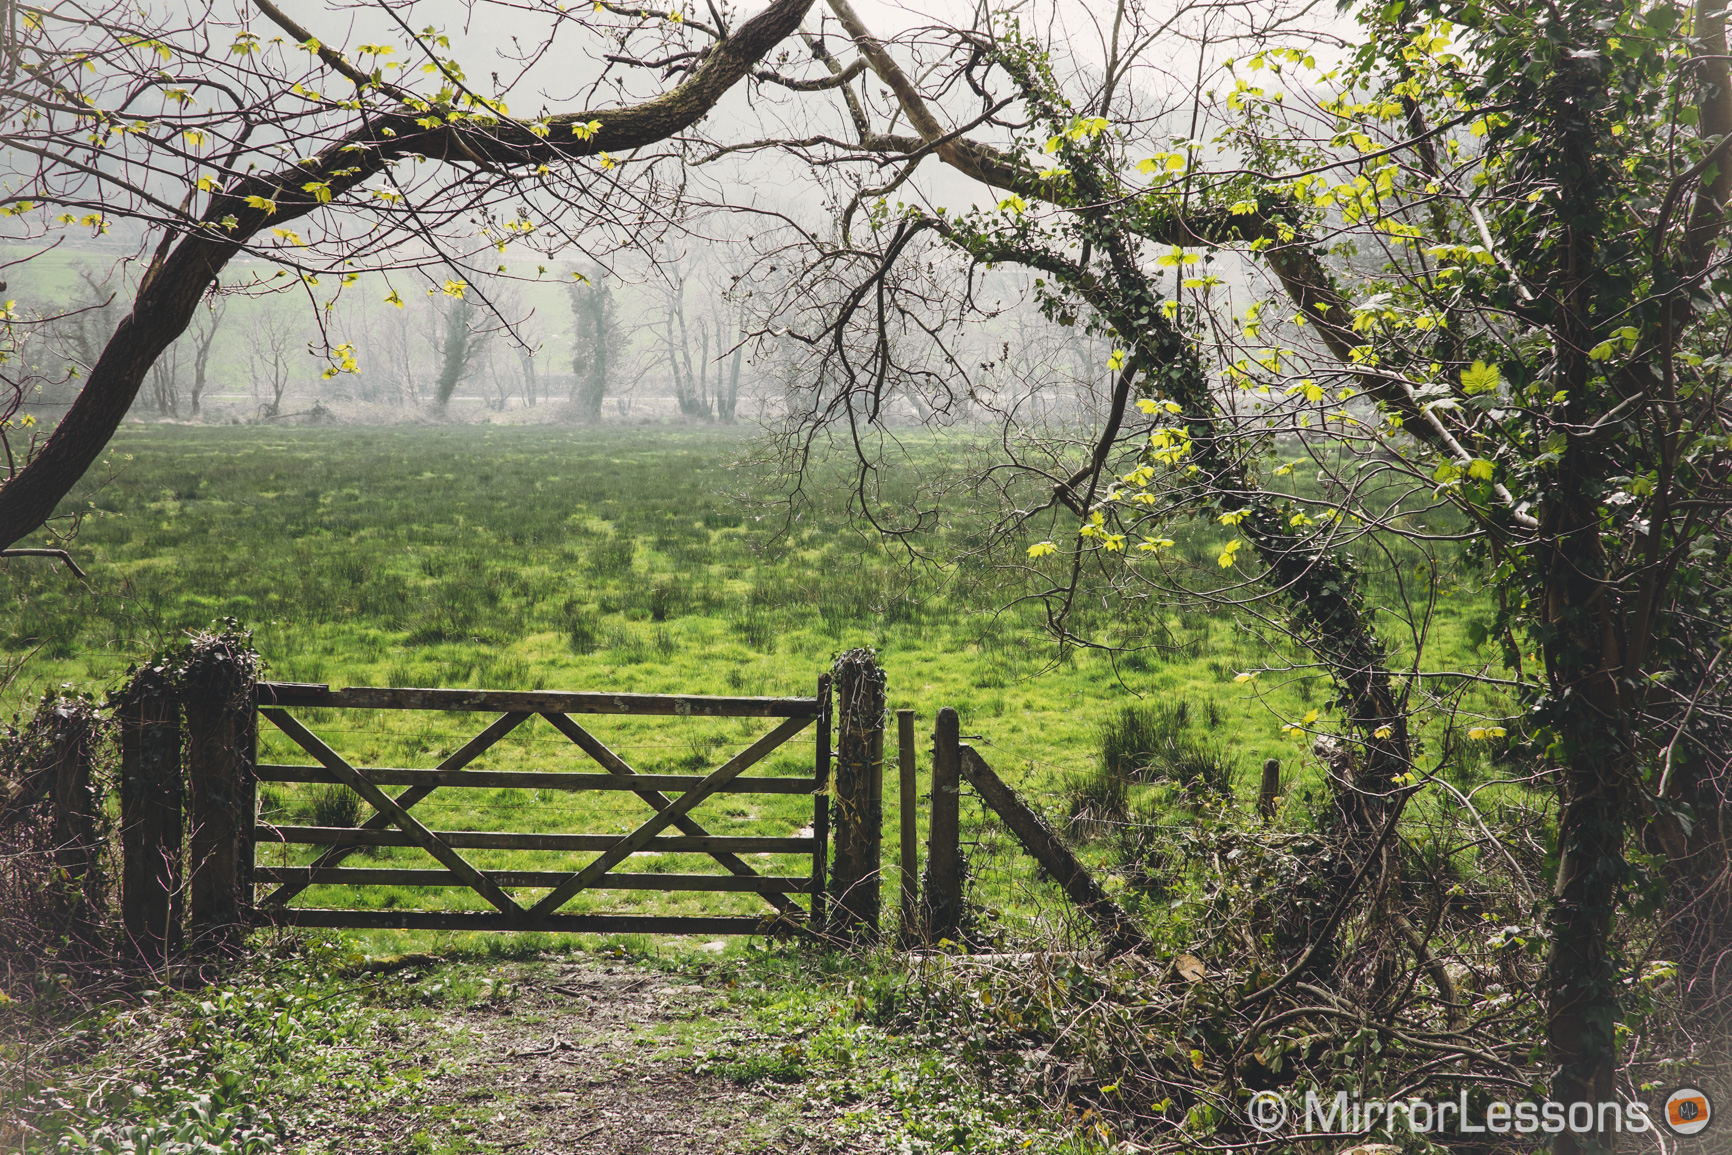
I thought I would end up steering clear of the presets that dramatically change an image’s original colours but I have actually found myself using them for certain photographs such as the one below. These presets are effective if there isn’t too vast an array of colours in the original image.

BEFORE – E-M1, 1/500, f/ 2.8, ISO 640 with M.Zuiko 60mm
AFTER – TLB Old School – E-M1, 1/500, f/ 2.8, ISO 640 with M.Zuiko 60mm

That said, I usually prefer subdued to punchy for my nature images, even when I post-process without the help of presets. Some of my favourite subtle styles from the TLB set include Amazing Preset, Colour II and Colour XI to name a few.

Tammy Lee Bradley's Lightroom Presets Download
TLB Amazing Preset – E-M1, 1/1600, f/ 3.2, ISO 200 with M.Zuiko 60mm
X-T1, 1/340, f/ 18/10, ISO 200
TLB Colour II – X-T1, 1/340, f/ 1.8, ISO 200 with Touit 32mm
X-T1, 1/1700, f/ 18/10, ISO 200
TLB Colour XI – X-T1, 1/1700, f/ 1.8, ISO 200 with Touit 32mm

The images you see here were taken with two different cameras, the Olympus OM-D E-M1 with the 60cmm macro and the Fujifilm X-T1 with the Zeiss Touit 32mm. The presets worked well with both kinds of Raw files.

Tammy Lee Bradley's Lightroom Presets Download
TLB Colour VII – X-T1, 1/1250, f/ 4, ISO 200
Lightroom Presets Download
TLB Tints and Hues 6 – E-M1, 1/100, f/ 5.6, ISO 640 with M.Zuiko 60mm
Tammy Lee Bradley's Lightroom Presets Download
TLB Colour and White – X-T1, 1/180, f/ 8, ISO 200 with Touit 32mm

Presets are an excellent starting point if you are unsure how to start post-processing your images but would like to give them a special “look”. They work to unify a series of images and help you to develop your own personal style by spring-boarding off the groundwork of someone with more experience.

If you are interested in trying out Tammy’s Lightroom presets, you can order them here for $24.99.

Filed Under: Galleries, Olympus Gallery, Zeiss Gallery

Flickr Photography Challenge: SILHOUETTES – It’s time to vote!

01/05/2015 By Heather

Yup, it’s that time of the month again; time to vote for your favourite image submitted for the Monthly Flickr Photography Challenge held in association with Tyson Robichaud! (Time really does fly!) The theme for the month of April was SILHOUETTES, chosen by last month’s winner Giovanni Tabbò. With over 30 submission, it was great to see so many people submit an image for this challenge!

[Read more…] about Flickr Photography Challenge: SILHOUETTES – It’s time to vote!

Filed Under: Monthly Challenges

Review of the Peak Design Capture PRO camera clip – A handy camera carrying solution 

01/05/2015 By Heather

Since photography first became accessible to the masses, companies have been looking for innovative ways to make cameras more portable. While traditional camera bags and straps remain the most popular option, a number of new products have sprung up over the years that have changed the way we carry around our cameras, including holsters, belts bags, interchangeable straps and clips.

The most recent solution we’ve been testing on our mirrorless cameras is the Peak Design’s flagship product, the CapturePRO camera clip. Peak Design is one of the main innovators in camera carrying solutions, having developed popular products such as the versatile Anchor Link system, Slide strap and CapturePOV, just to name a few.

The CapturePRO kit comes with the following items: the all-aluminium Capture clip, PROplate, two adapters for Manfrotto RC-2 tripods with four screws, and a hex key to screw the plate onto the camera.

peak design capture pro camera clip review
What you get in the CapturePRO clip kit

According to the Peak Design website, the CapturePRO camera clip can withstand up to 200 pounds of force. Though we all like impressive statistics, this one isn’t particularly relevant as you probably won’t want more than 3 pounds hanging from your belt or strap at one time. It is however a testament to its heavy-duty construction.

capture pro camera clip review
The CapturePRO camera clip with tripod clamp

What you really need to consider are the dimensions of your camera-lens combo. If you attach the clip to your backpack strap, you can comfortably carry around most camera and lens combinations but if you fasten it to your belt or handbag strap, it is best to mount a lens that isn’t too long or bulky so that you are free to move about.

A small thing to note is that if the lens barrel extends below the base of your camera, it is impossible to attach the clip lengthwise. This is demonstrated in the example below featuring the diminutive Fujifilm X-A2 and the fairly bulky 16-55mm f/2.8.

capture pro camera clip review
The CapturePRO won’t fit if the lens extends beyond the base of the camera

There is a bit of a learning curve to understanding how to attach the clip to your belt but once you’ve got the hang of it, it’s very straightforward. (Keep in mind that the maximum dimensions for the belt or strap to which you attach the clip are 3 inches (7.6 cm) wide and 0.5 inches (1.3 cm) thick.)

  1. Loosen the two large black screws on the clip until they almost come off.
  2. Unhook the upper plate by pulling it away from the left-hand screw. This step can be a bit fiddly.
  3. Slide the clip onto your belt or strap with the red spring facing downward.
  4. Reconnect the upper and lower plates and tighten the black screws.
peak-design-capturepro-1
Step 1
Step 2
Step 3
Step 4

Then comes the step of sliding your camera (with PROplate attached) onto the clip:

  1. Attach the PROplate to the camera with the hex key. Make sure it’s screwed on tightly.
  2. Rotate the red spring on the clip so that it can be pushed like a button.
  3. Slide the camera onto the clip with the lens facing downward.
  4. Rotate the red spring so that it can no longer be pushed. This will lock the camera in place.
Step 1
Step 2
Step 3
Step 4

The fact that I was using a rented lens probably didn’t help but for the first day I couldn’t muster the courage to release my grip on the camera, even though it was securely attached to my belt. This anxious stage soon passed however as I gained confidence in the system and my ability to use it. I’ve found it especially good for long hikes, where wrist straps are impractical and neck straps swing back and forth, putting your gear at risk. It also eliminates the hassle of dealing with a tangled mess of bag and neck straps if you use more than one body.

peak design capture pro
With the CapturePRO attached to my backpack

Perhaps the aspect I enjoy the most about the system is that it takes the pressure off my shoulders and back, which after a day of shooting sometimes ache if I use a neck strap. I feel as if the weight of my gear is more evenly distributed across my body. This is true whether I attach it to my belt, handbag strap or backpack.

peak design capture pro
With the CapturePRO attached to my camera bag strap

The CapturePro PROplate is also compatible with Peak Design’s proprietary Anchor Link system, which means you can easily switch between using your camera with the CapturePro and any one of Peak Design’s straps. If one thing can be said about Peak Design, it truly has inter-compatibility down to a fine art.

peak design capture pro
The PROplate attached to the Peak Design Slide via the Anchor Links

One small limitation is that placing the clip against your hipbone can sometimes hurt. It is a shame as the hip would theoretically be the most ideal position for the clip, being out of the way of your leg but not so far back that you can’t reach your camera. I usually end up attaching it just to the left of my hipbone when I’m out on a casual walk or to my backpack strap when I’m hiking.

The PROplate that comes with the kit can also function as a tripod clamp for certain tripod models. It is compatible with all ARCA-type tripod heads on its own and with the adapters, it will fit most Manfrotto tripod heads with the RC-2 denomination. Unfortunately we own neither so this wasn’t a functionality we were able to test.

DMC-LX100, 1/20, f/ 4/1, ISO 800
The adapters for Manfrotto RC-2 tripod heads


thumb-up 
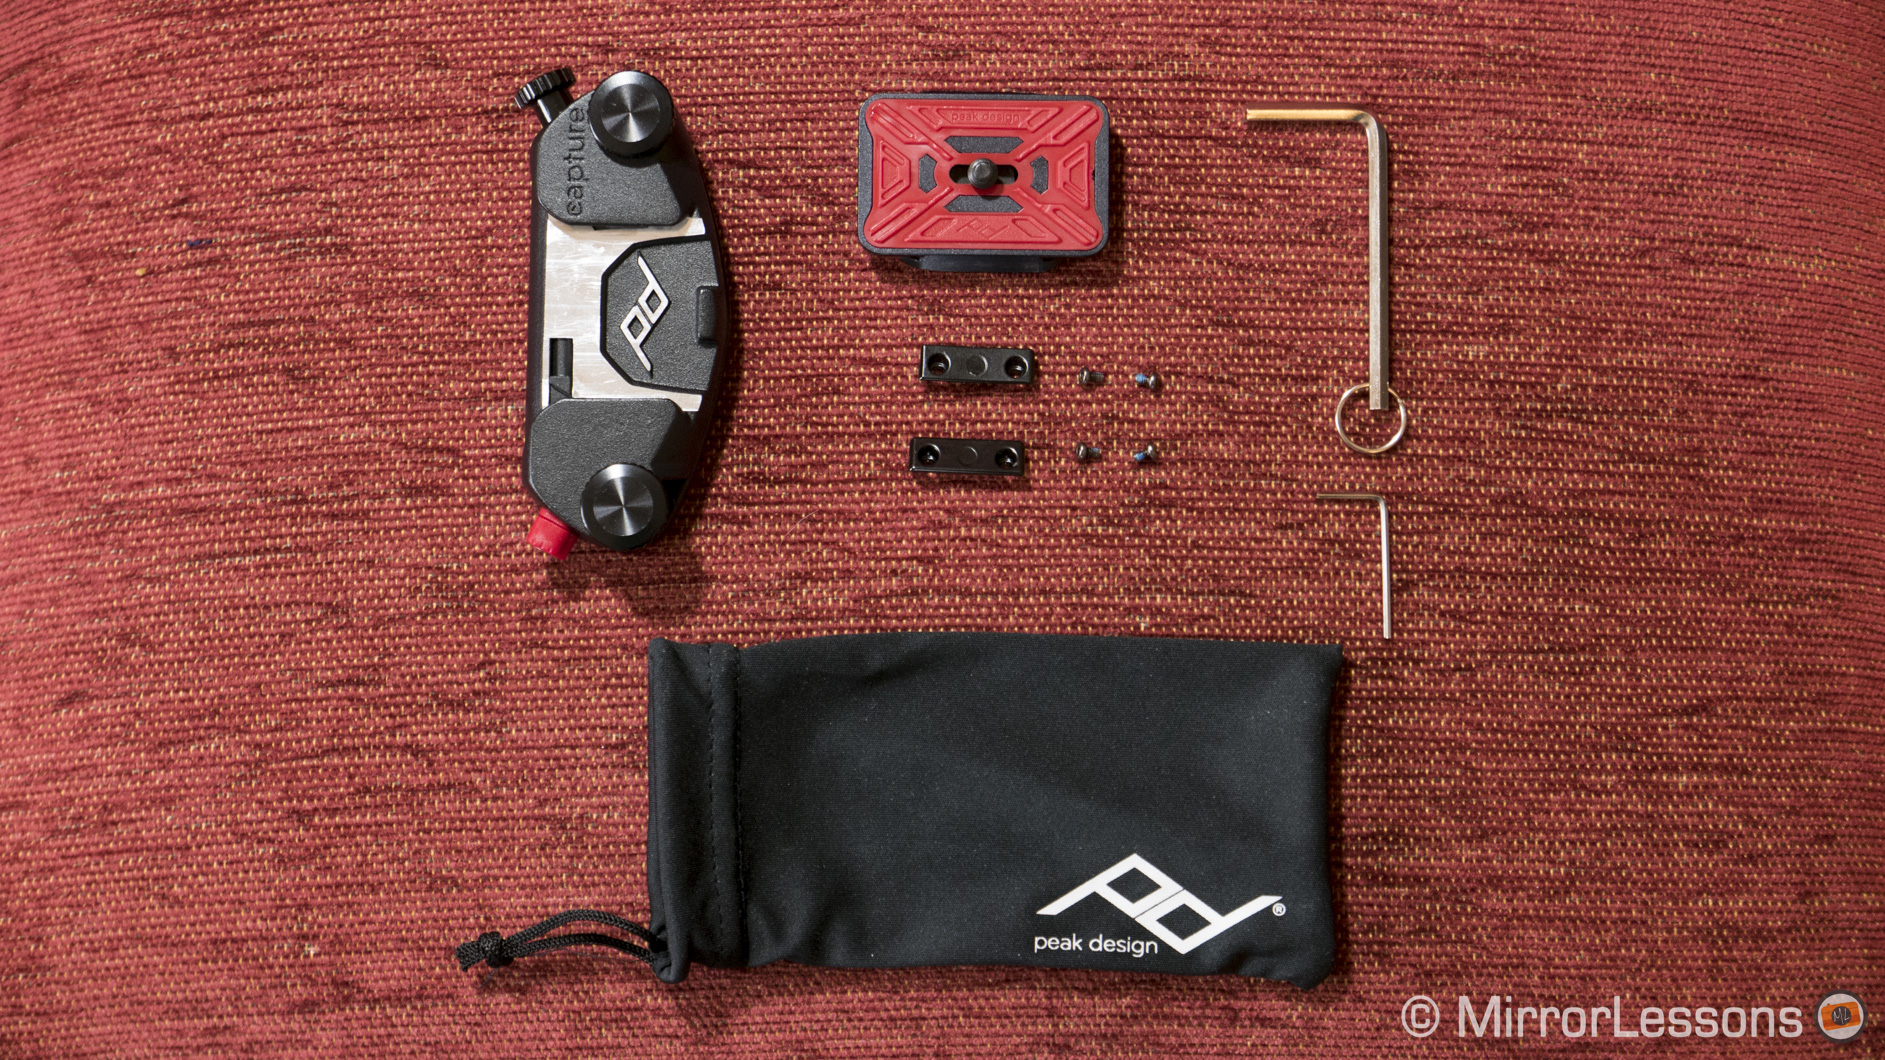
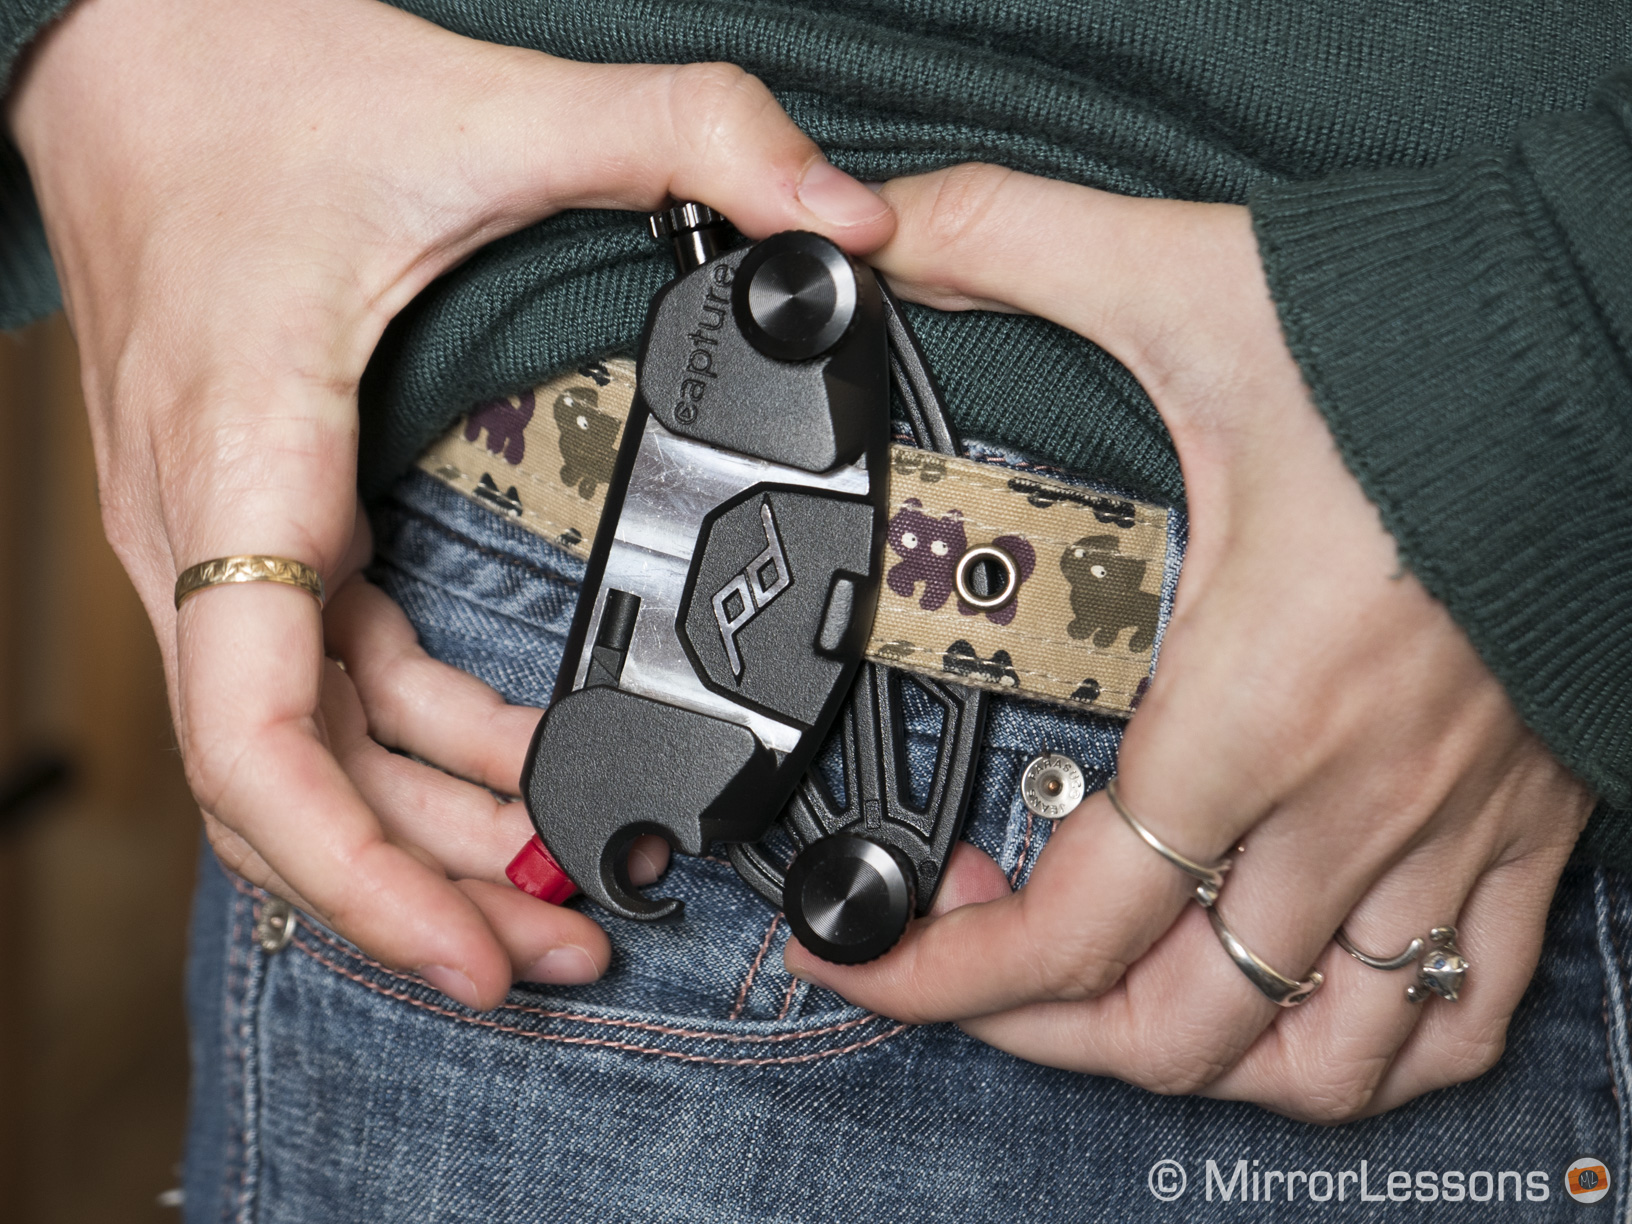
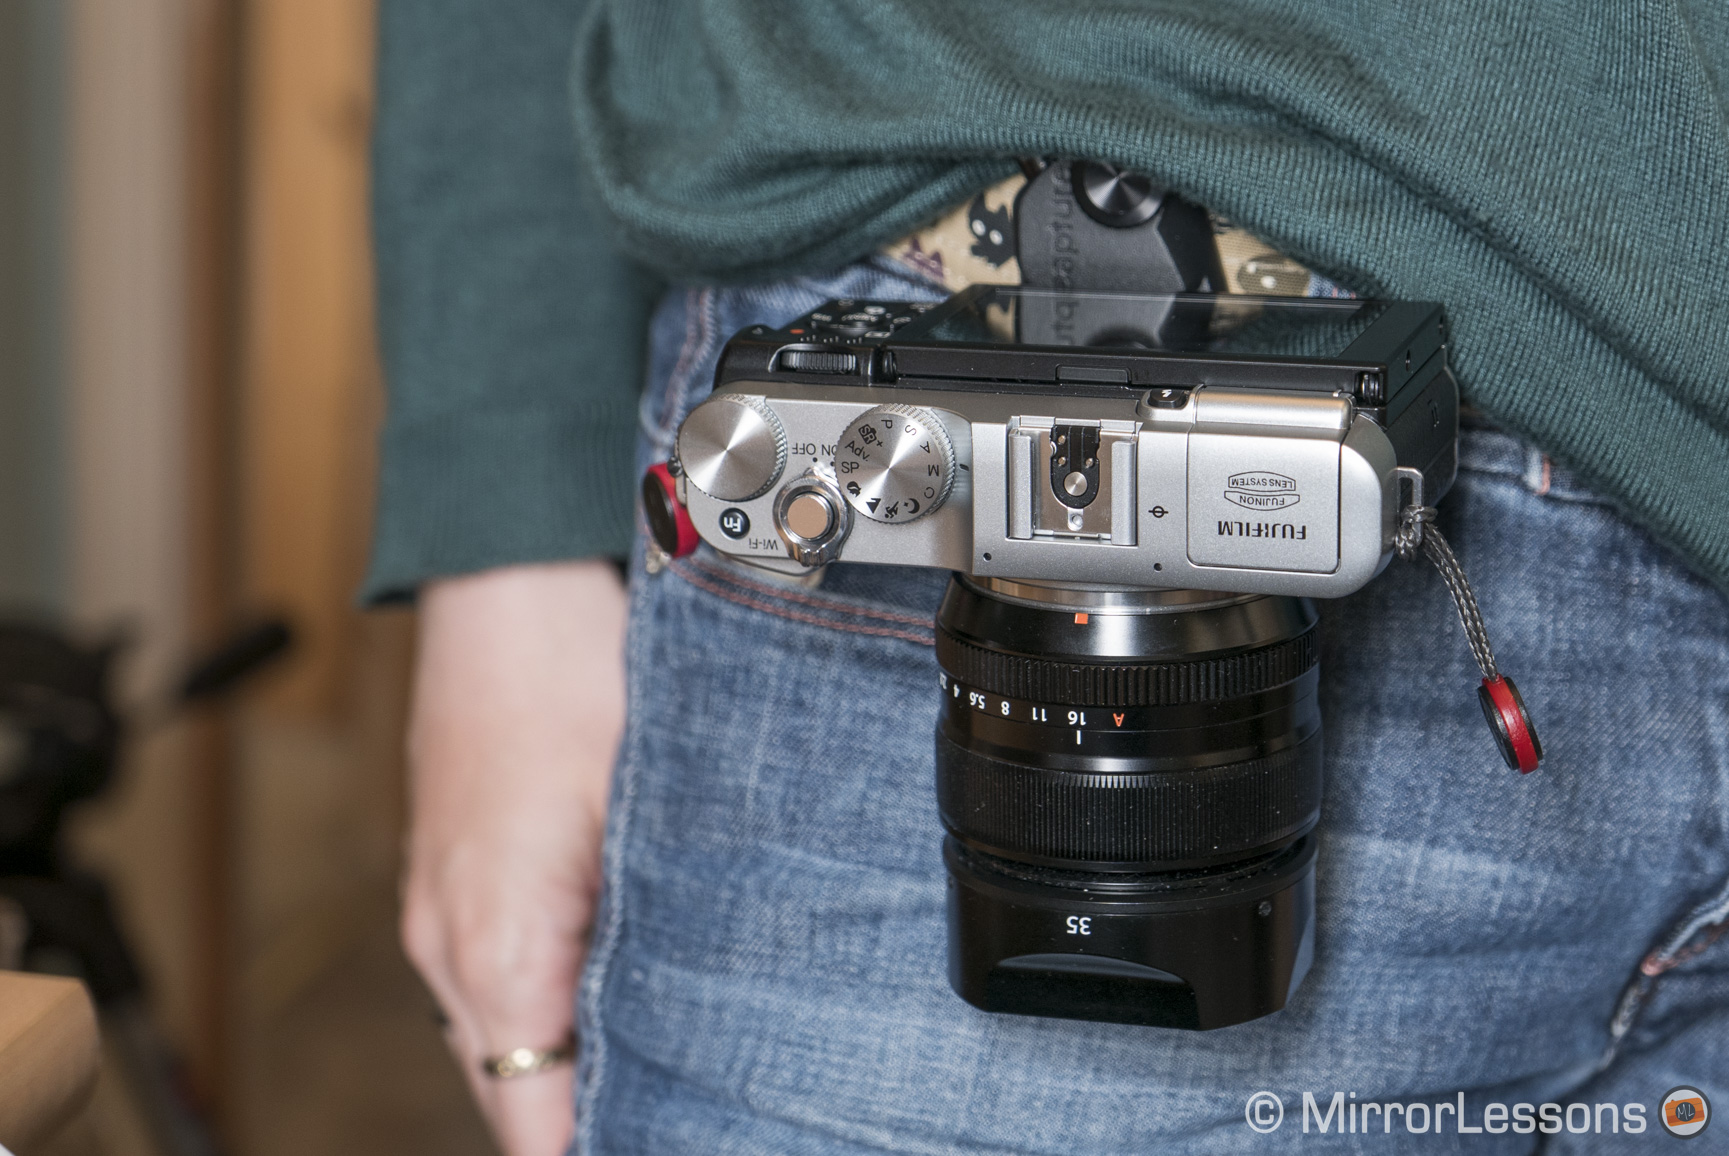
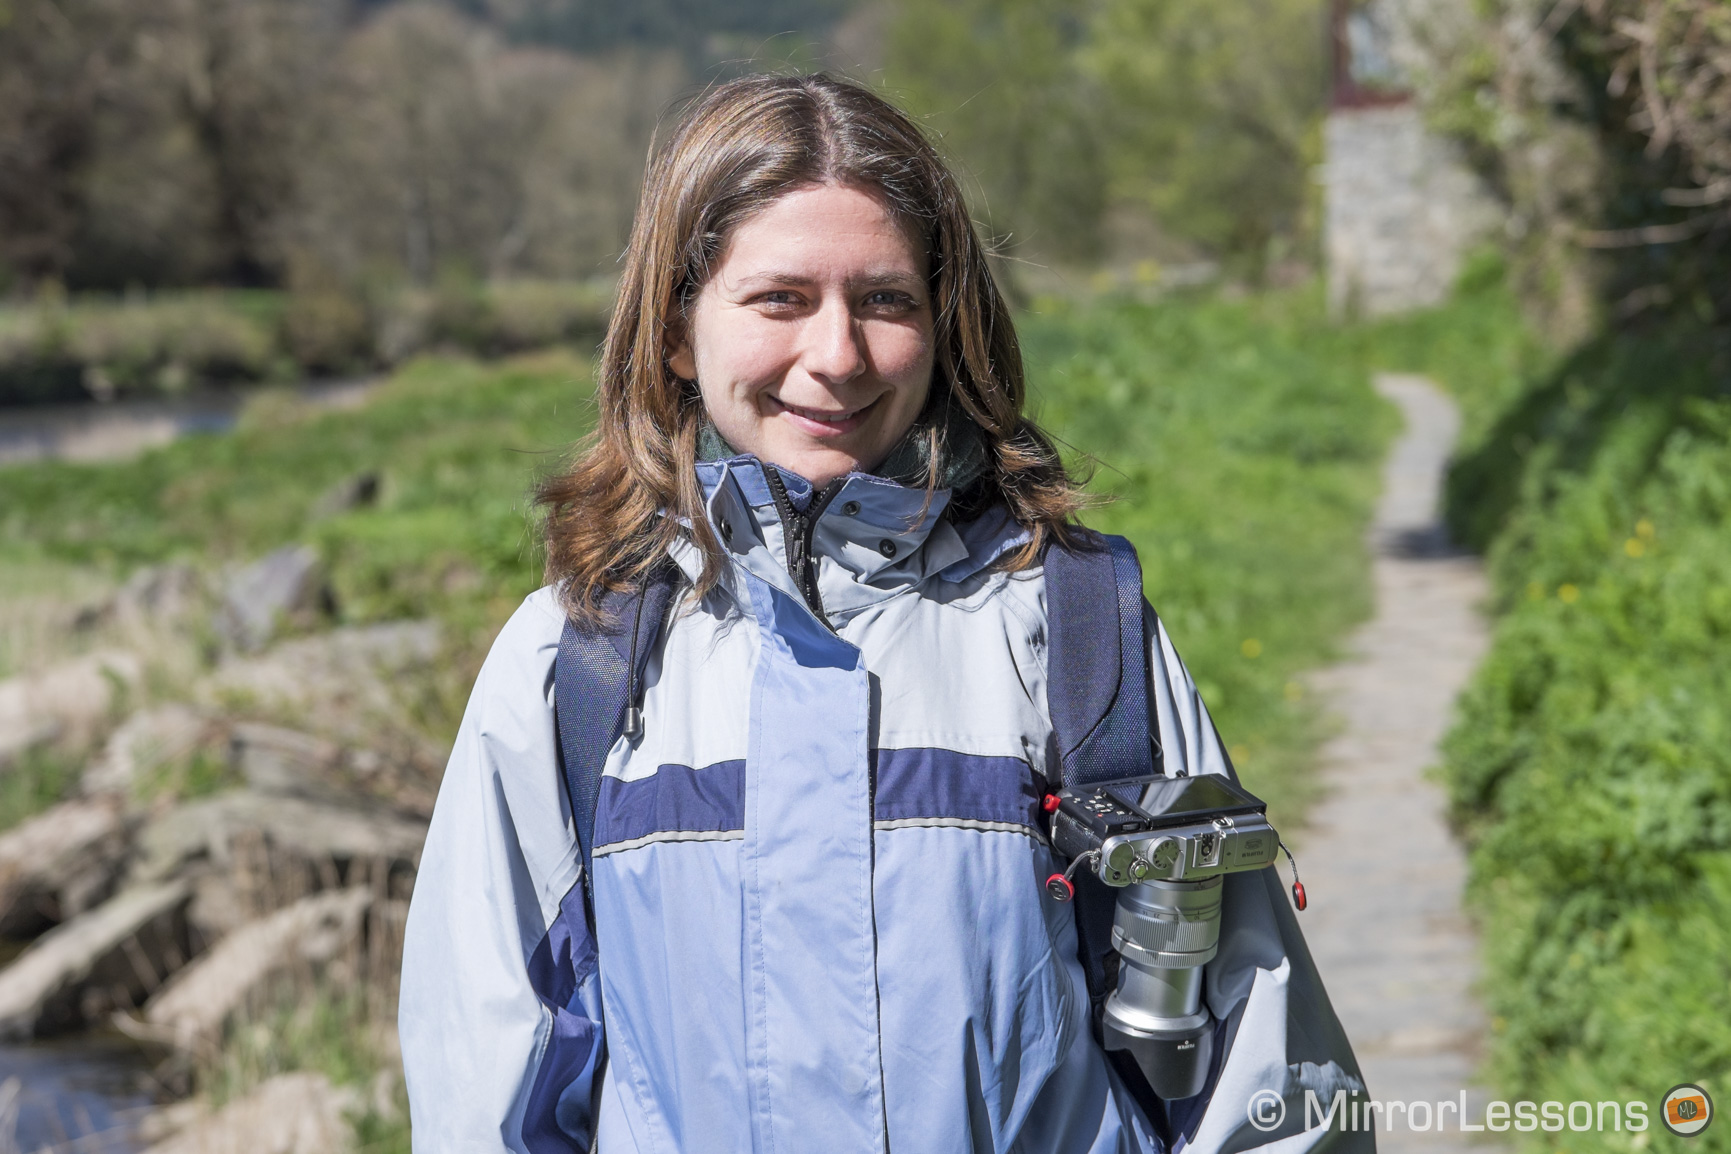
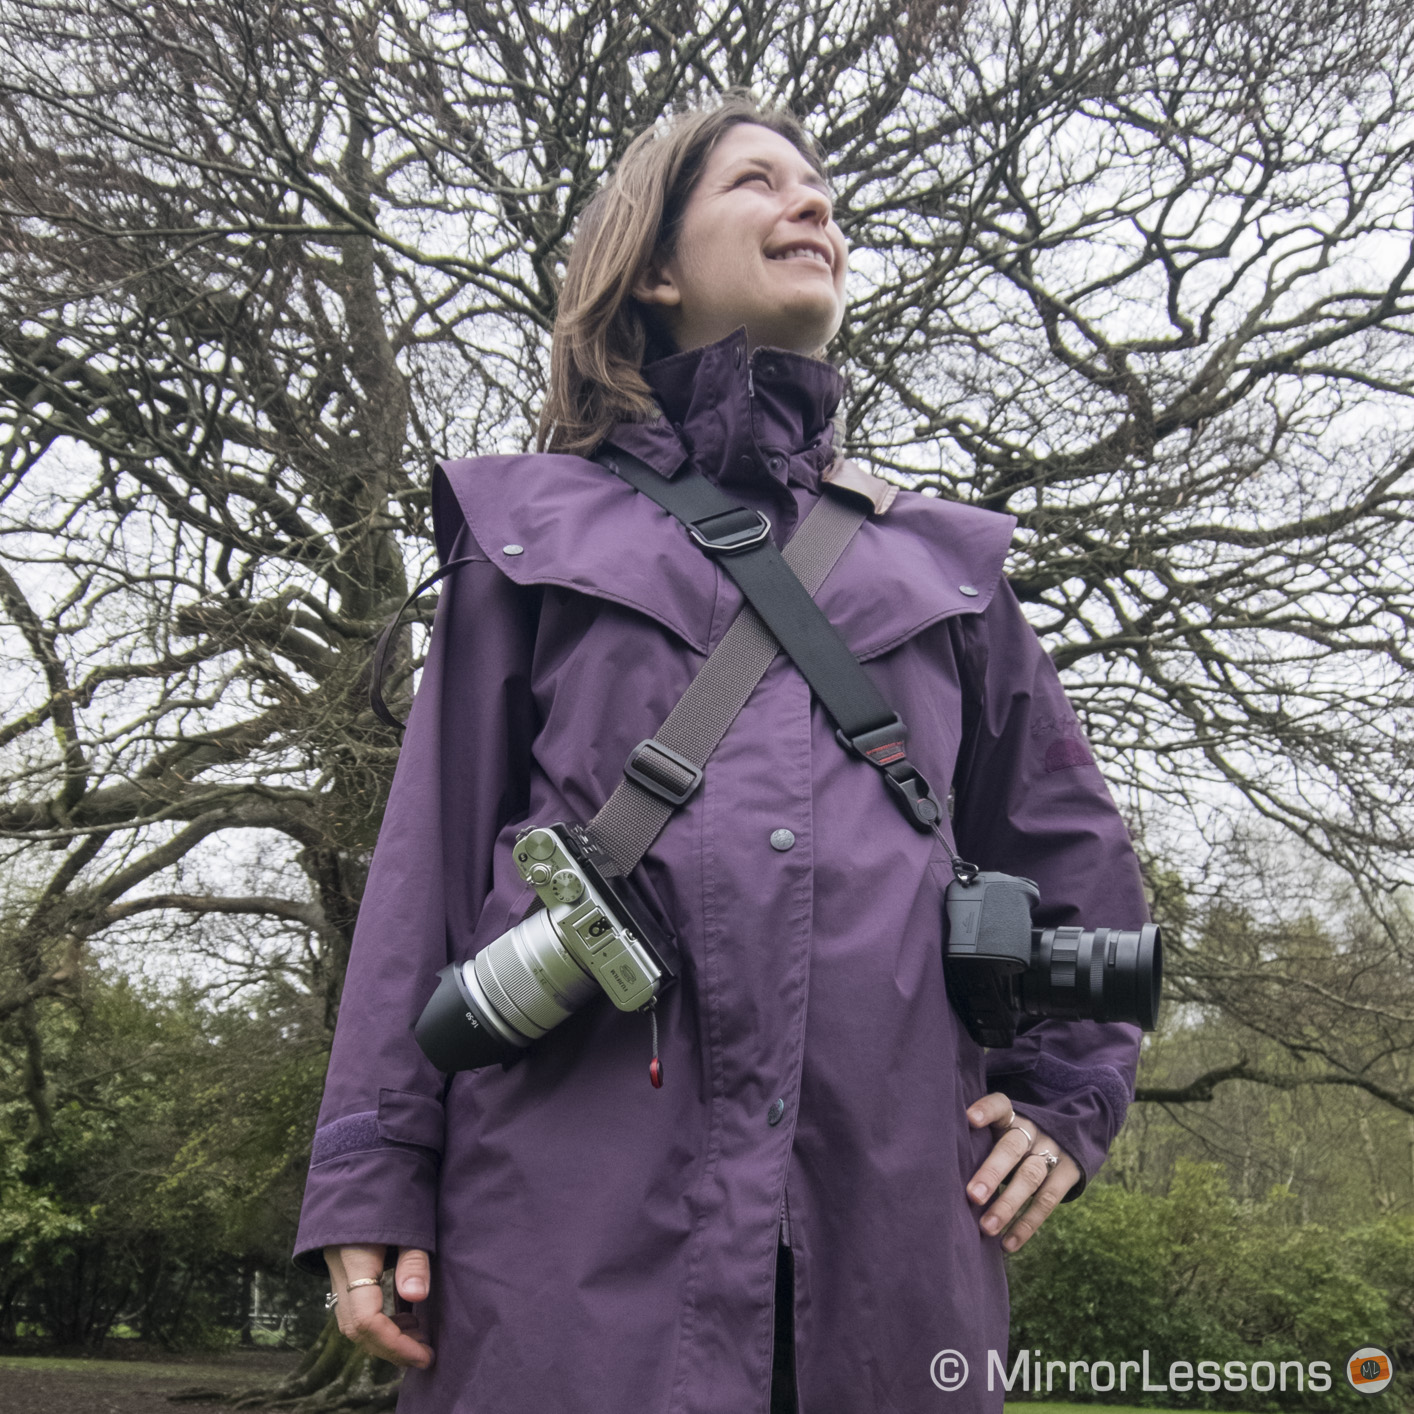
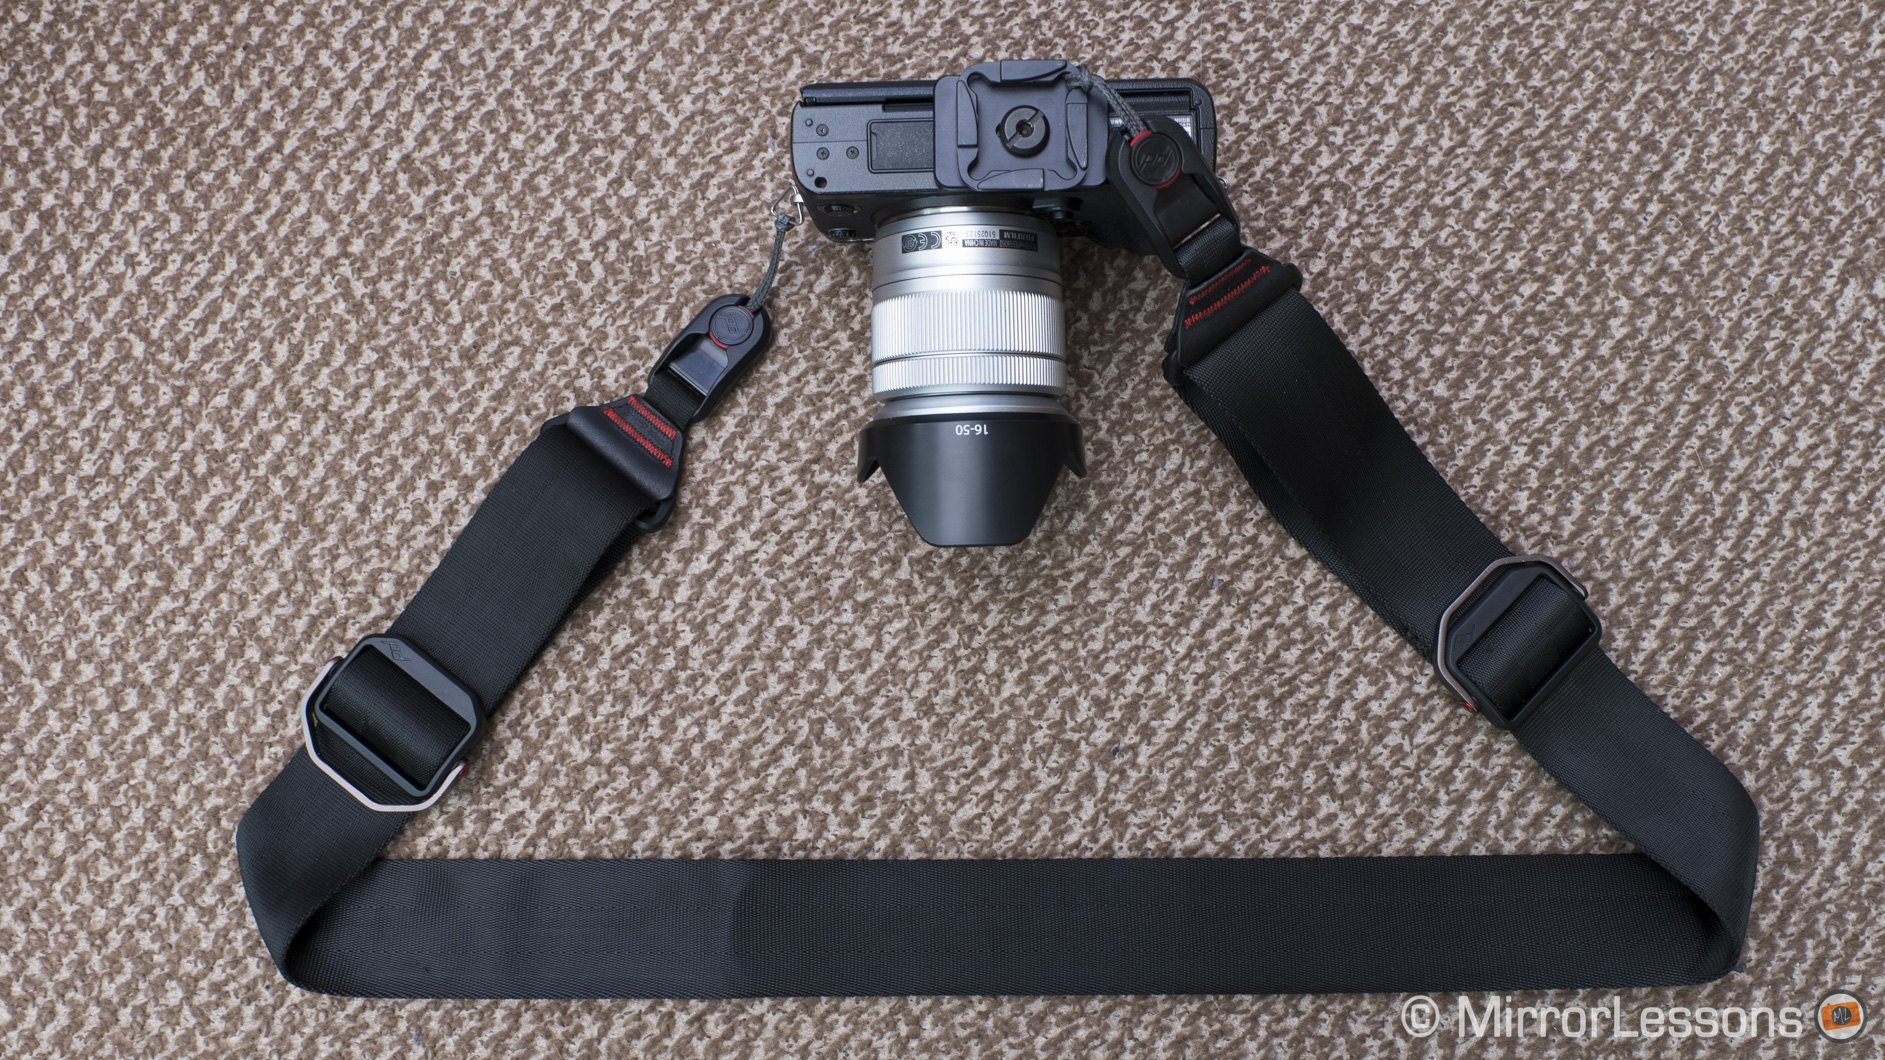
What I like about the CapturePRO:

  • An innovative carrying solution for all mirrorless cameras, big and small
  • Takes all pressure off of your shoulders and back
  • Small, light, durable and portable
  • Easy to use once you’ve got the hang of the system
  • Can be attached to belts, backpack straps, bag straps, and more
  • Can be used as a tripod clamp for certain tripod models
  • Is compatible with Peak Design’s anchor link system

thumb-down What I don’t like about the CapturePRO:

  • Can hurt your hipbone a little if used with a belt
  • Not compatible with all tripods

Want to find out more about the CapturePRO and Peak Design’s other innovative products? Then be sure to check out their official website!

Filed Under: Accessory Reviews, Tripods and supports

Finding a visual voice through street & documentary photography – An Interview with Satoki Nagata

23/04/2015 By Heather

Welcome to our series of 100 interviews we will be holding with professional photographers who use mirrorless cameras for work! “Switching to a smaller and lighter system” has become somewhat of a buzz phrase as of late, but many working photographers take this philosophy seriously. From medical reasons such as resolving back and shoulder pain to the simple realisation that bigger does not mean better, photographers are turning to mirrorless systems now more than ever before.

This week’s interview is with Satoki Nagata, a Japanese street and documentary photographer who resides in Chicago. Originally a PhD in neuroscience, he left the scientific field to pursue photography. In his words, he “use[s] photography to create relationships with the world to find [him]self.” He has held a number of photography exhibitions in Chicago, France, Italy and China over the years and has documented some of its most impoverished areas, namely the neighbourhood of Cabrini-Green and the Chicago Redline Station.

[Read more…] about Finding a visual voice through street & documentary photography – An Interview with Satoki Nagata

Filed Under: Interviews

Zeiss announces the Batis 25mm f/2.0 and 85mm f/1.8 for Sony’s Full-Frame E-Mount cameras

22/04/2015 By Heather

Back at Photokina 2014, we held a very interesting question and answer session with Zeiss product manager Christophe Casenave. During the interview, he stated in passing that Zeiss was really excited about the Sony FE series. Knowing this, we were almost certain that the next Zeiss announcement this year would have been a third Loxia lens, with a 25mm being the most logical choice. But we were certainly not expecting this…

Today, Carl Zeiss caught us all by surprise by announcing its first full-frame autofocus lenses for the Sony E-mount. This new family of lenses is specifically designed for the Sony’s full-frame mirrorless line-up (A7, A7r, A7s and A7 Mark II). And the good news is that Zeiss has started with two focal lengths that are currently missing from the FE line-up, the most exciting being the 85mm portrait lens. They will be exclusively developed and distributed by Zeiss itself.

[Read more…] about Zeiss announces the Batis 25mm f/2.0 and 85mm f/1.8 for Sony’s Full-Frame E-Mount cameras

Filed Under: Mirrorless News

  • « Go to Previous Page
  • Page 1
  • Interim pages omitted …
  • Page 30
  • Page 31
  • Page 32
  • Page 33
  • Page 34
  • Interim pages omitted …
  • Page 87
  • Go to Next Page »

Primary Sidebar

Reminder

We have moved! Our latest reviews can be found on Mirrorless Comparison and YouTube.

DISCLAIMER & COPYRIGHT NOTICE

Heather Broster is participant in the Amazon Services LLC Associates Program, an affiliate advertising program designed to provide a means for us to earn fees by linking to Amazon.com and affiliated sites.

Heather Broster is a participant in the Amazon EU Associates Programme, an affiliate advertising programme designed to provide a means for sites to earn advertising fees by advertising and linking to Amazon.co.uk.

Heather Broster and Mathieu Gasquet are also participants in the following affiliate programs: B&H Photo Affiliate Program, Ebay Partner Network, Skylum (Impact Radius), Expert Shield, The Inspired Eye, and Mediterranean Photo Tours.

To read more information, visit our full Disclaimer page. Thank you!


© HEATHER BROSTER/MATHIEU GASQUET AND MIRRORLESSONS, 2013-2024

Unauthorized use and/or duplication of this material without express and written permission from this blog’s author and/or owner is strictly prohibited. Excerpts and links may be used, provided that full and clear credit is given to Heather Broster/Mathieu Gasquet and Mirrorless Comparison with appropriate and specific direction to the original content.