In 2013 I wrote an in-depth article about post-processing the Fuji X100s colours with Adobe Lightroom and many other software programs. One of the most interesting benefits when working with Fuji X-Trans cameras is their unique colour palette rendering. The colours look different, less digital than any other camera. But to completely enjoy them, you need to rely on the OOC JPGs. If you want to work with the raw files and not lose these colours, you have to find a software that can match them as closely as possible. Unfortunately, Adobe Lightroom and Camera Raw were the last on the list regarding colour accuracy.
Personally, I’ve really been looking forward to this update. I always use Lightroom not only because I find it very versatile and fast but also because I have an Adobe Creative Cloud subscription, so the software is already included. Why spend money on another one?
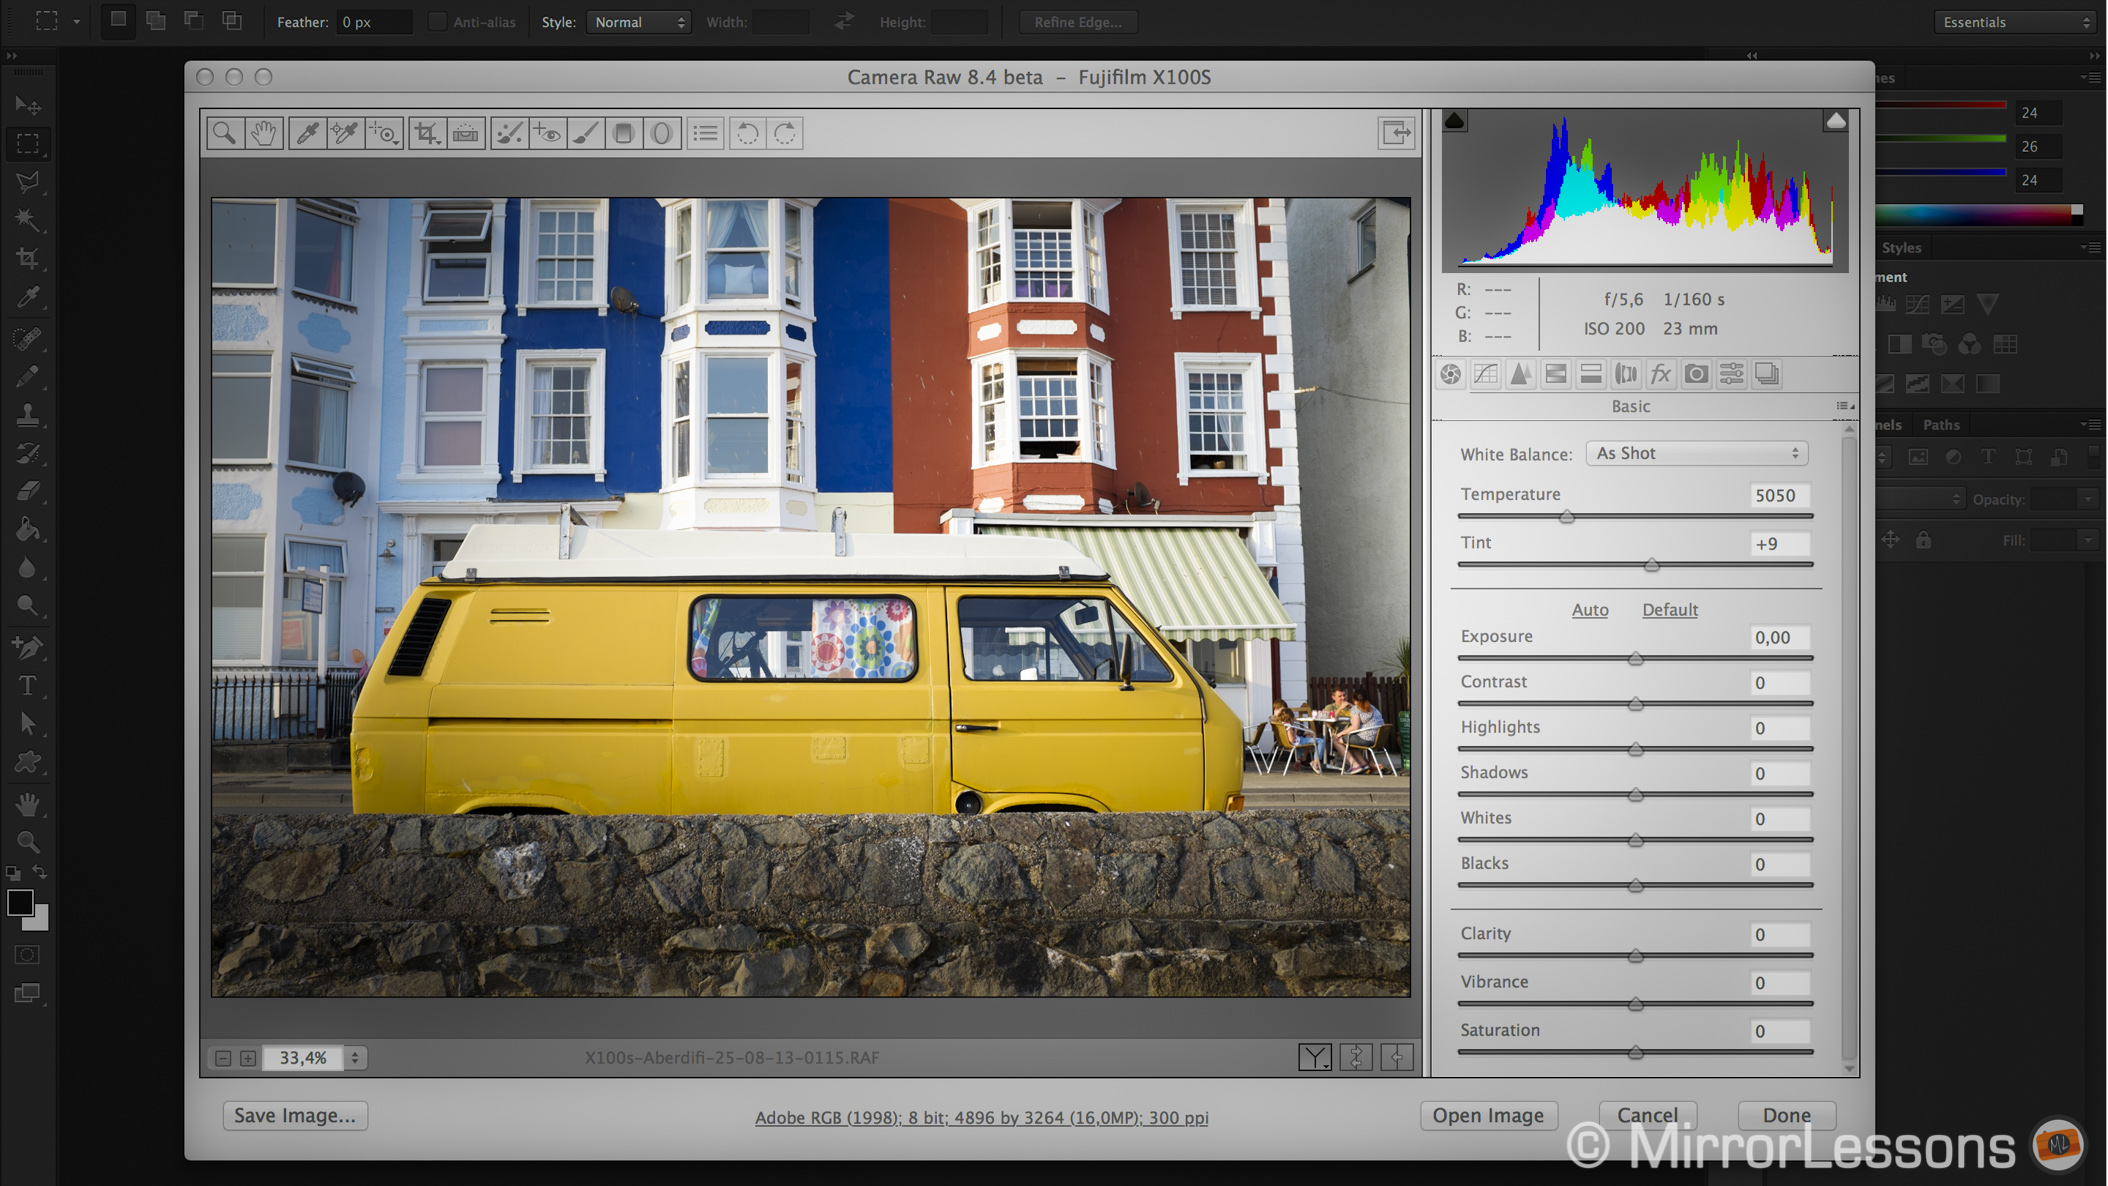
A few days ago, Adobe released a candidate version of the next Camera Raw update. Candidate means that the update is not the final version that will be officially released to the public. It has already been tested but Adobe has made it available to the public for further feedback. This new 8.4 version includes all the film simulation modes (picture profiles) that we can find on Fuji X cameras. They have been developed by Adobe with Fujifilm supervision. The first time I heard about it was during the X-T1 presentation but it was confidential information at the time. Now, it’s finally live!
Adobe hasn’t released the new version of Lightroom yet, so in order to test the new Camera Raw I used Photoshop on its own.
Note: Colours can be subjective and can vary depending on the calibration of your computer screen or if you are seeing the images on a tablet or smartphone. My comments are based on photographs post-processed with Camera Raw 8.4 on a MacBook Pro Retina.
Fuji Film Simulation: Provia
The first example is with the standard Fuji profile, also known as Provia. It is the profile I use the least but the first results suggest that Adobe has done a good job of faithfully reproducing the colours.
For all the images included in this article: move the mouse over the image to reveal the ACR 8.4 version. If you are reading this on a tablet or smartphone, use the thumbnail further down.
X20 – OOC JPG, Provia (left) > Adobe Standard (right)
[twentytwenty]


[/twentytwenty]
X20 – OOC JPG, Provia (left) > ACR 8.4, Provia (right)
[twentytwenty]


[/twentytwenty]
Fuji Film Simulation: Astia
Astia is my favorite film simulation mode. The first example is one of my favourite shots taken with the X100s. I really love the original colours of the OOC JPG, but if I open the RAW file with Photoshop or Lightroom, the colours are quite different.
X100s – OOC JPG, Astia (left) > Adobe Standard (right)
[twentytwenty]


[/twentytwenty]
If I open the same RAW file with Photoshop and the new Camera Raw version 8.4 and select the film simulation mode (in this case Astia/Soft), we can already see that the colours are closer to the original JPG file.
X100s – OOC JPG, Astia (left) > ACR 8.4, Astia (right)
[twentytwenty]


[/twentytwenty]
Now, we still see some differences especially regarding saturation and contrast. This is because the Fuji camera profiles included with ACR 8.4 are only affecting the colours, not the contrast or the saturation set in camera. If I then apply some saturation and colour vibrance to the RAW file, I can easily generate a similar result.
X100s – OOC JPG, Astia (left) > ACR 8.4, Astia edited (right)
[twentytwenty]


[/twentytwenty]
With the Astia profile, I found contradictory results depending on the image and light. In some case the result is very close to the JPG like in the examples below…
X100s – OOC JPG, Astia (left) > ACR 8.4, Astia (right)
[twentytwenty]


[/twentytwenty]
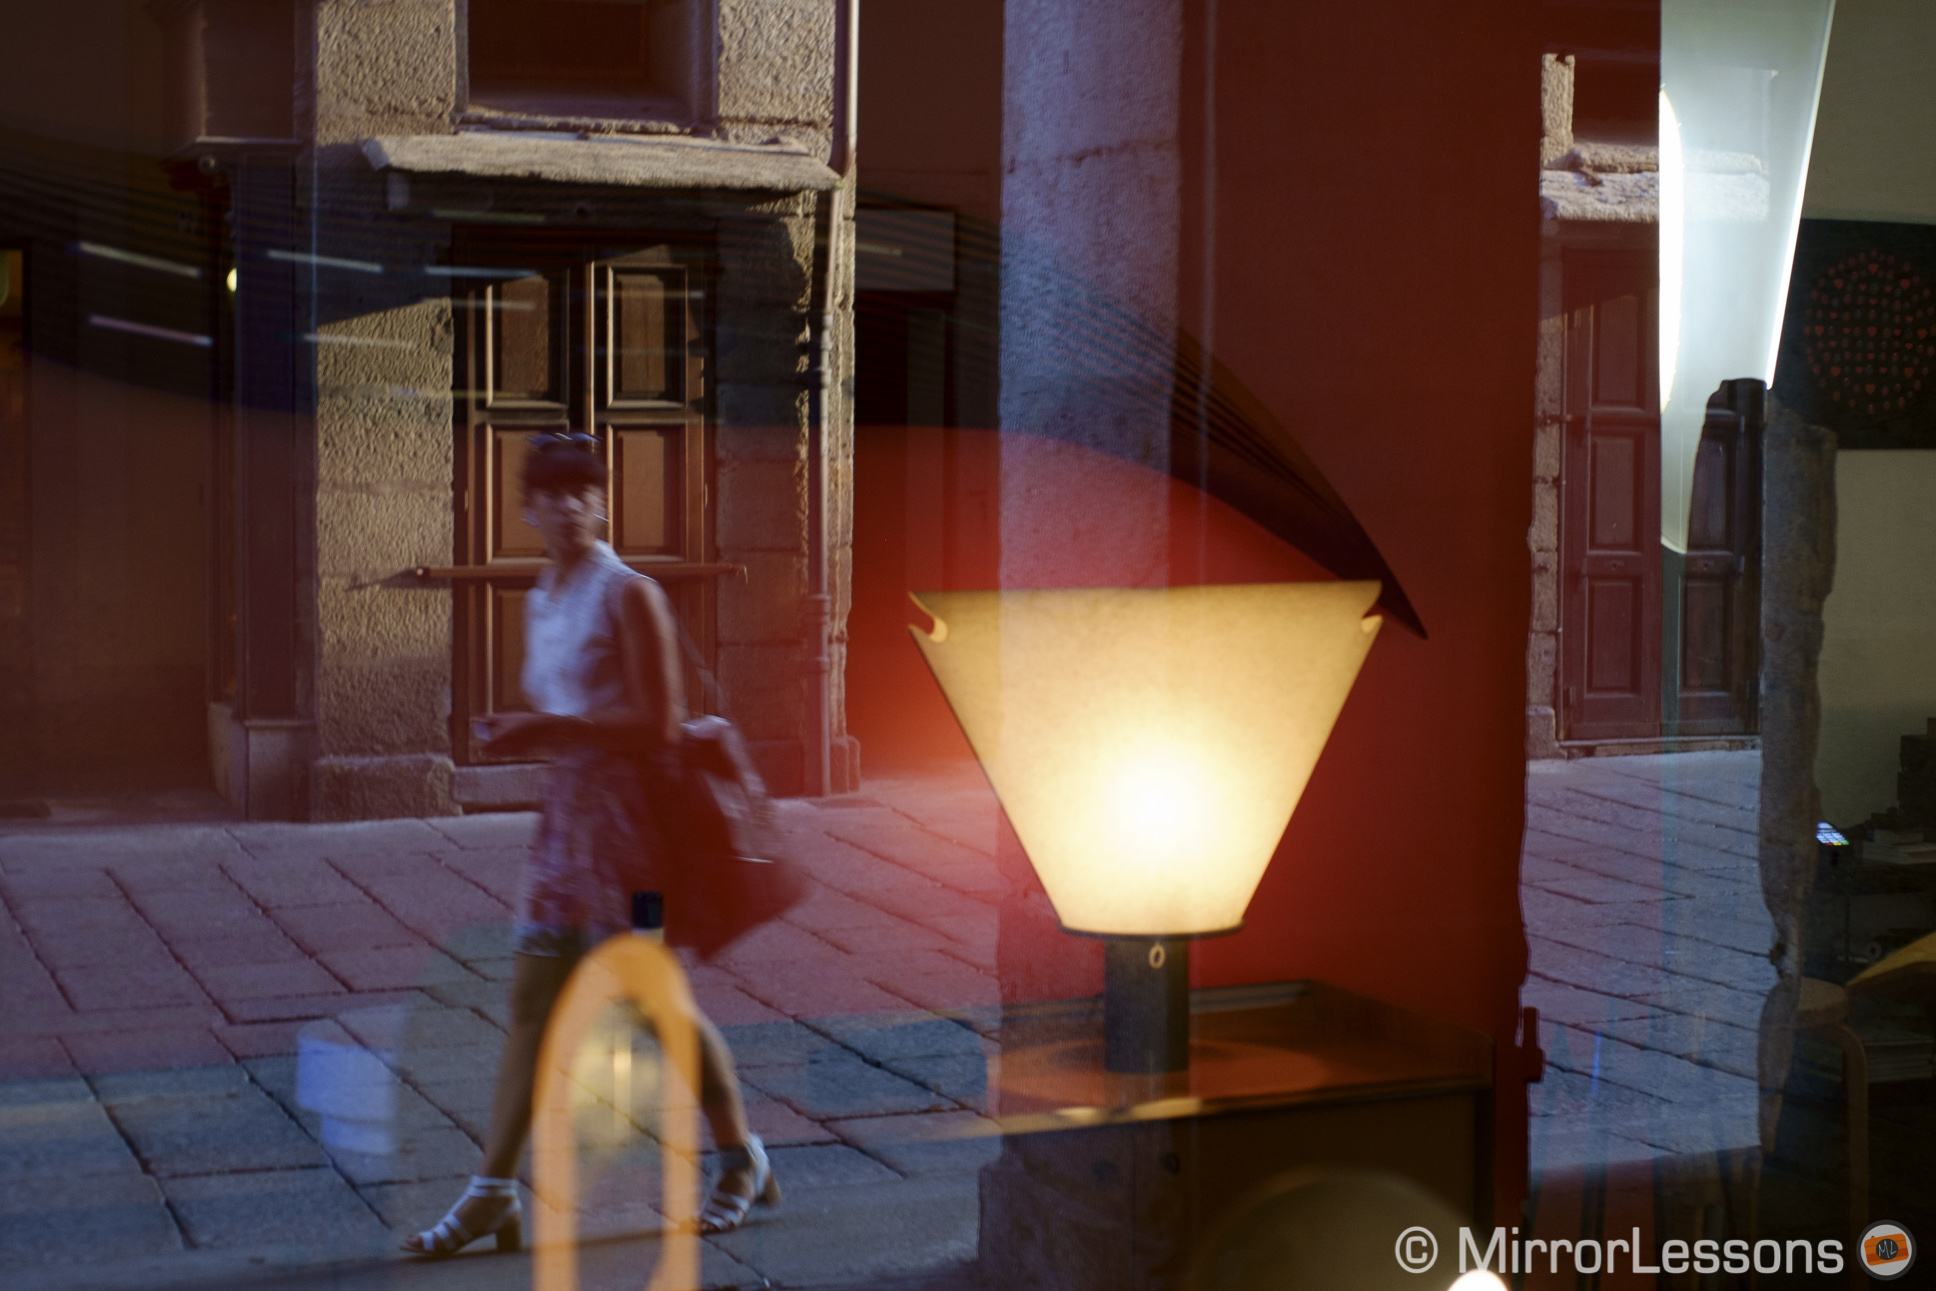
X-Pro1 – OOC JPG, Astia (left) > ACR 8.4, Astia (right)
[twentytwenty]

[/twentytwenty]
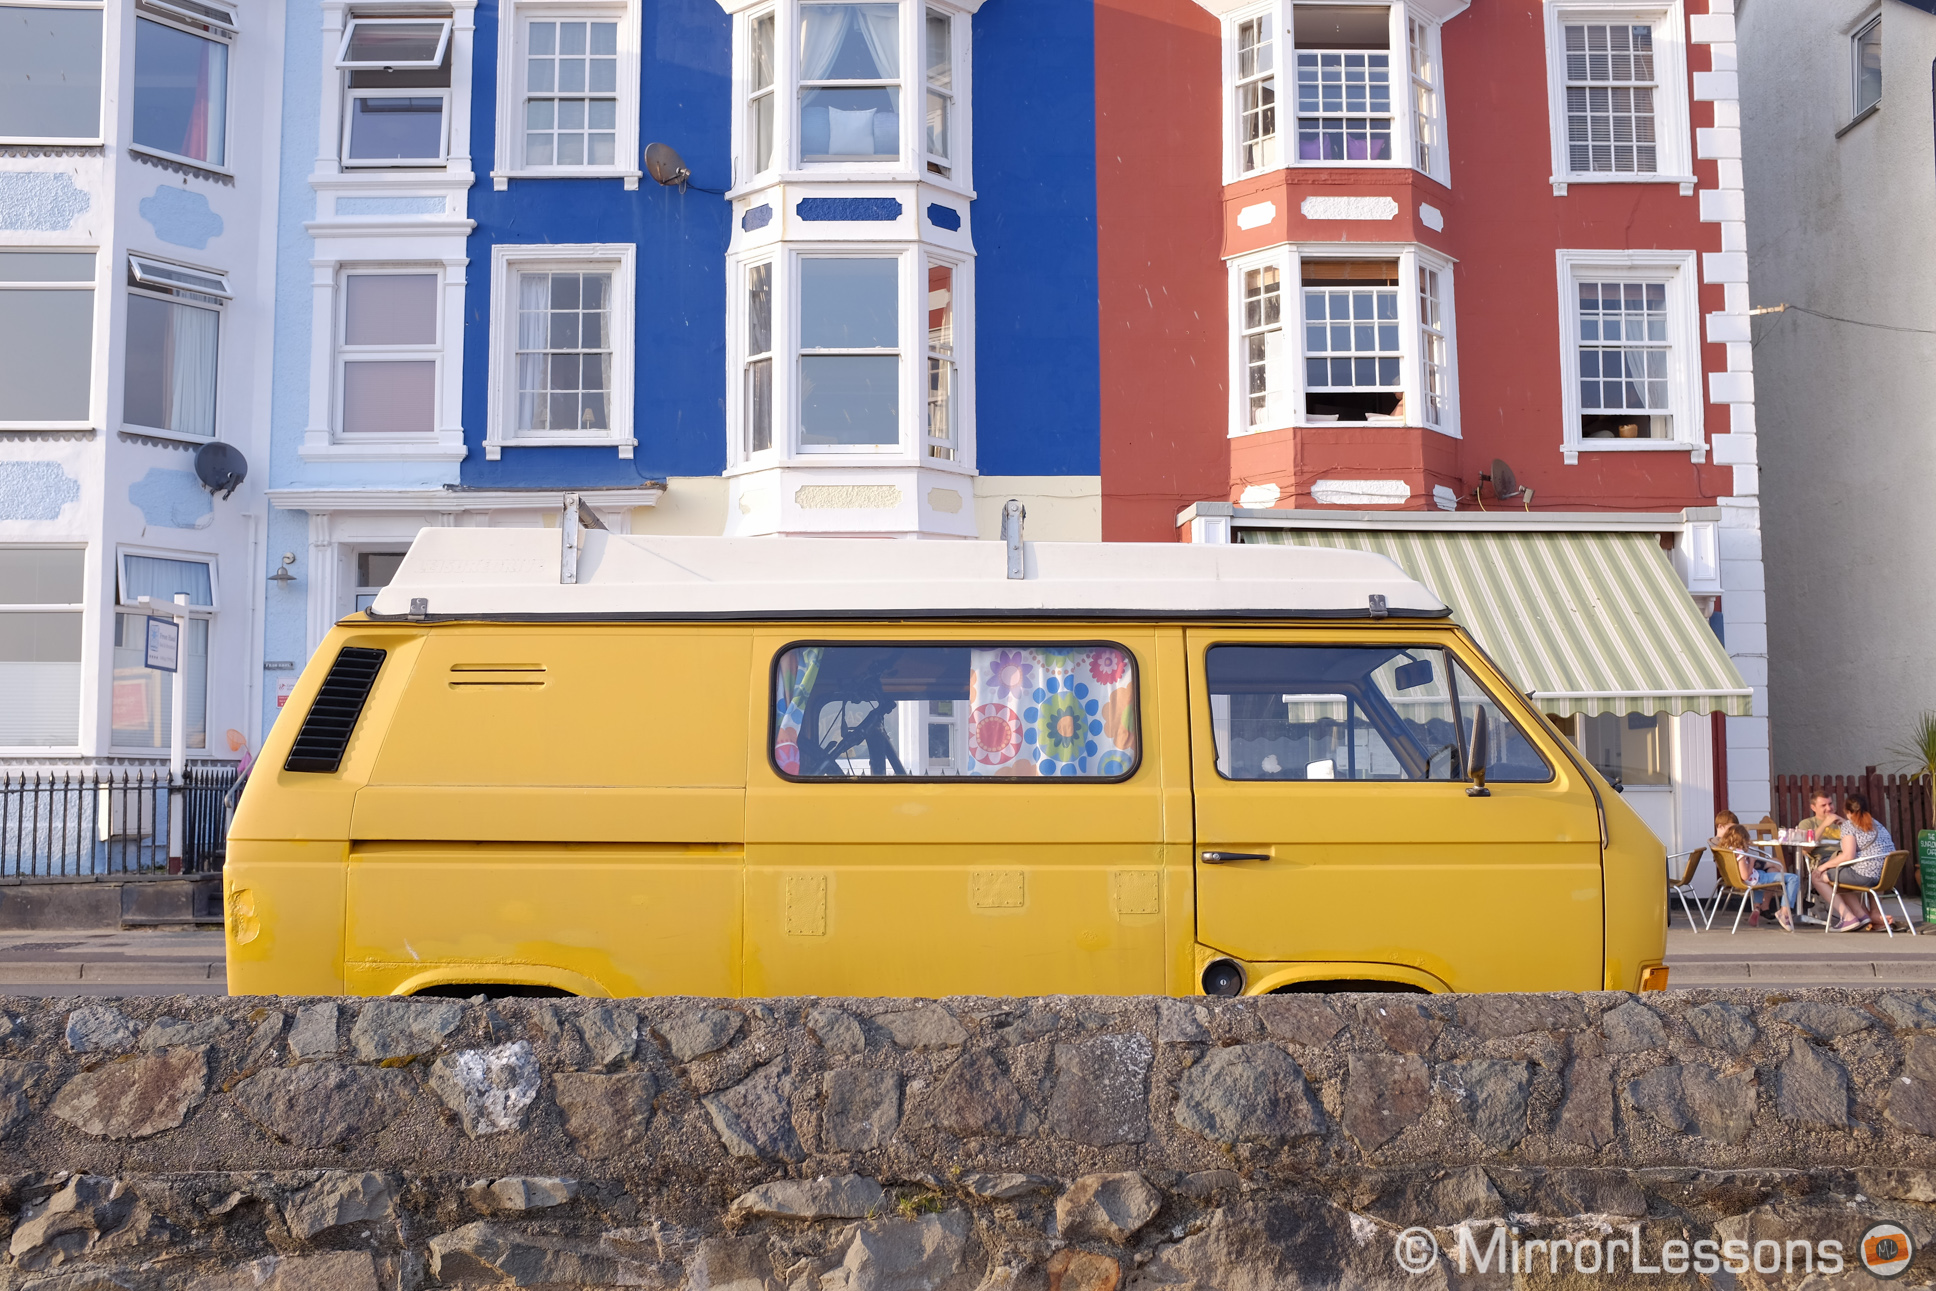
… in other cases the result is noticeably different. I guess there are also other factors involved in the JPG setting. In the example below the white balance and tint varies between the OOC JPG and the original RAW version. But let’s not forget that this Camera Raw update is not the final one, therefore there may be some things to tweak before the final release.
X100s – OOC JPG, Astia (left) > ACR 8.4, Astia (right)
[twentytwenty]

[/twentytwenty]
X100s – OOC JPG, Astia (left) > ACR 8.4, Astia (right)
[twentytwenty]


[/twentytwenty]
Fuji Film Simulation: Velvia
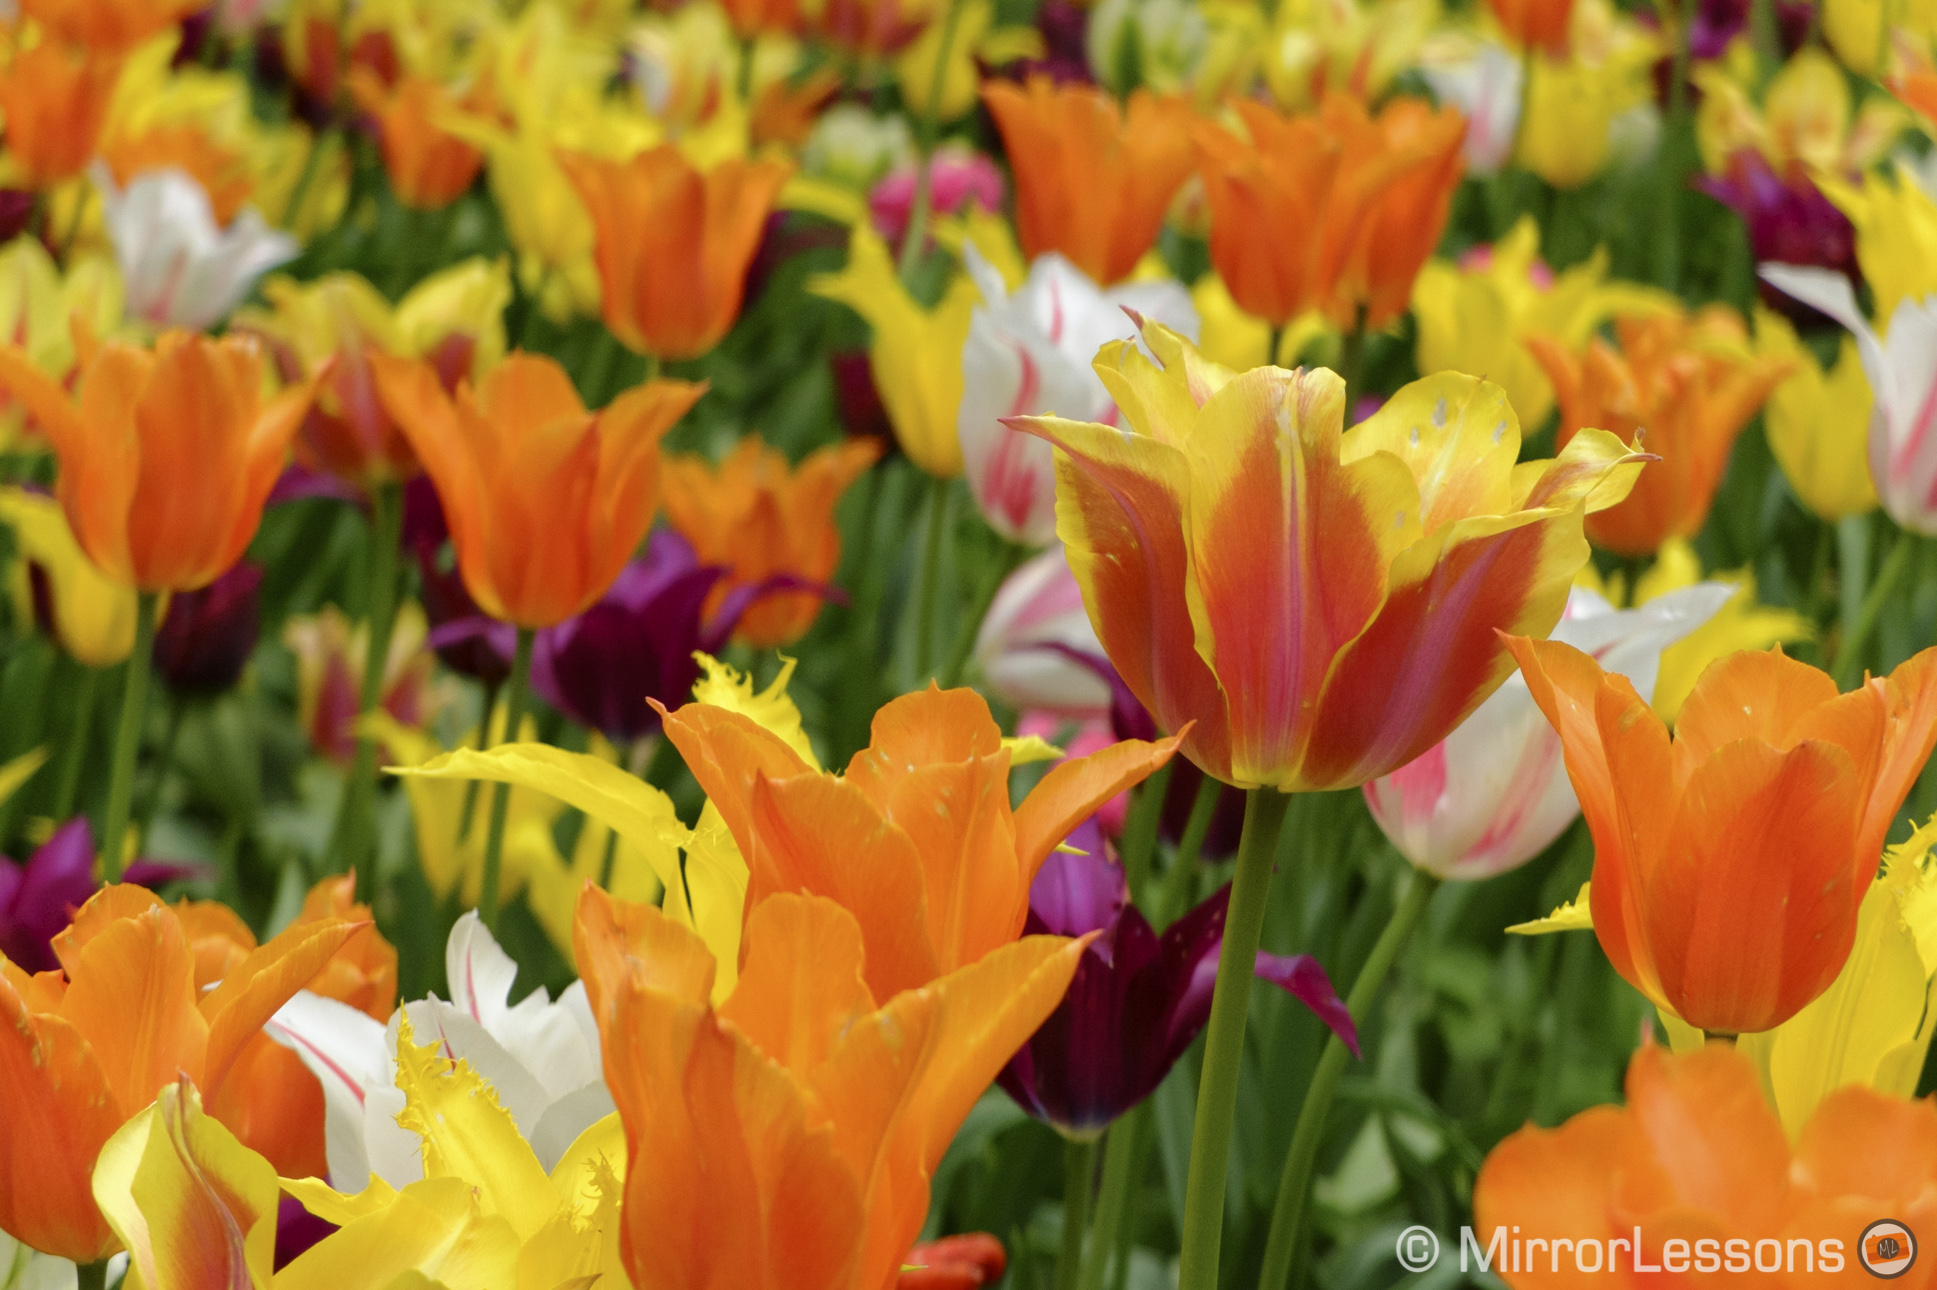
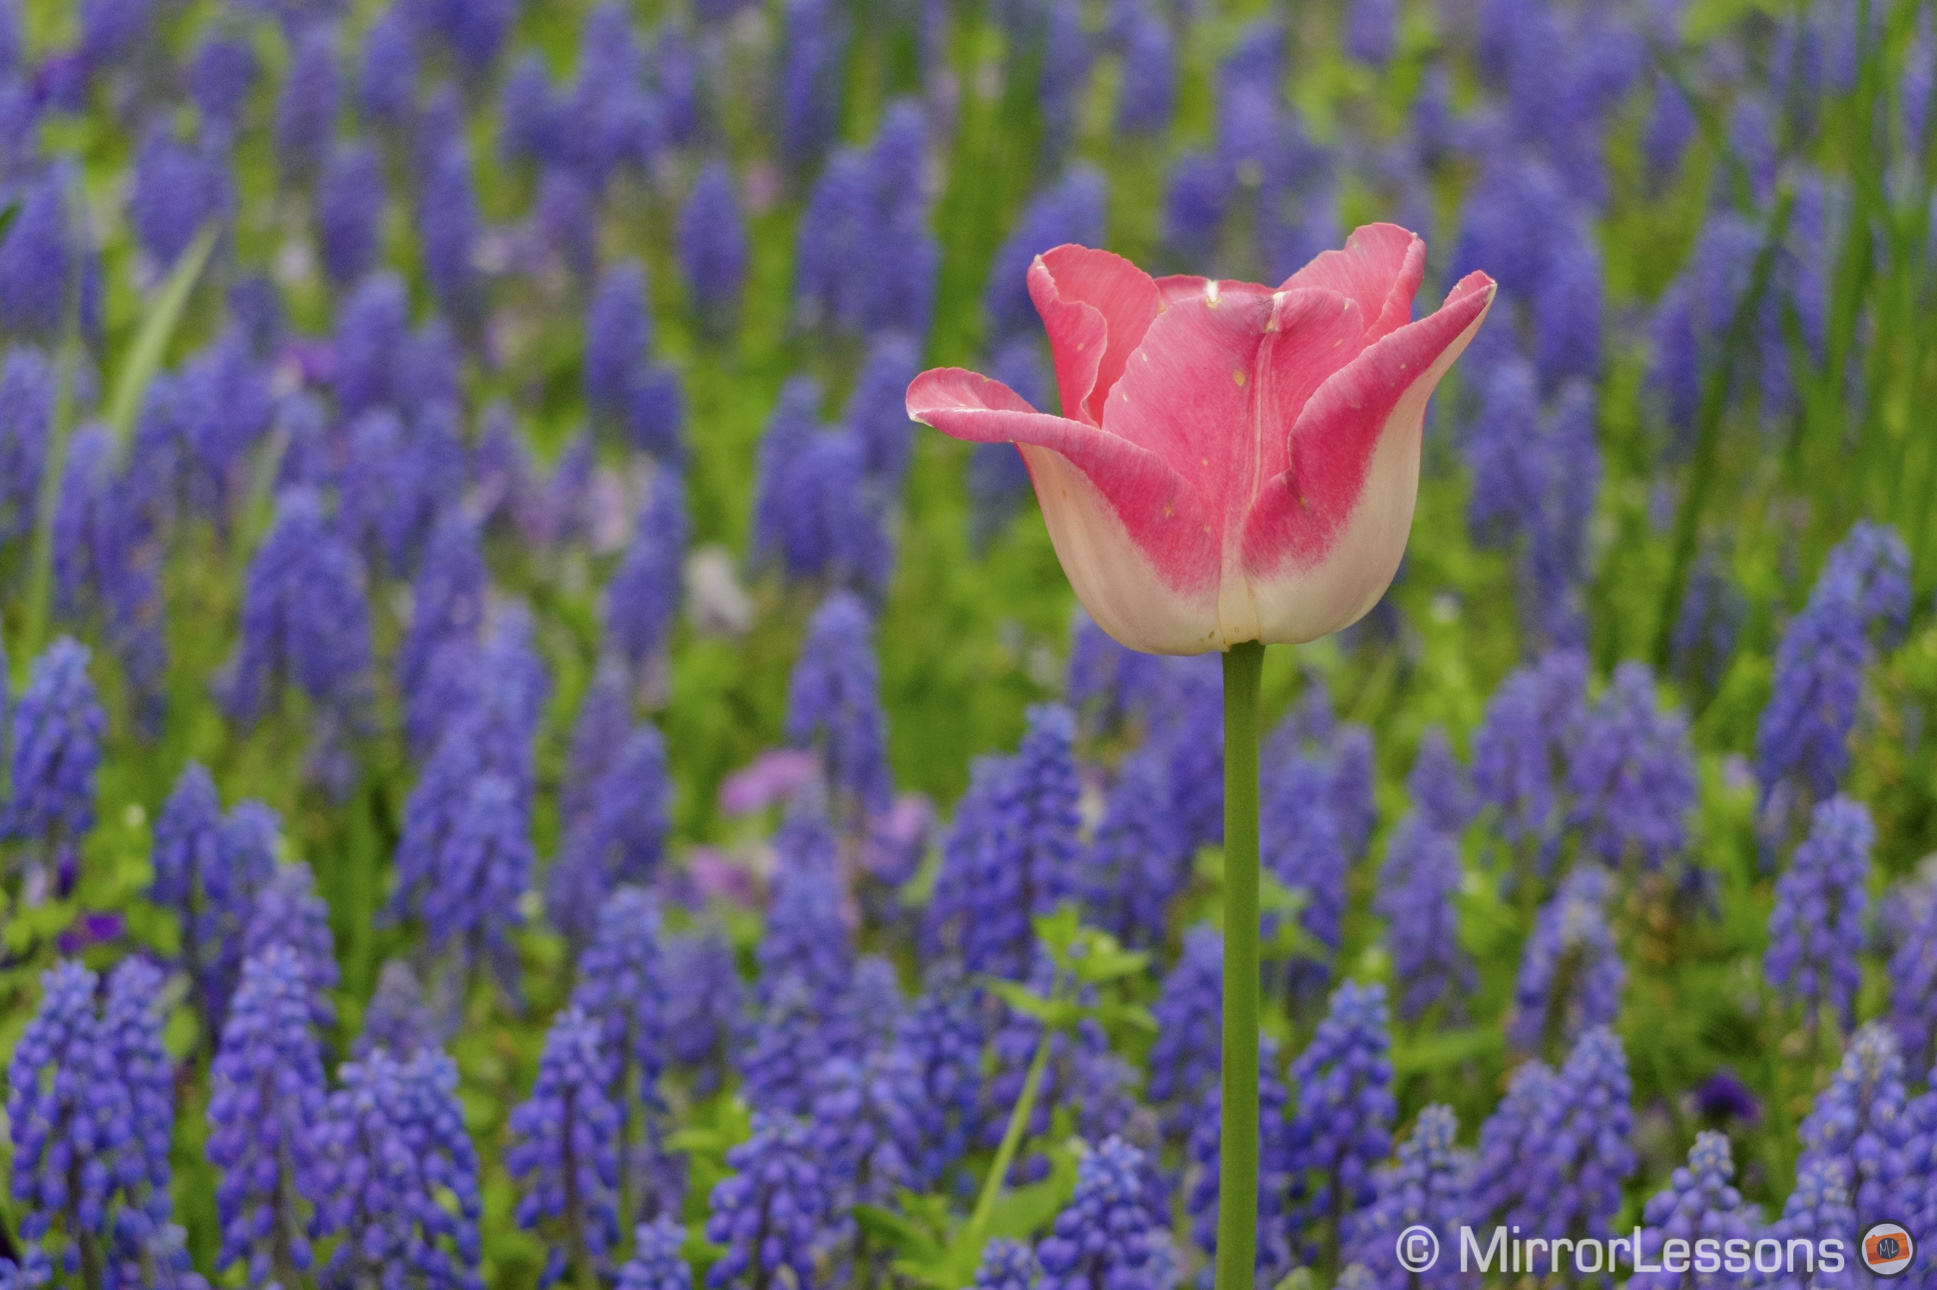
Velvia is the most vivid profile with very nice saturated colours. With the photos I tested ACR 8.4 seems to work very well. Colours are close to the OOC JPGs. Again, look for colours only and not contrast as the raw files have more dynamic range.
X-M1 – OOC JPG, Velvia (left) > ACR 8.4, Velvia (right)
[twentytwenty]


[/twentytwenty]
X20 – OOC JPG, Velvia (left) > ACR 8.4, Velvia (right)
[twentytwenty]

[/twentytwenty]
X20 – OOC JPG, Velvia (left) > ACR 8.4, Velvia (right)
[twentytwenty]

[/twentytwenty]
With the Velvia profile, the results seem more coherent than with Astia.
Fuji Film Simulation: Monochrome
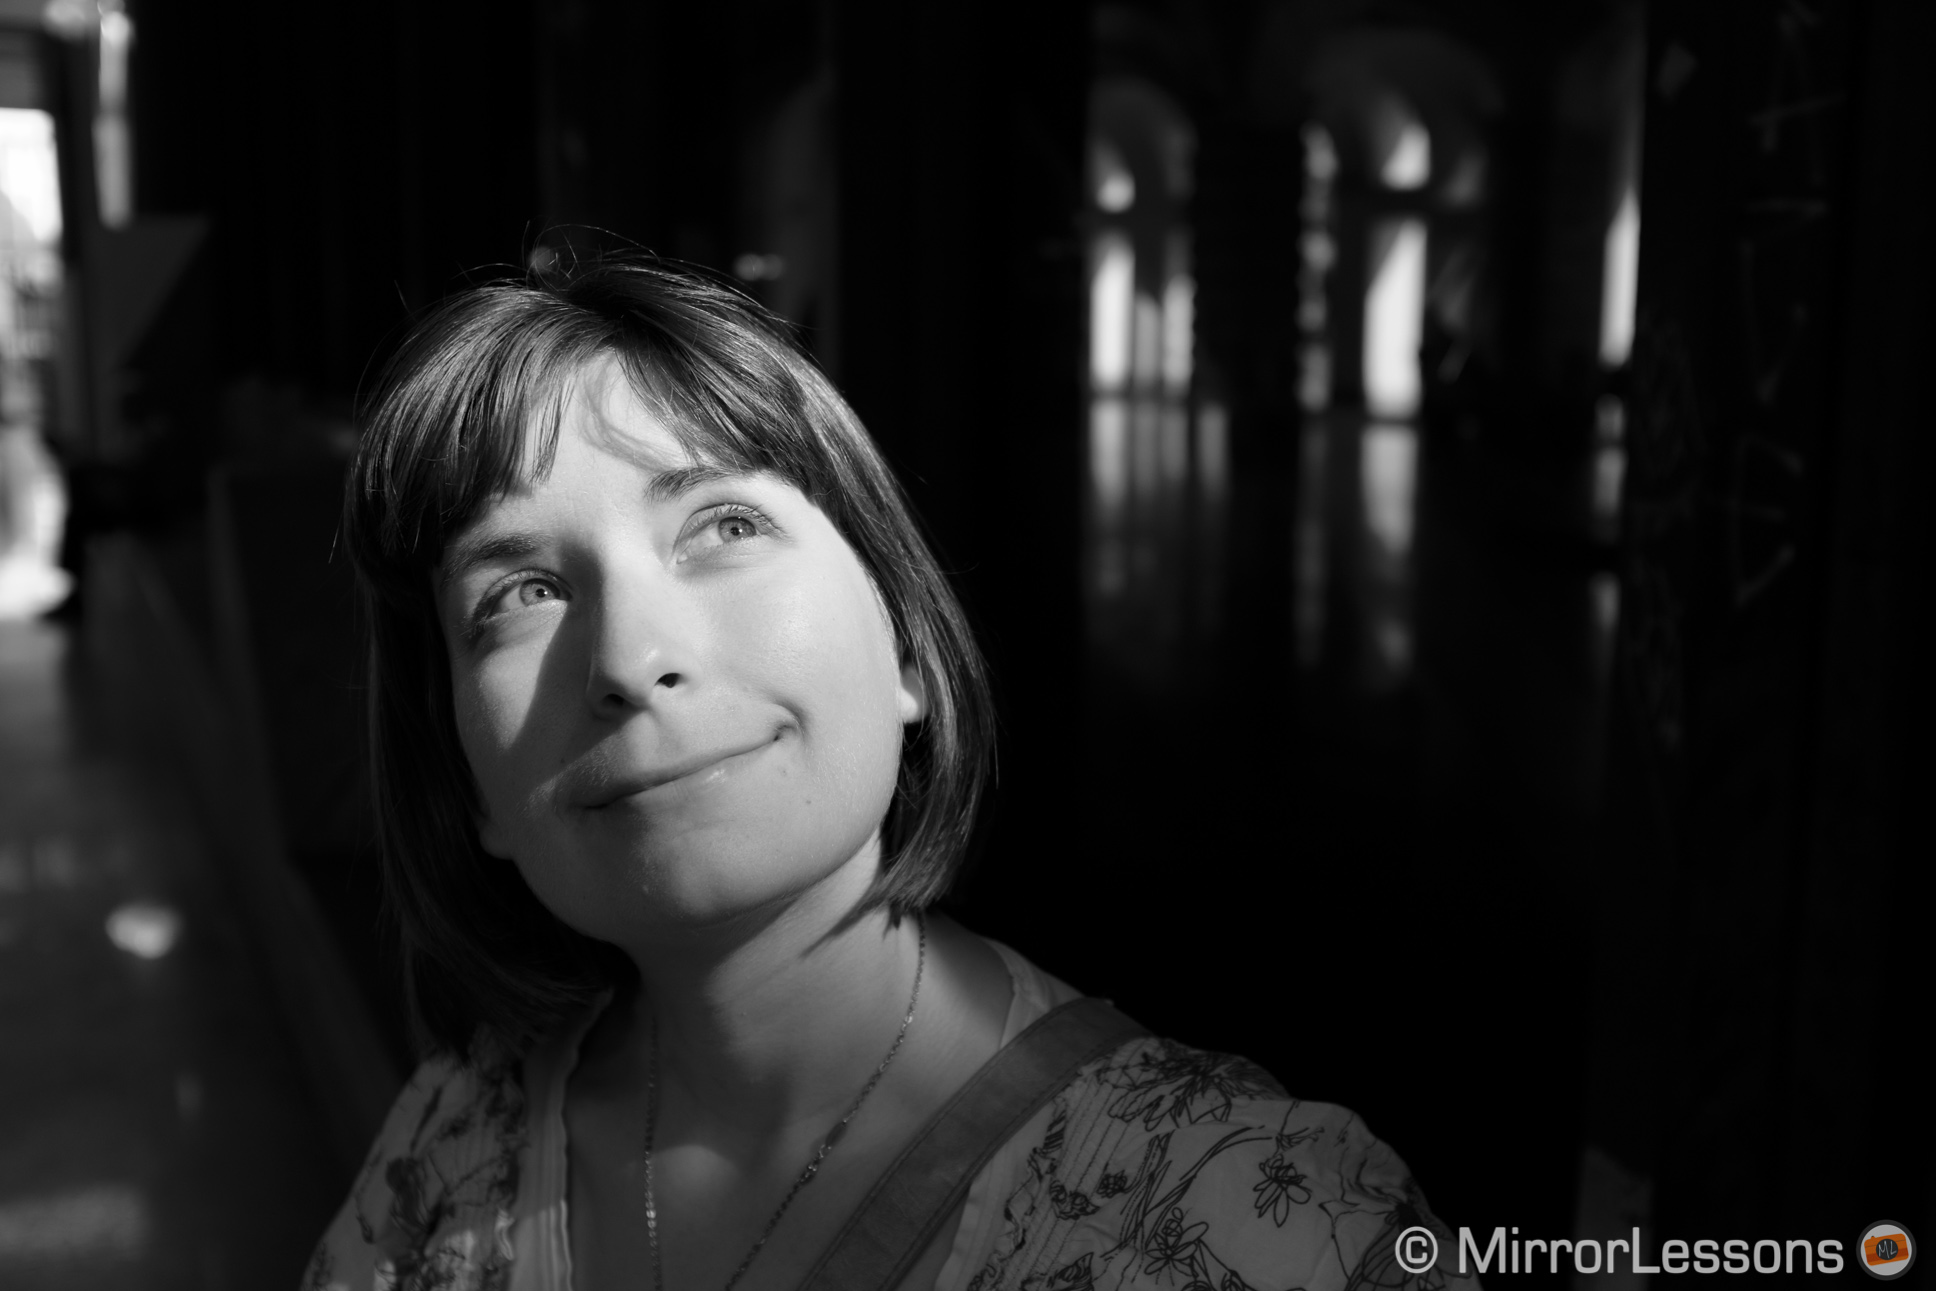
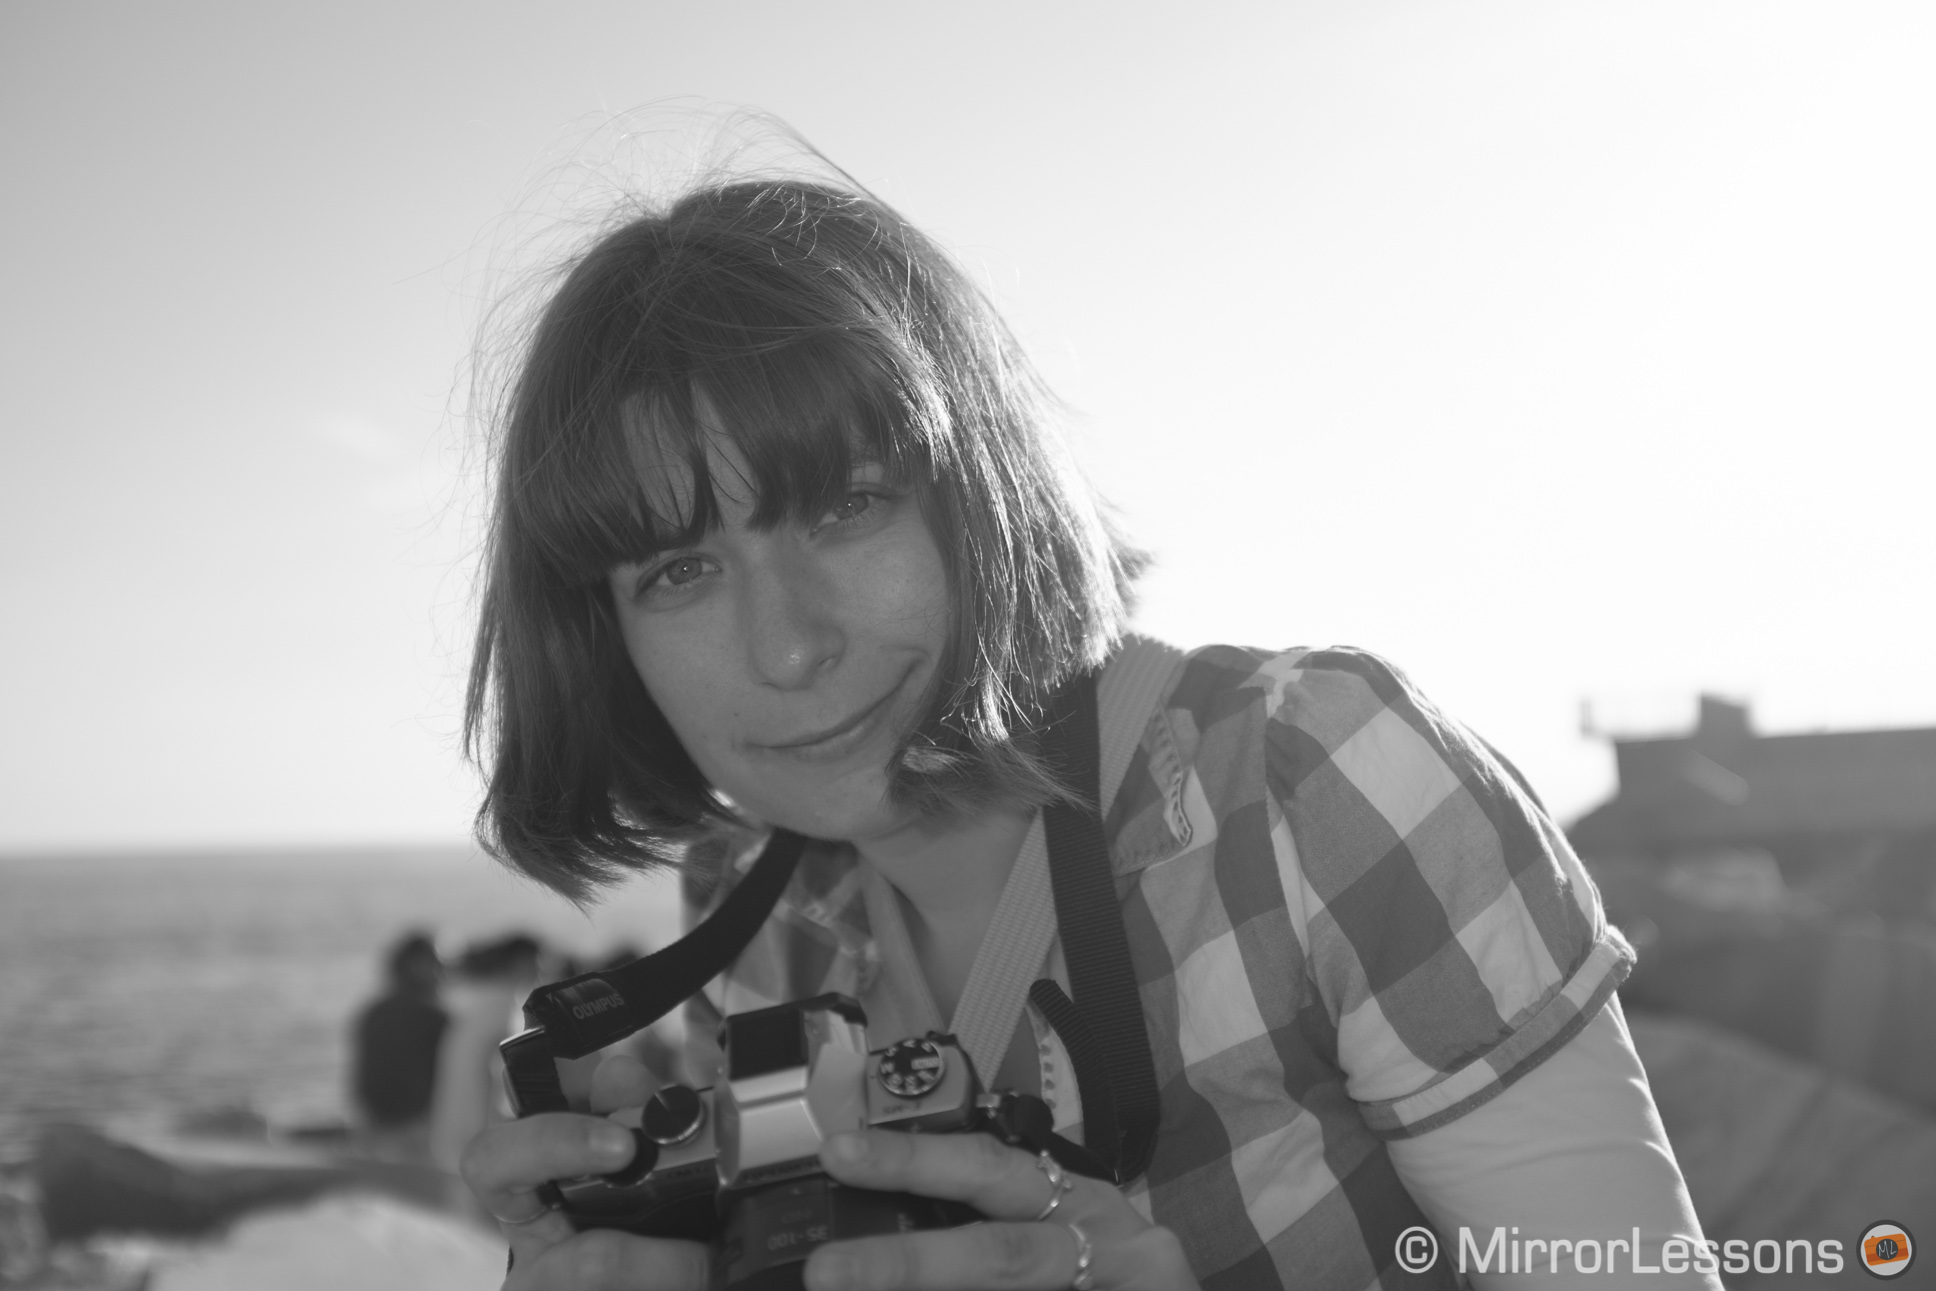
While this last chapter could seem contradictory in light of there not being any colours involved, one of the things I also appreciate about Fuji’s film simulation modes are the black and white capabilities. As I already mentioned, with the right settings you can get nice results with the OOC JPGs, but what if I wanted to post-process the raw files starting with the result I originally saw on my camera screen?
Thanks to implementation of film simulation modes in Adobe, I can now post-process my raw files using the black and white rendering as a rough starting point. I’ve found it much easier to recreate an OOC JPG using the Adobe monochrome film simulation mode as a base than to start from scratch.
X100s – OOC JPG, Monochrome Red (left) > ACR 8.4, Monochrome Red (right)
[twentytwenty]

[/twentytwenty]
X100s – OOC JPG, Monochrome Red (left) > ACR 8.4, Monochrome Red (right)
[twentytwenty]


[/twentytwenty]
X100s – OOC JPG, Monochrome Green (left) > ACR 8.4, Monochrome Green (right)
[twentytwenty]

[/twentytwenty]
Conclusion
I have focused mainly on colours in this article, as I know that there are many users who are unsatisfied with the way Adobe softwares reads Fuji X-Trans sensors files. Unfortunately, the ACR 8.4 update doesn’t seem to have brought about any real improvements in this regard. For software that render the RAF files with better detail and sharpness, you’ll have more luck with the likes of Iridient Developer, Photo Ninja or Capture One.
Having said this, the update remains interesting as it gives you a starting point to build upon in the recreation of your Fujifilm OOC JPGs taken with the in-camera film simulation modes. The rendering may not be identical but at least you aren’t creating something out of nothing as you would be if you were working the RAF files without the Camera Raw update.
Of course, I will wait for the final and official update of Lightroom and Camera Raw before I deliver my final word on the topic.
