Though I’ve always had a fondness for long exposure photography, my interest in seriously experimenting with it myself first emerged when I came across FlixelPix’s excellent article about using the LEE Seven5 System with the Fujifilm X100s. In his article, he speaks about his initial outings with the Big Stopper, a 10-stop ND filter for daytime long exposures, and shares what he calls “test shots,” though I’m sure you’ll agree they are deserving of a better title than that! 🙂
Up until recently, the Big Stopper had been the only long exposure option from LEE for compact system cameras. However, complaints that 10-stops was too much for sunrises and sunsets led the company to produce a second filter, the 6-stop LEE Little Stopper, which is the filter I spontaneously ended up ordering at the UK Photography Show a couple of weeks ago.
I found it pretty hard to contain my delight when a package containing the filter showed up on my doorstep this week!
Long Exposures Made Easier

I’ll admit that I was fairly apprehensive about dabbling in long exposures, mostly due to the long explanations, multitude of steps, and mathematical calculations I had come across while searching for information on how to achieve the perfect exposure.
These included:
- composing your image without the filter
- manually focussing your camera before placing the filter in front of the lens
- calculating the appropriate shutter speed by either using a mathematical equation (or a smartphone app that will do it for you) or following an exposure guide like the one included in the Little Stopper kit
- setting the shutter to B (bulb) mode and timing the exposure with a stop watch
- covering the viewfinder eyepiece to avoid light leaking into the camera, flare and fogging
It is true that these steps were essential back in the day of film cameras, when light could easily leak through the OVF, and LCDs and OLEDs were the stuff of science fiction.
But with technologically-rich cameras like the Olympus Pen E-P5, for example, you can basically skip all these steps and get straight to shooting.
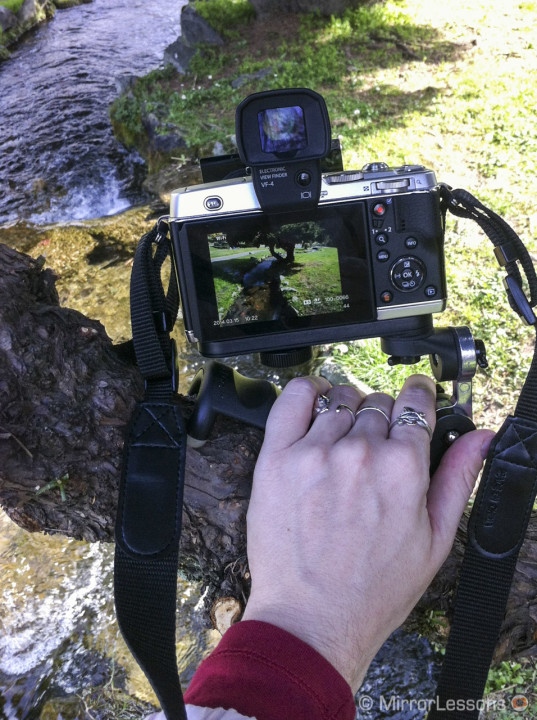
In the place of a mathematical equation, the live preview function of the Pen E-P5’s LCD and EVF is now the key to seeing whether or not your exposure is correct. Even with the Little Stopper attached, the camera will always give you an accurate preview of how your image will appear at various shutter speeds and apertures.
Manually focussing your camera before adding the filter is no longer an issue either. The Pen E-P5’s autofocus continues to work flawlessly even with the filter in place. Happily, I found the same results with the autofocus on the Sony A7 and the Fujifilm X100s as well.
As for the light leak issue, it simply doesn’t exist on a camera that either has an electronic viewfinder, or lacks a viewfinder altogether like the E-P5.
In short, shooting with the Little Stopper extremely similar to shooting without it if you use a technologically-advanced mirrorless camera. Perhaps the only difference is that, with it attached, you may encounter more strange looks from people on the streets than usual! 😉
Note: As the heading suggests, I believe that technology has made long exposures easier, but certainly not easy. It would be presumptuous of me to say that anyone can go out and become a long exposure photographer in a matter of minutes. Every genre of landscape photography requires an excellent understanding of composition, and that only comes with years of experience.
My Set-Up and Settings
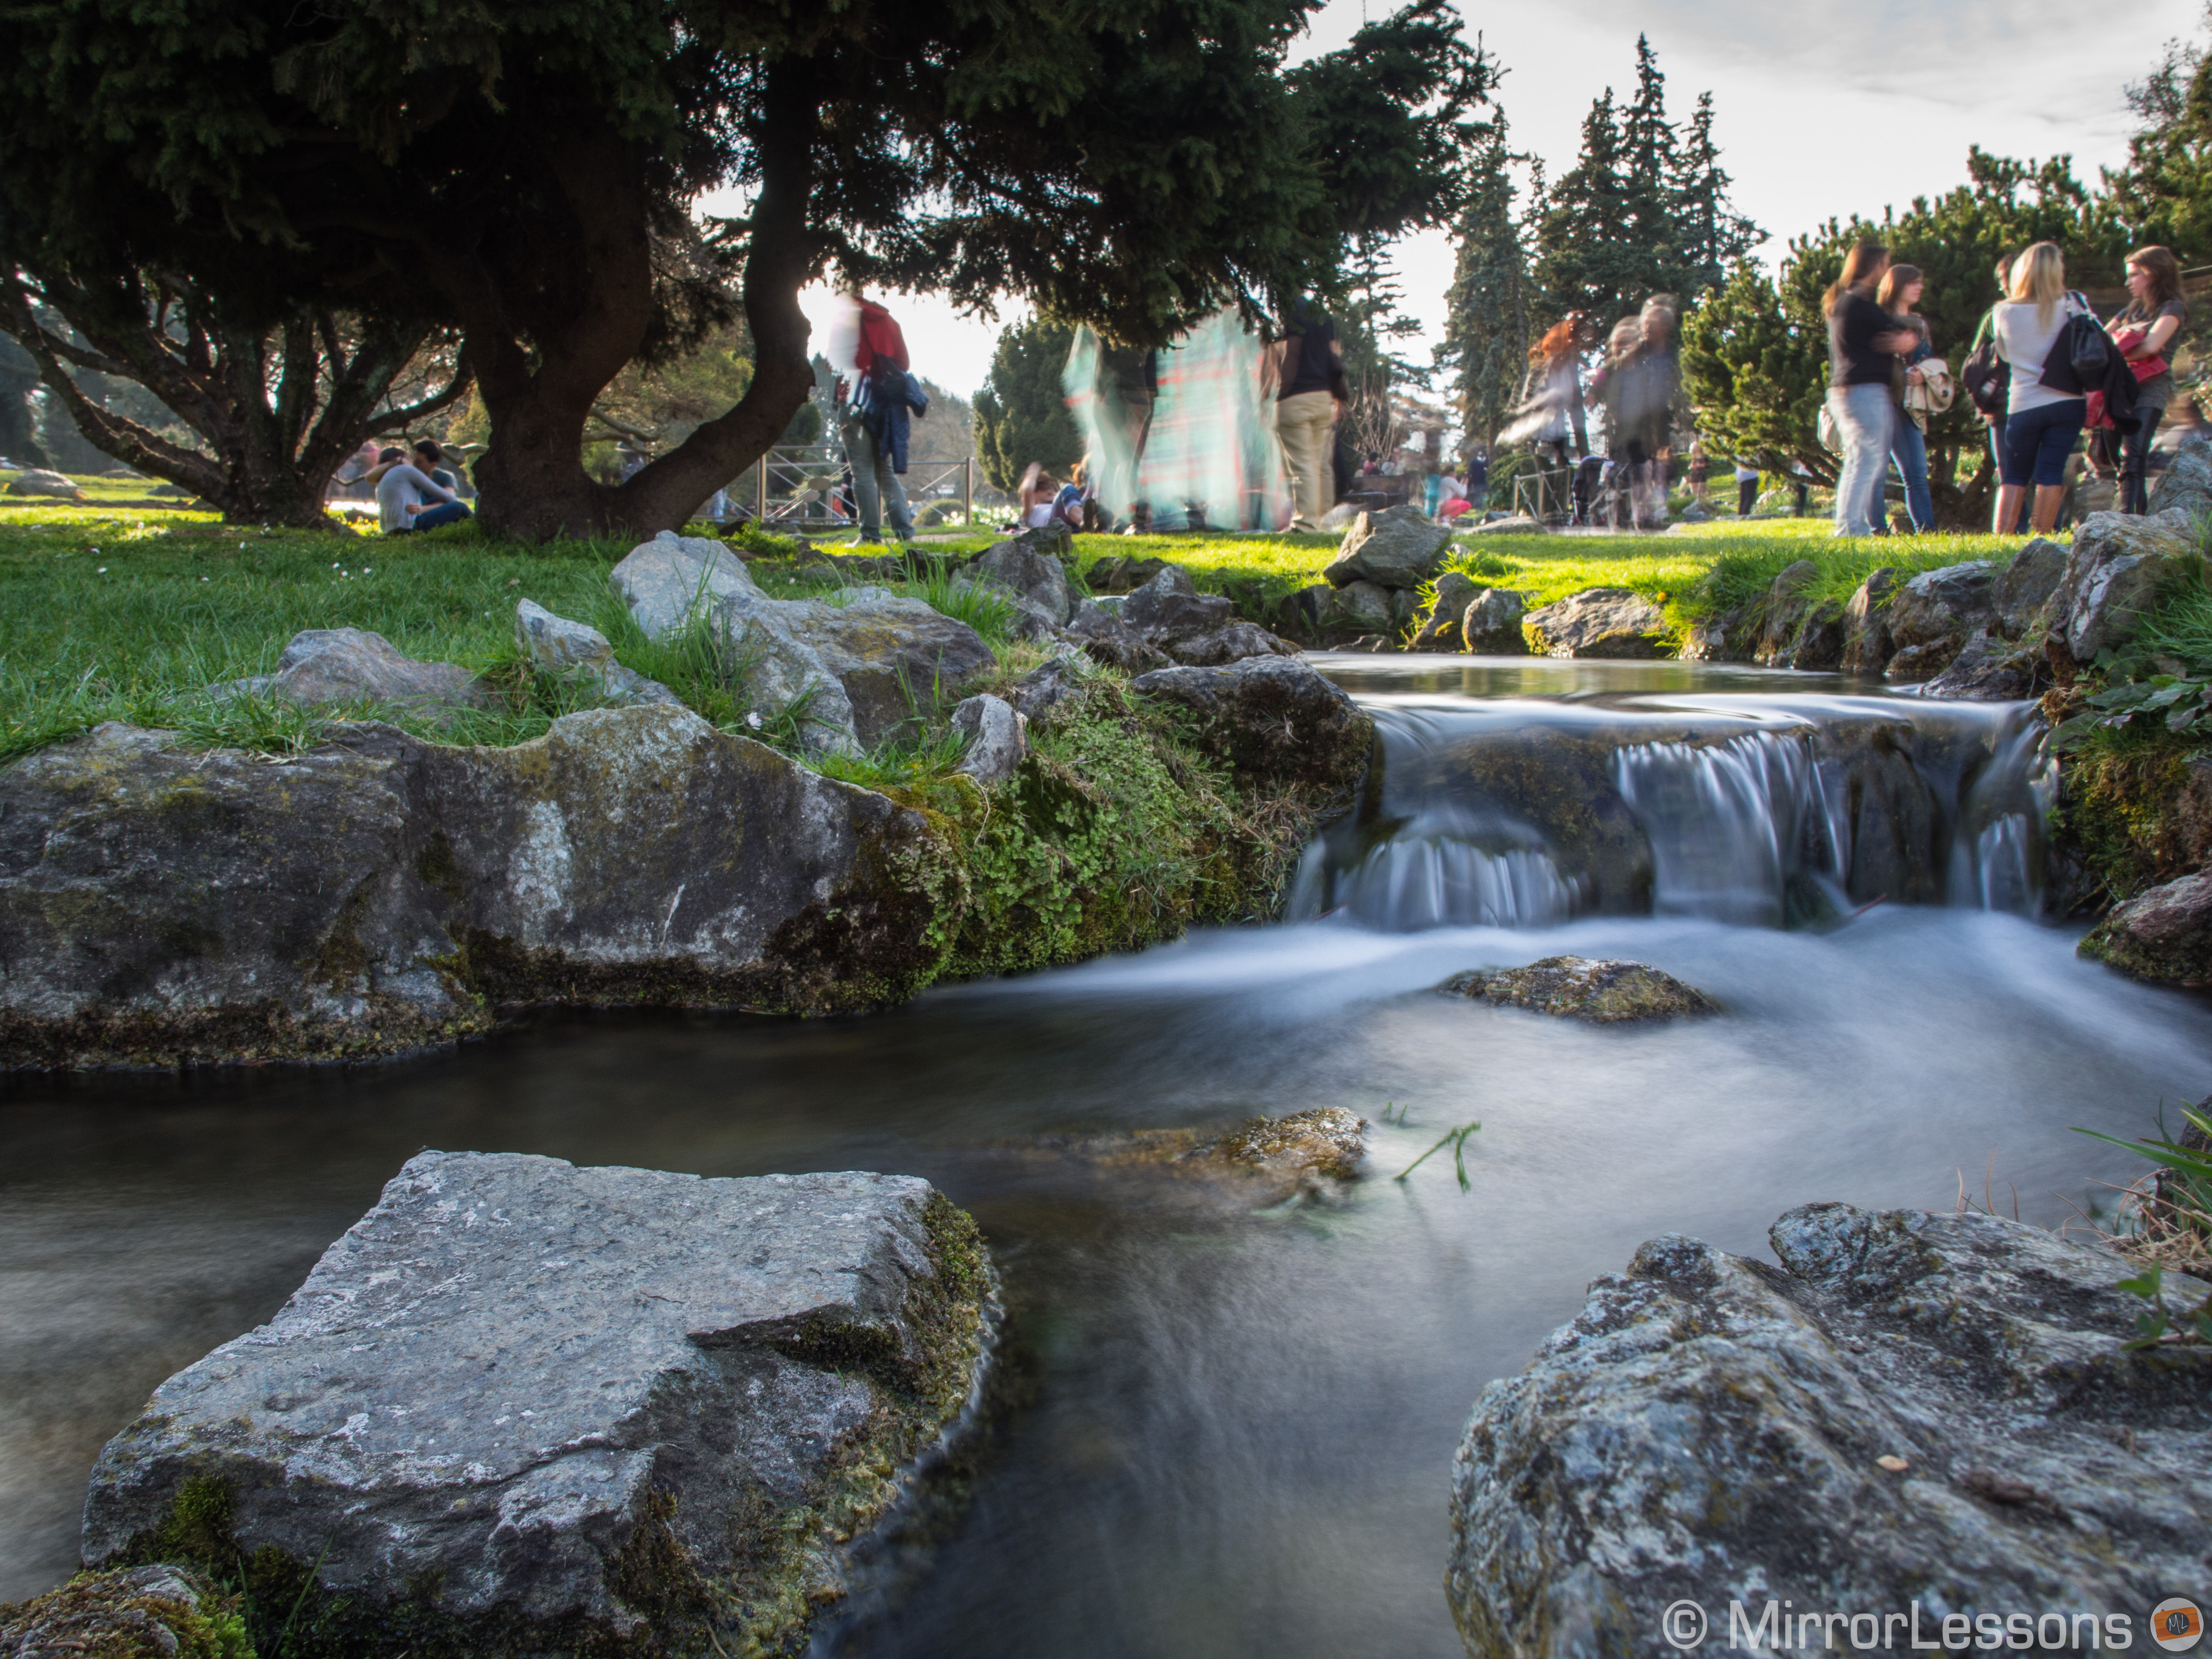
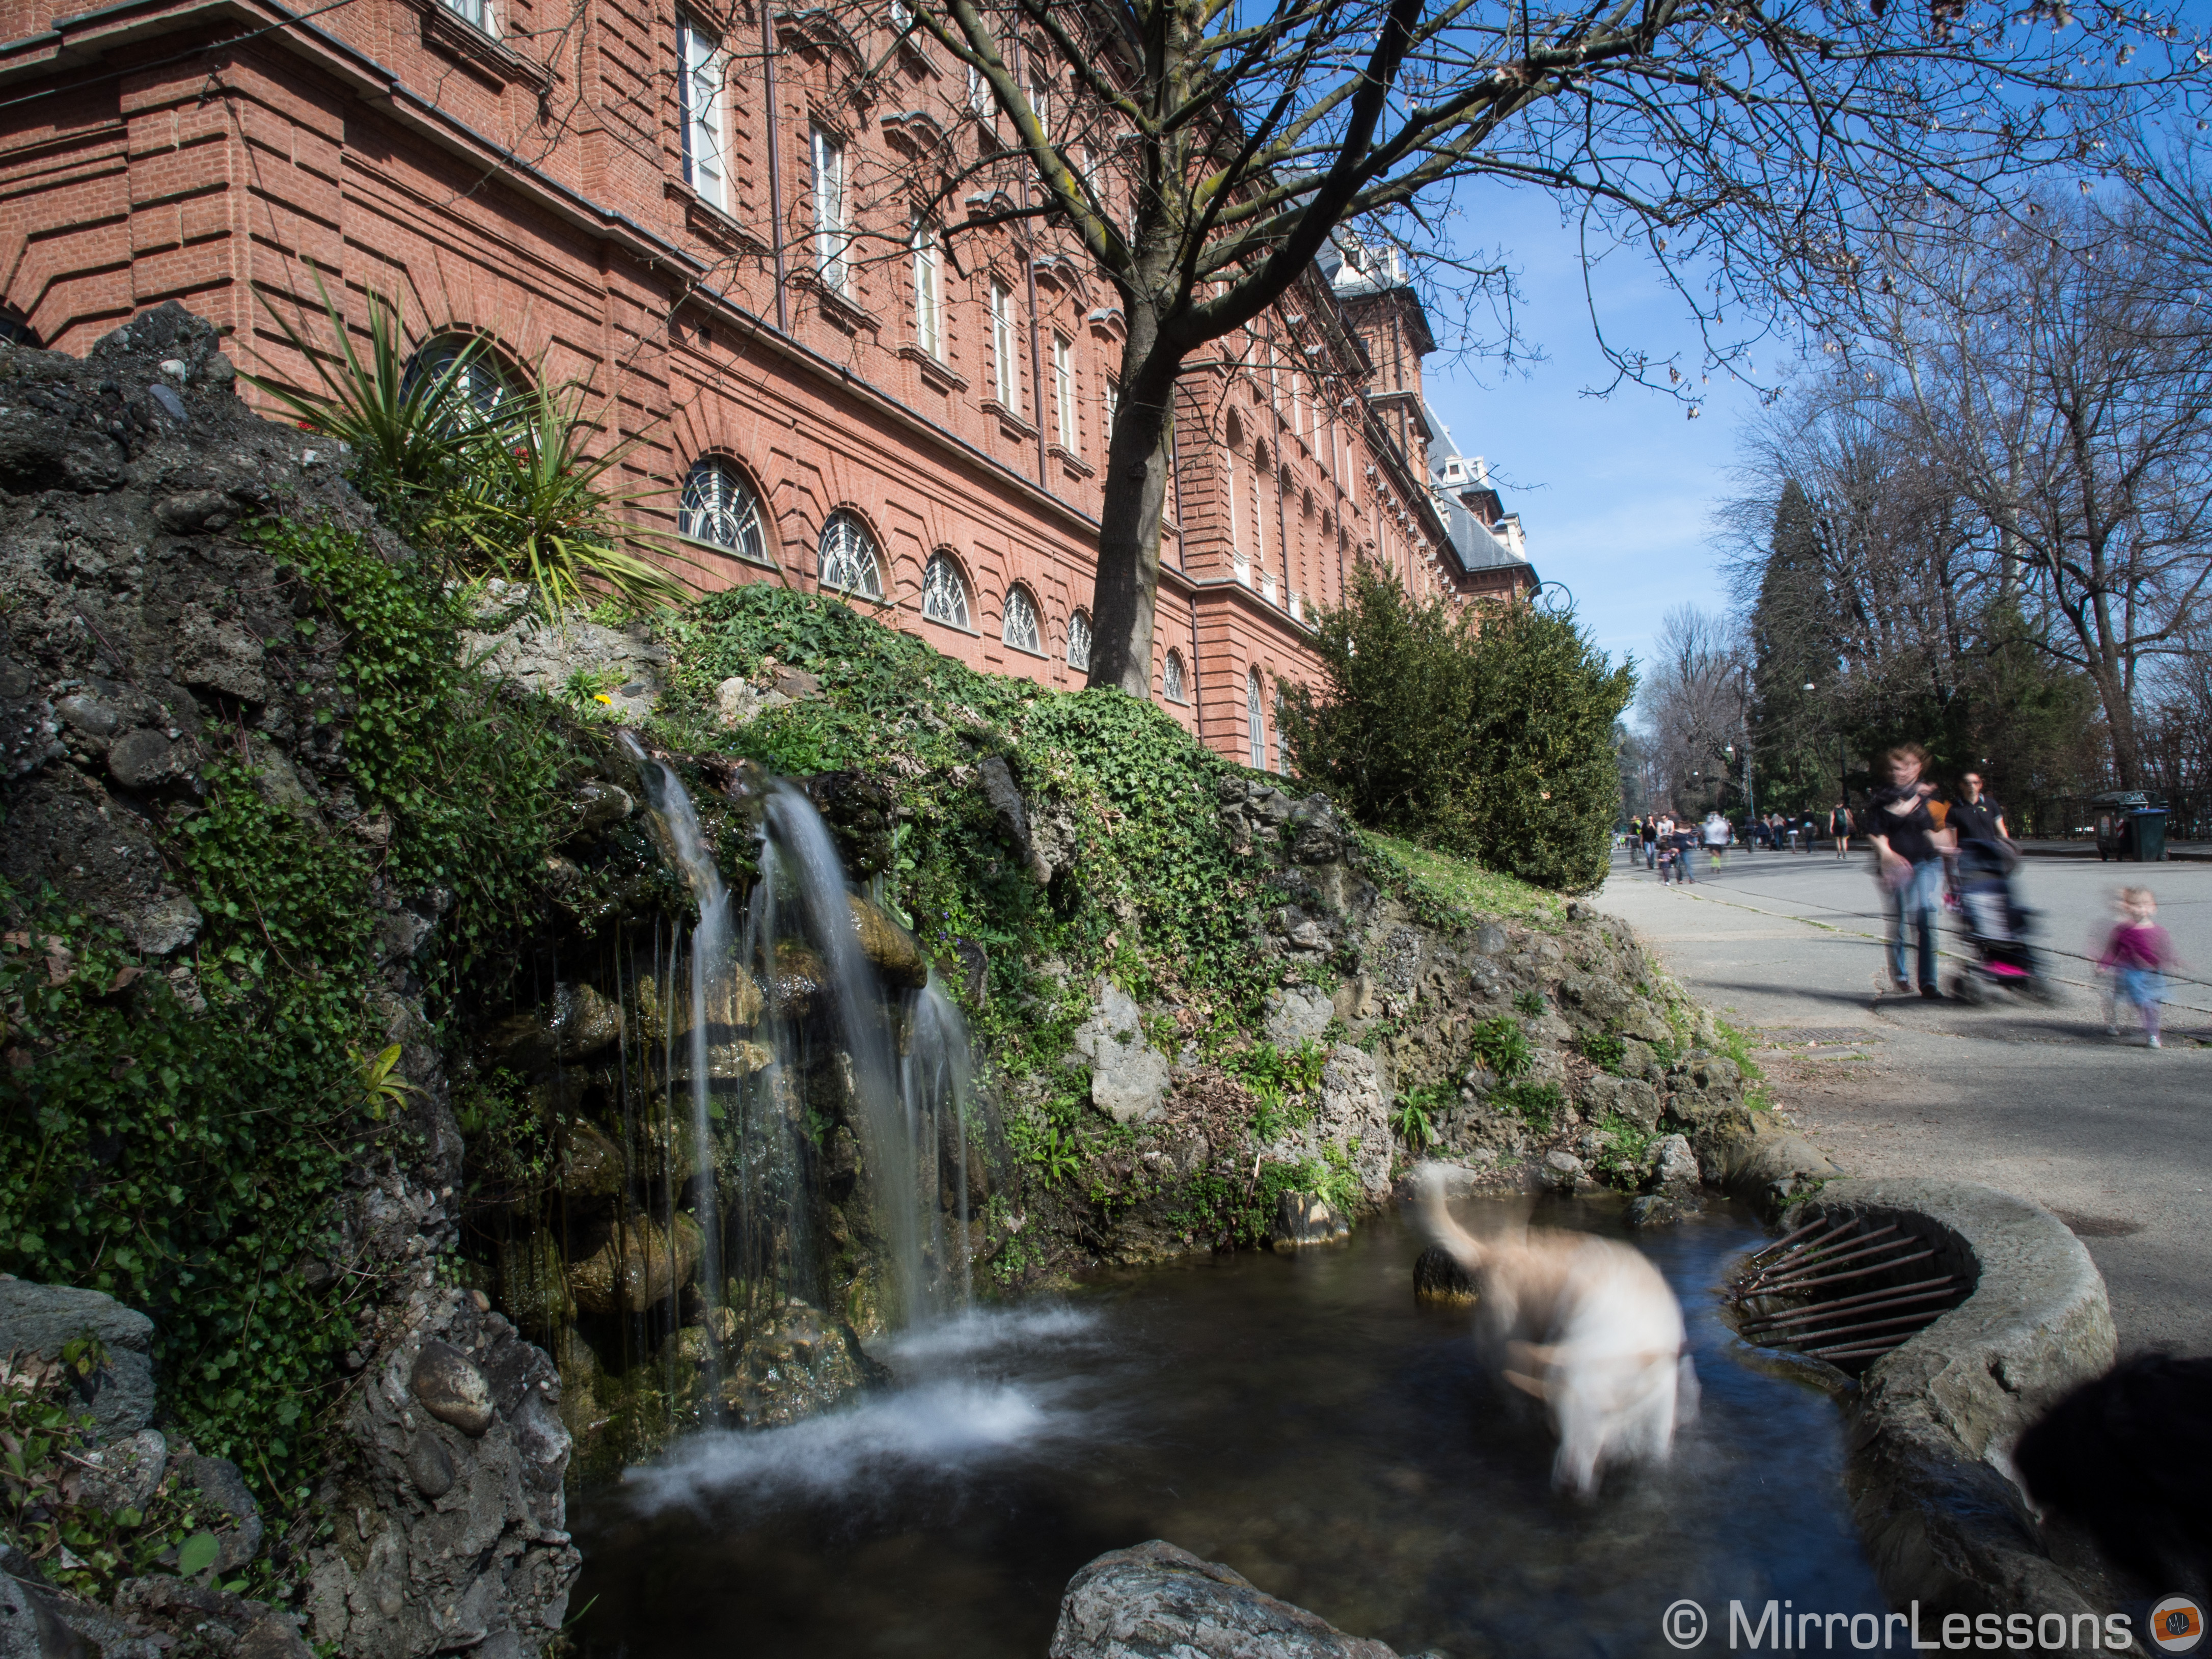
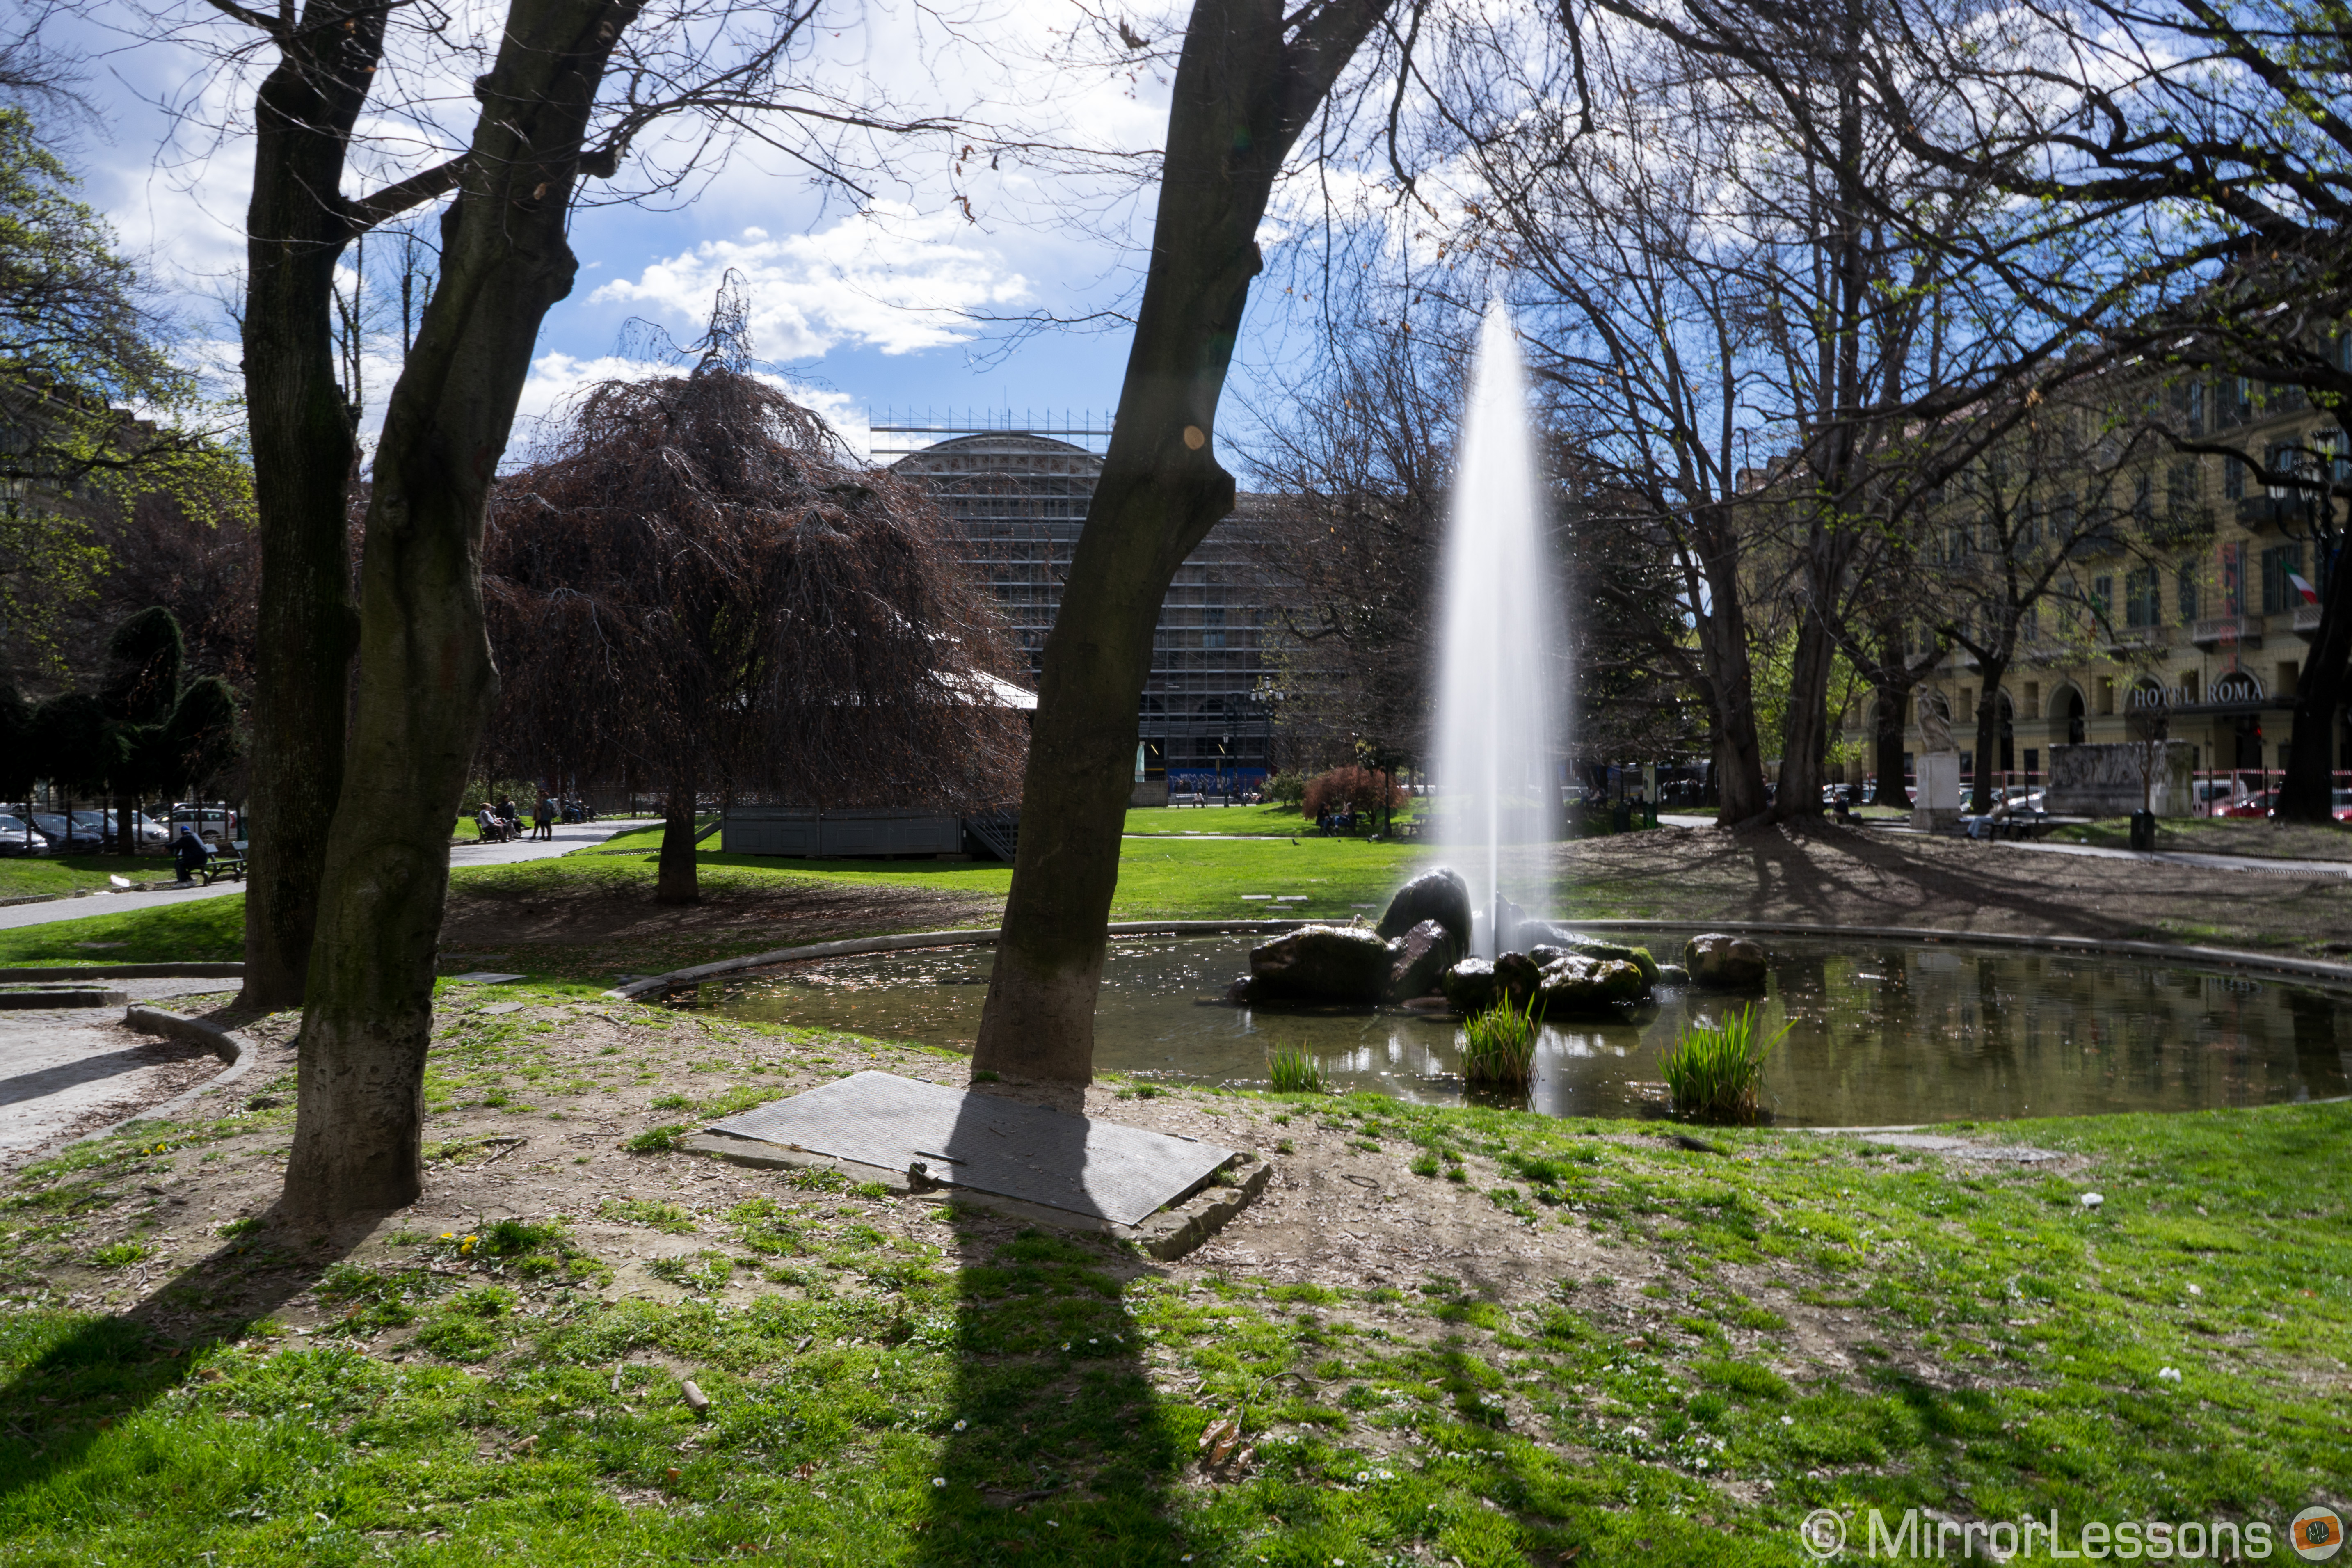
Since my work schedule is fairly hectic, most of my shooting took place between 2 p.m. and 5 p.m. either on my way to work or on my lunch break. This meant that the sun was quite intense. Indeed, hardly any of my shots go below three seconds, as a longer exposure would have allowed too much light to enter the camera.
On average, the shutter speed I used was between 3 seconds and 1/10 of a second, and the aperture was usually between f/9 and f/13. If you want to go below three seconds, it is best to use the filter at sunrise or sunset when the light is less intense.
I also set the camera on a 2 or 10-second delay so that my finger would not generate micro-movements when I pressed down the shutter button.
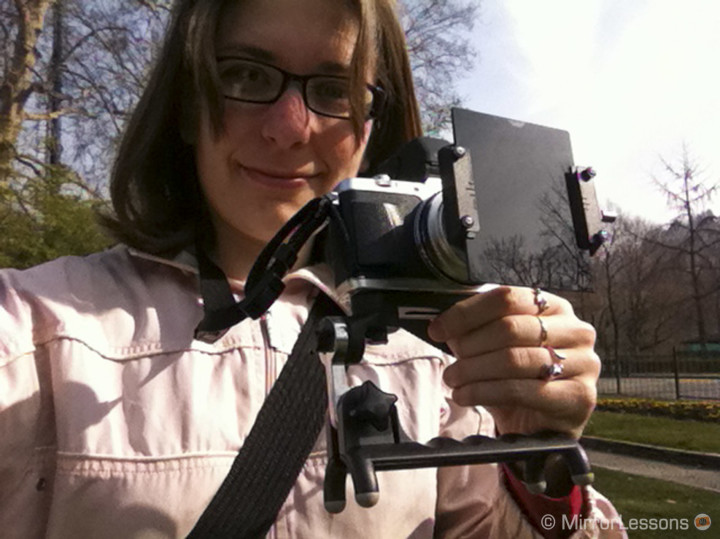
In the place of a traditional tripod, I decided to pack the HandlePod, a light and very affordable alternative to a tripod we’ve been using for the past few months for long exposures at night. You can basically use it wherever you find a sturdy surface – a tree branch, a bench, a flat rock, a handrail… the list goes on.
While the HandlePod works very well for city shooting due to the many flat, man-made surfaces, I found it a little less reliable for nature and park photography, which is where most of my experimentation with the Little Stopper took place. Most of the shots I attempted below four seconds turned out slightly blurry due to the uneven surface of the rocks or branches I was using for support, or the micro-movements my hand was making as I held the set-up in place. In the city, on the other hand, I can easily take a shot that lasts quite a few seconds if there is a wall or post to support the camera. (Visit our HandlePod review to see more about nighttime long exposures in the city.)
Challenging as it was, I’m happy that I chose the HandlePod for this experiment. Doing so allowed me to see what kind of results I could achieve with the lightest gear possible, and I haven’t been disappointed so far.
However, I now know that if I ever chose to do long exposure photography on an actual nature hike, I would do well to bring both the HandlePod and a small traditional tripod. I wouldn’t want to miss a good shot due to the lack of a flat surface.
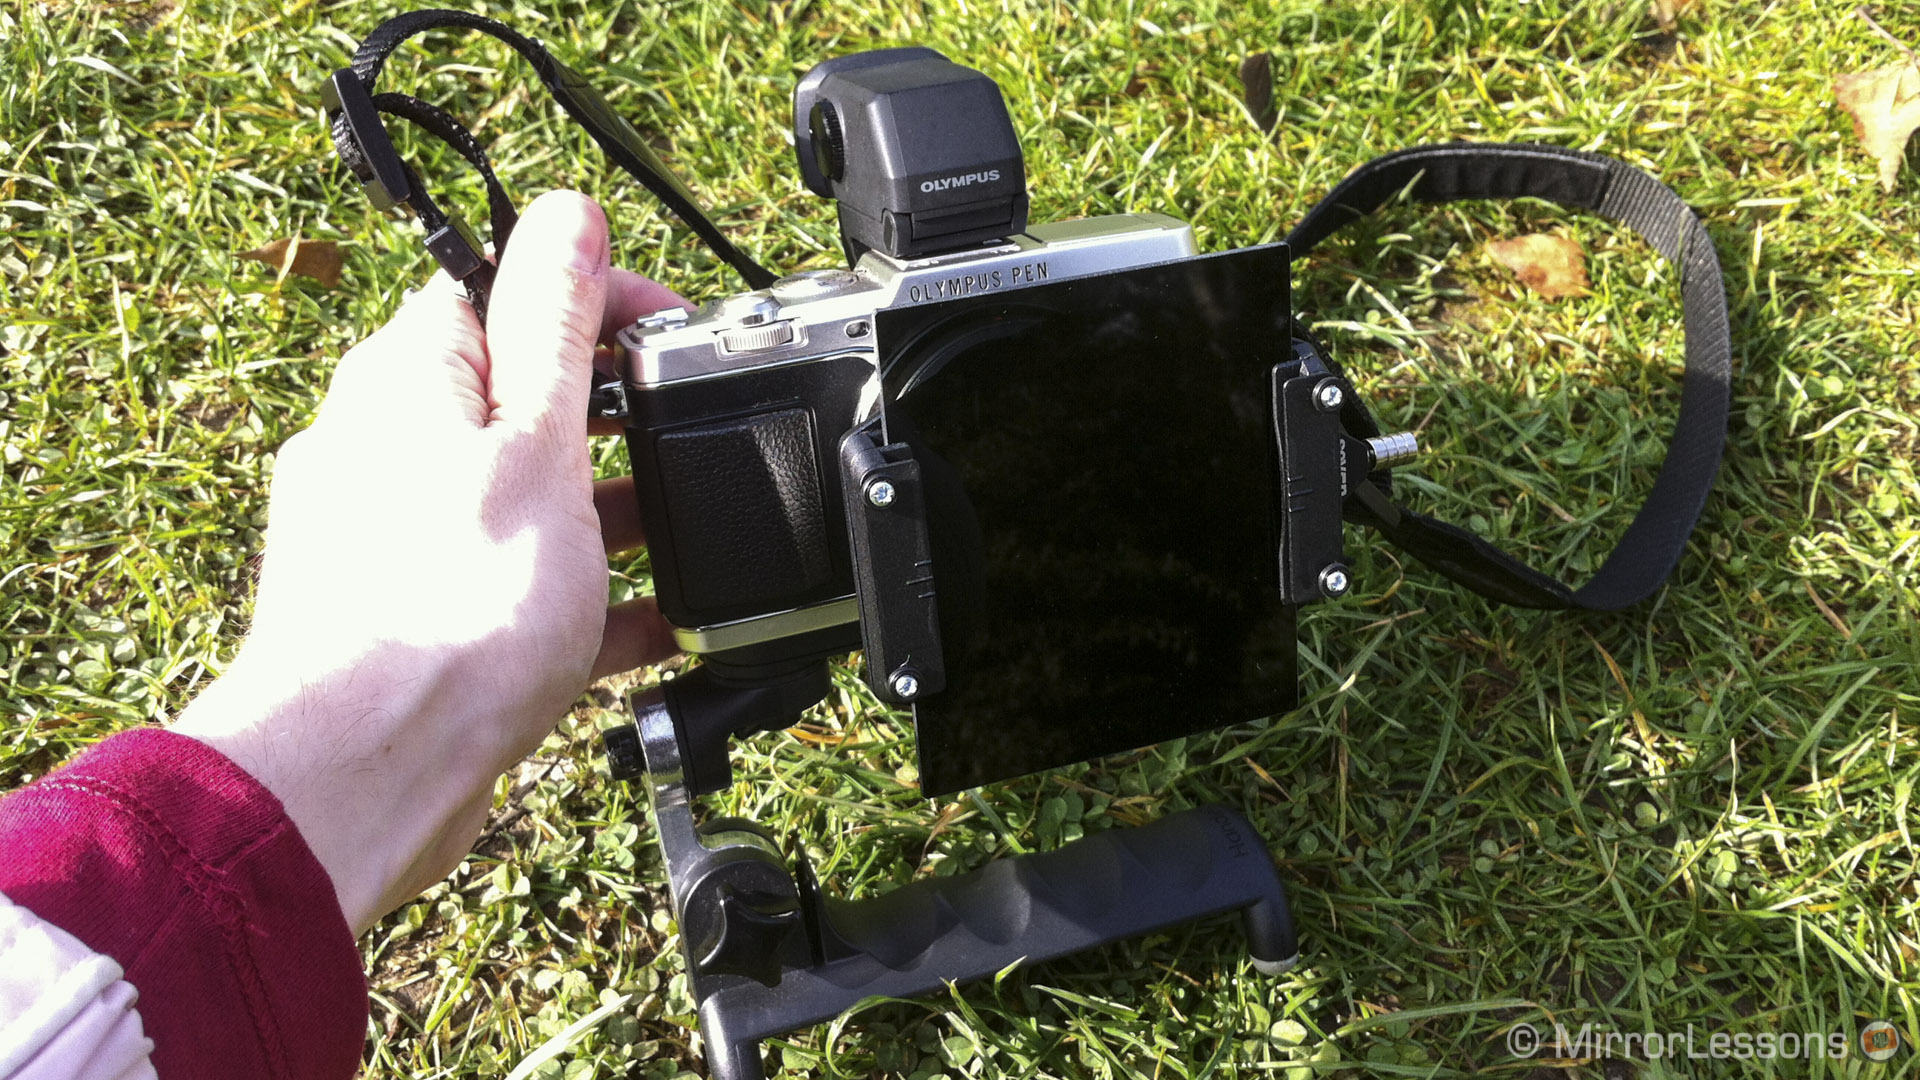
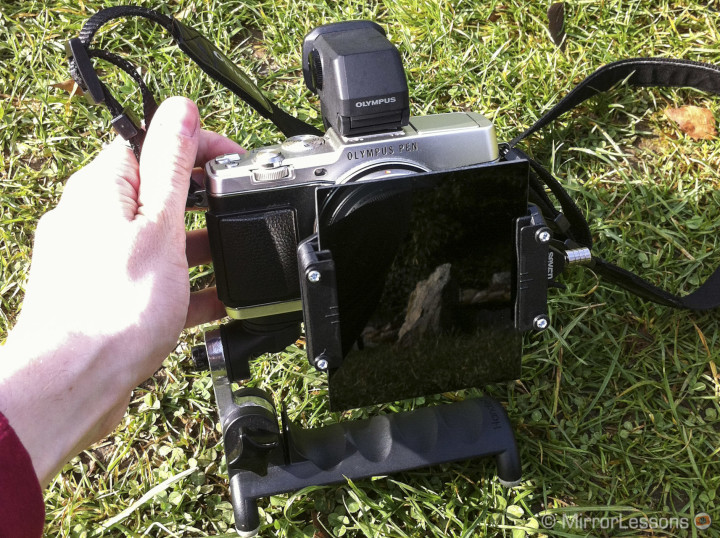
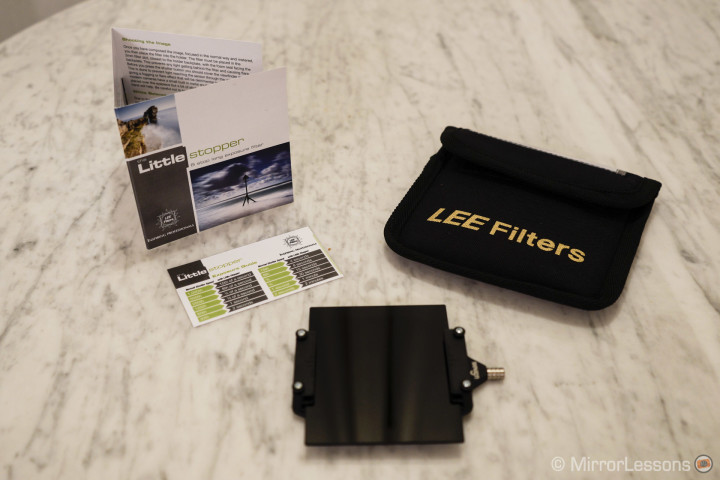
As for setting up the filter onto the camera, I’ve written a first impressions article about the LEE Seven5 system that deals with this topic. The spoiler is that it is as easy as pie to set it up and literally takes seconds. The only thing I didn’t mention which you must remember with the Little Stopper is to place the filter in the 2mm filter slot, closest to the holder backplate, with the foam seal facing the backplate. Doing so prevents light getting in behind the filter and causing flare.
The Results


For those who own or have read about the Big Stopper, I’m sure there is no doubt about the quality of the LEE line-up, and that extends to its newest product, the LEE Little Stopper.
It is made of glass, which has its upsides and downsides. On the negative side, it can easily break in two if you don’t treat it with care. On the positive, it is less likely to get scratched or create a colour cast. My advice is to always put your filter away when you aren’t using it to avoid any unwanted accidents.
It comes in a soft casing and a sturdy black pouch which are portable and will keep your filter clean and safe. You’ll also receive an easy-to-read instruction manual that will teach you the basics of long exposure photography.
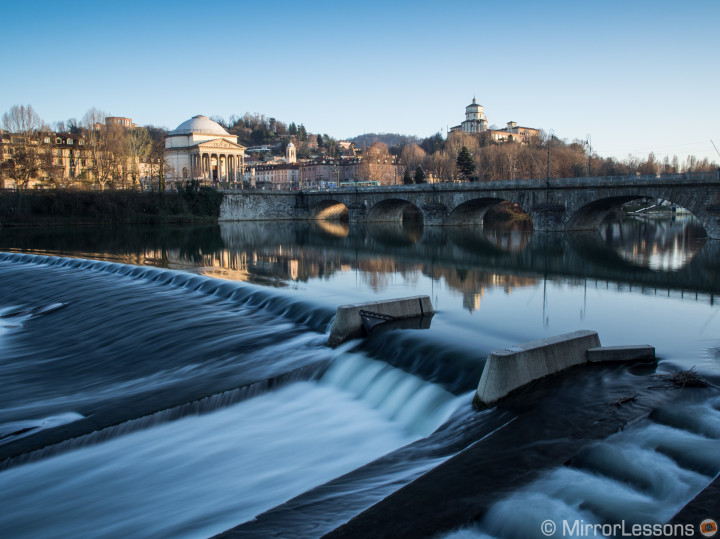
The resulting images were always sharp but did seem to suffer from a little bit from blue colour cast on occasion as the instructions suggested. However, a quick shift of the white balance in Lightroom always did the trick. Below you can see an image which required a white balance adjustment due to a bluish colour cast.


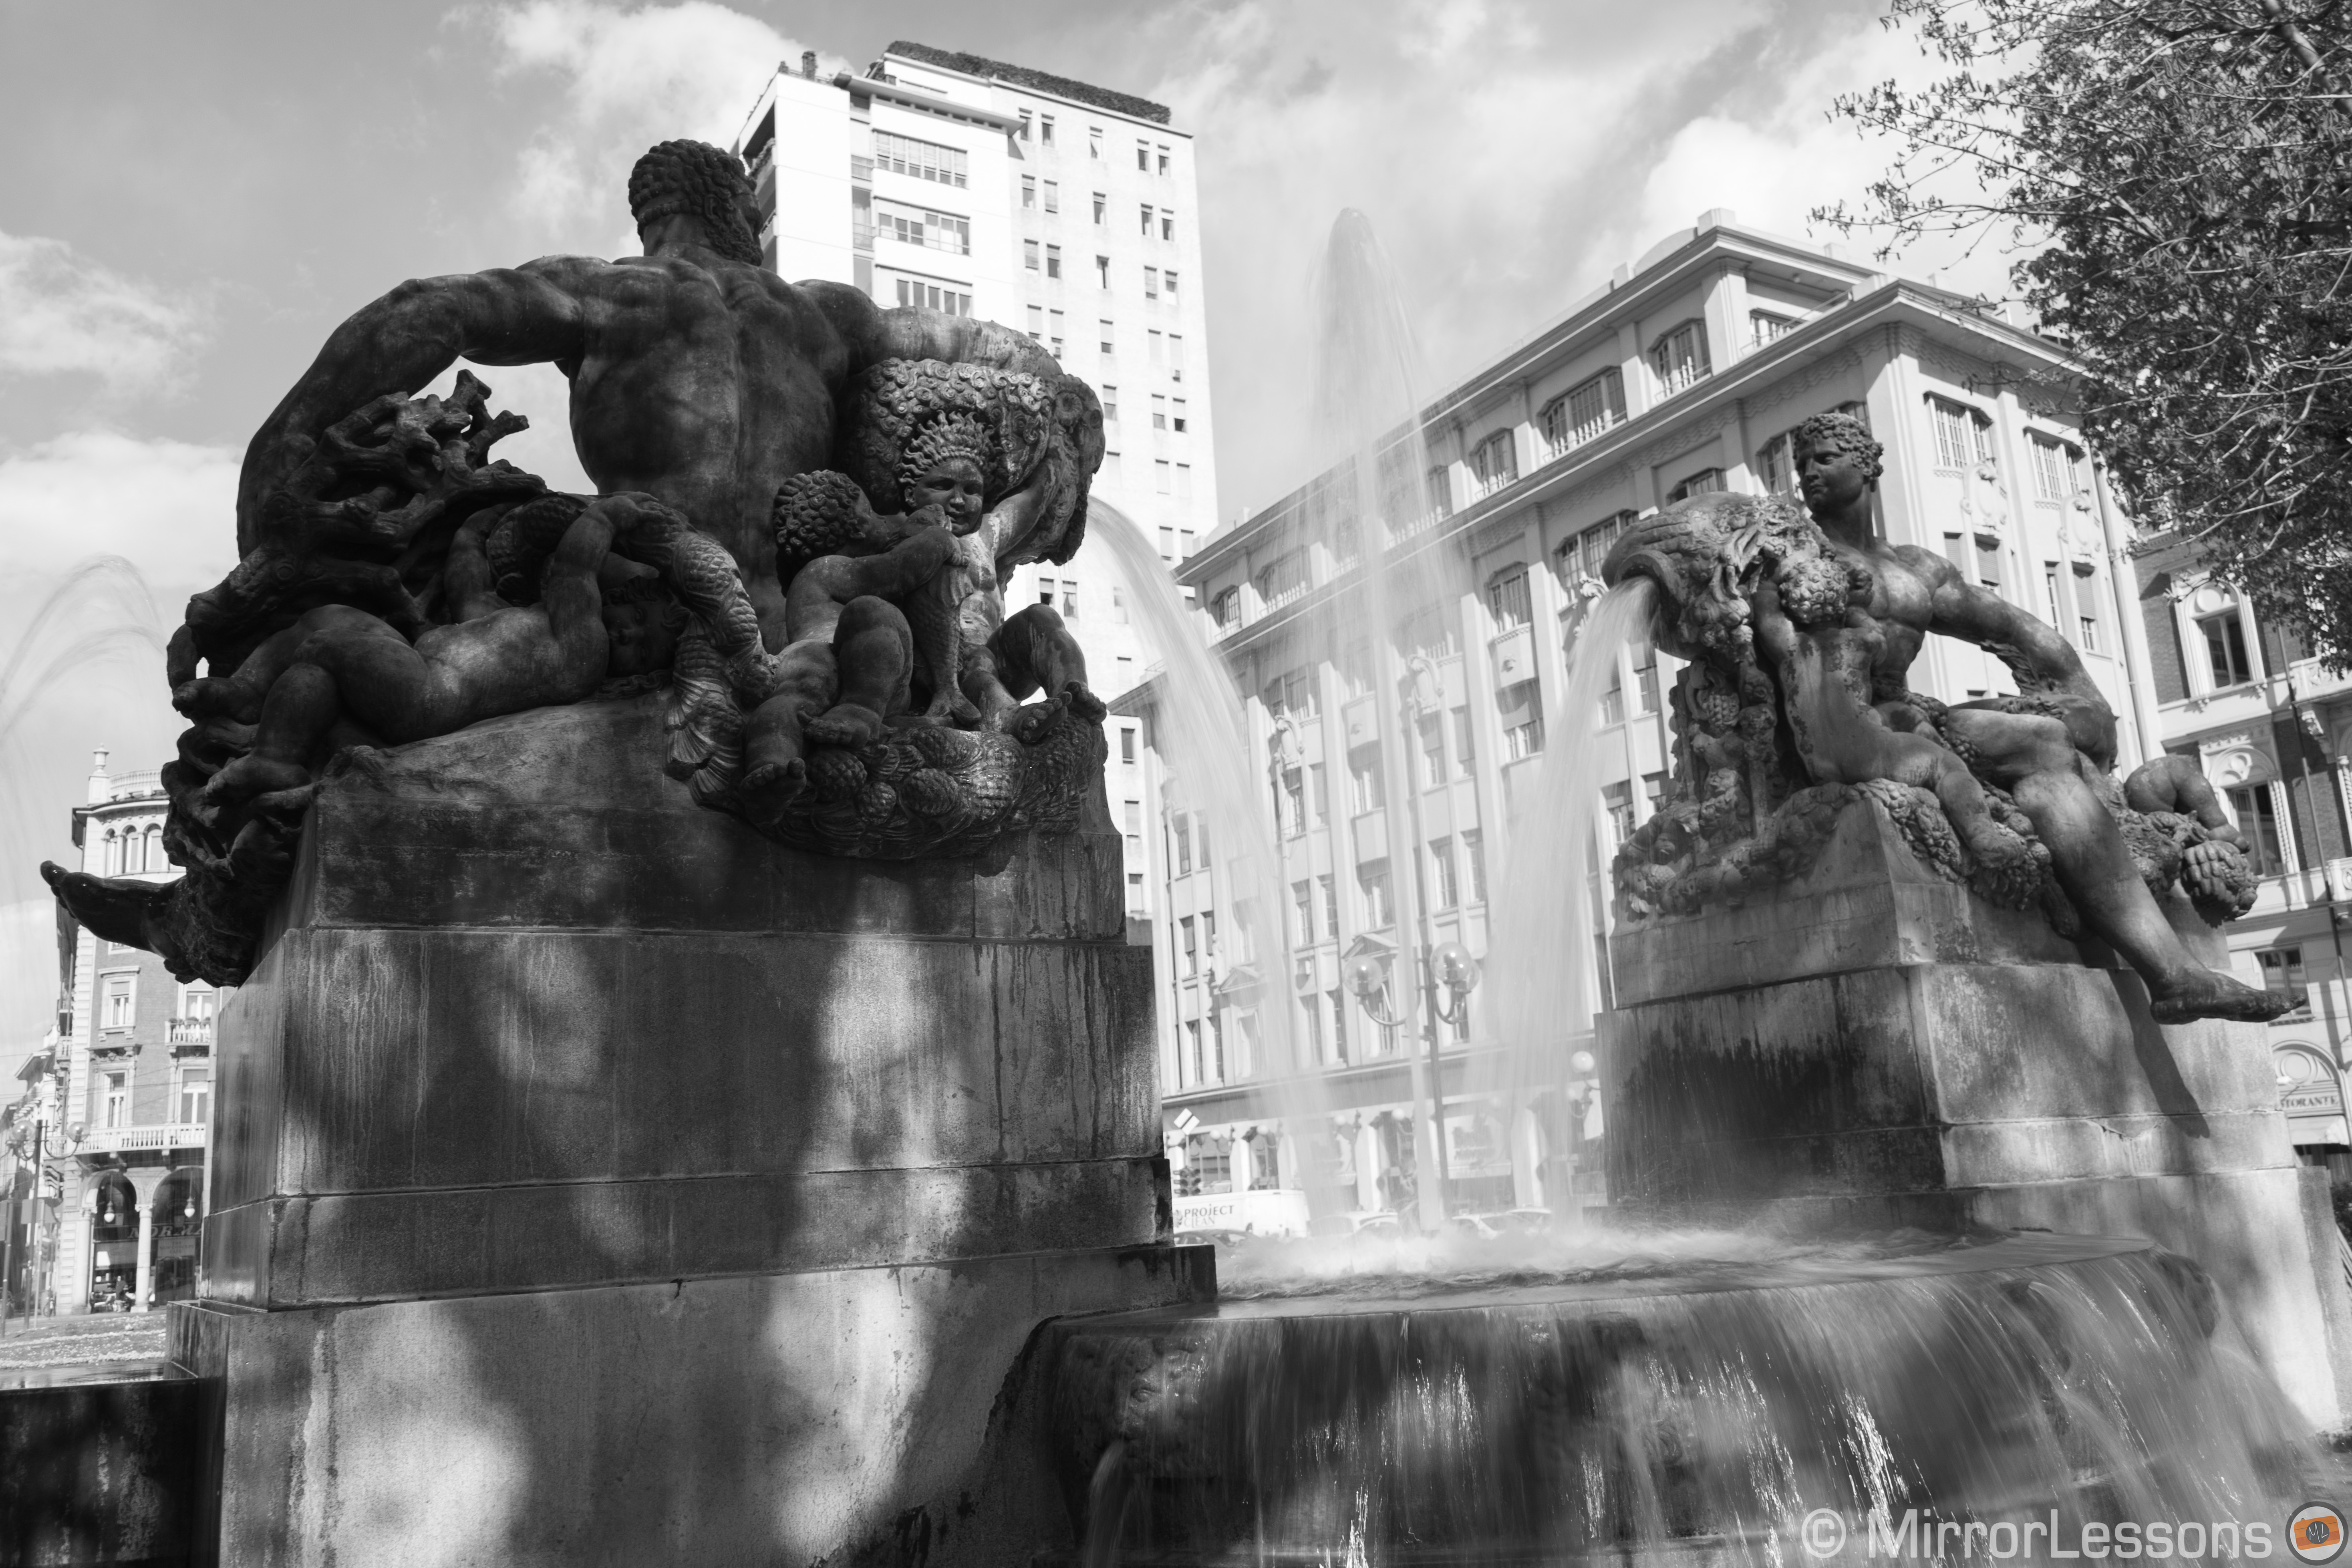
The biggest flaw of the LEE Seven5 system I came across quite accidentally. At one point, I was attempting to shoot the River Po with the setting sun directly in front of me. The result was not only an unpleasant flare but the reflection of the name/focal length of the lens appearing in my image.

Apparently, this is quite a common problem with the LEE filter system for both CSCs and DSLRs when shooting towards a light source. The advice photographers give is to shade the end of the lens with a hat, umbrella or something similar to reduce the effect. I cannot say whether it works or not but I will be sure to experiment in the days to come.
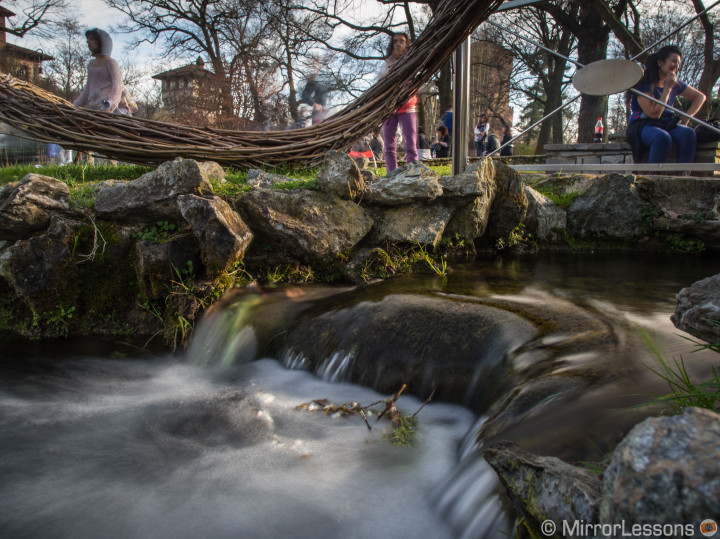
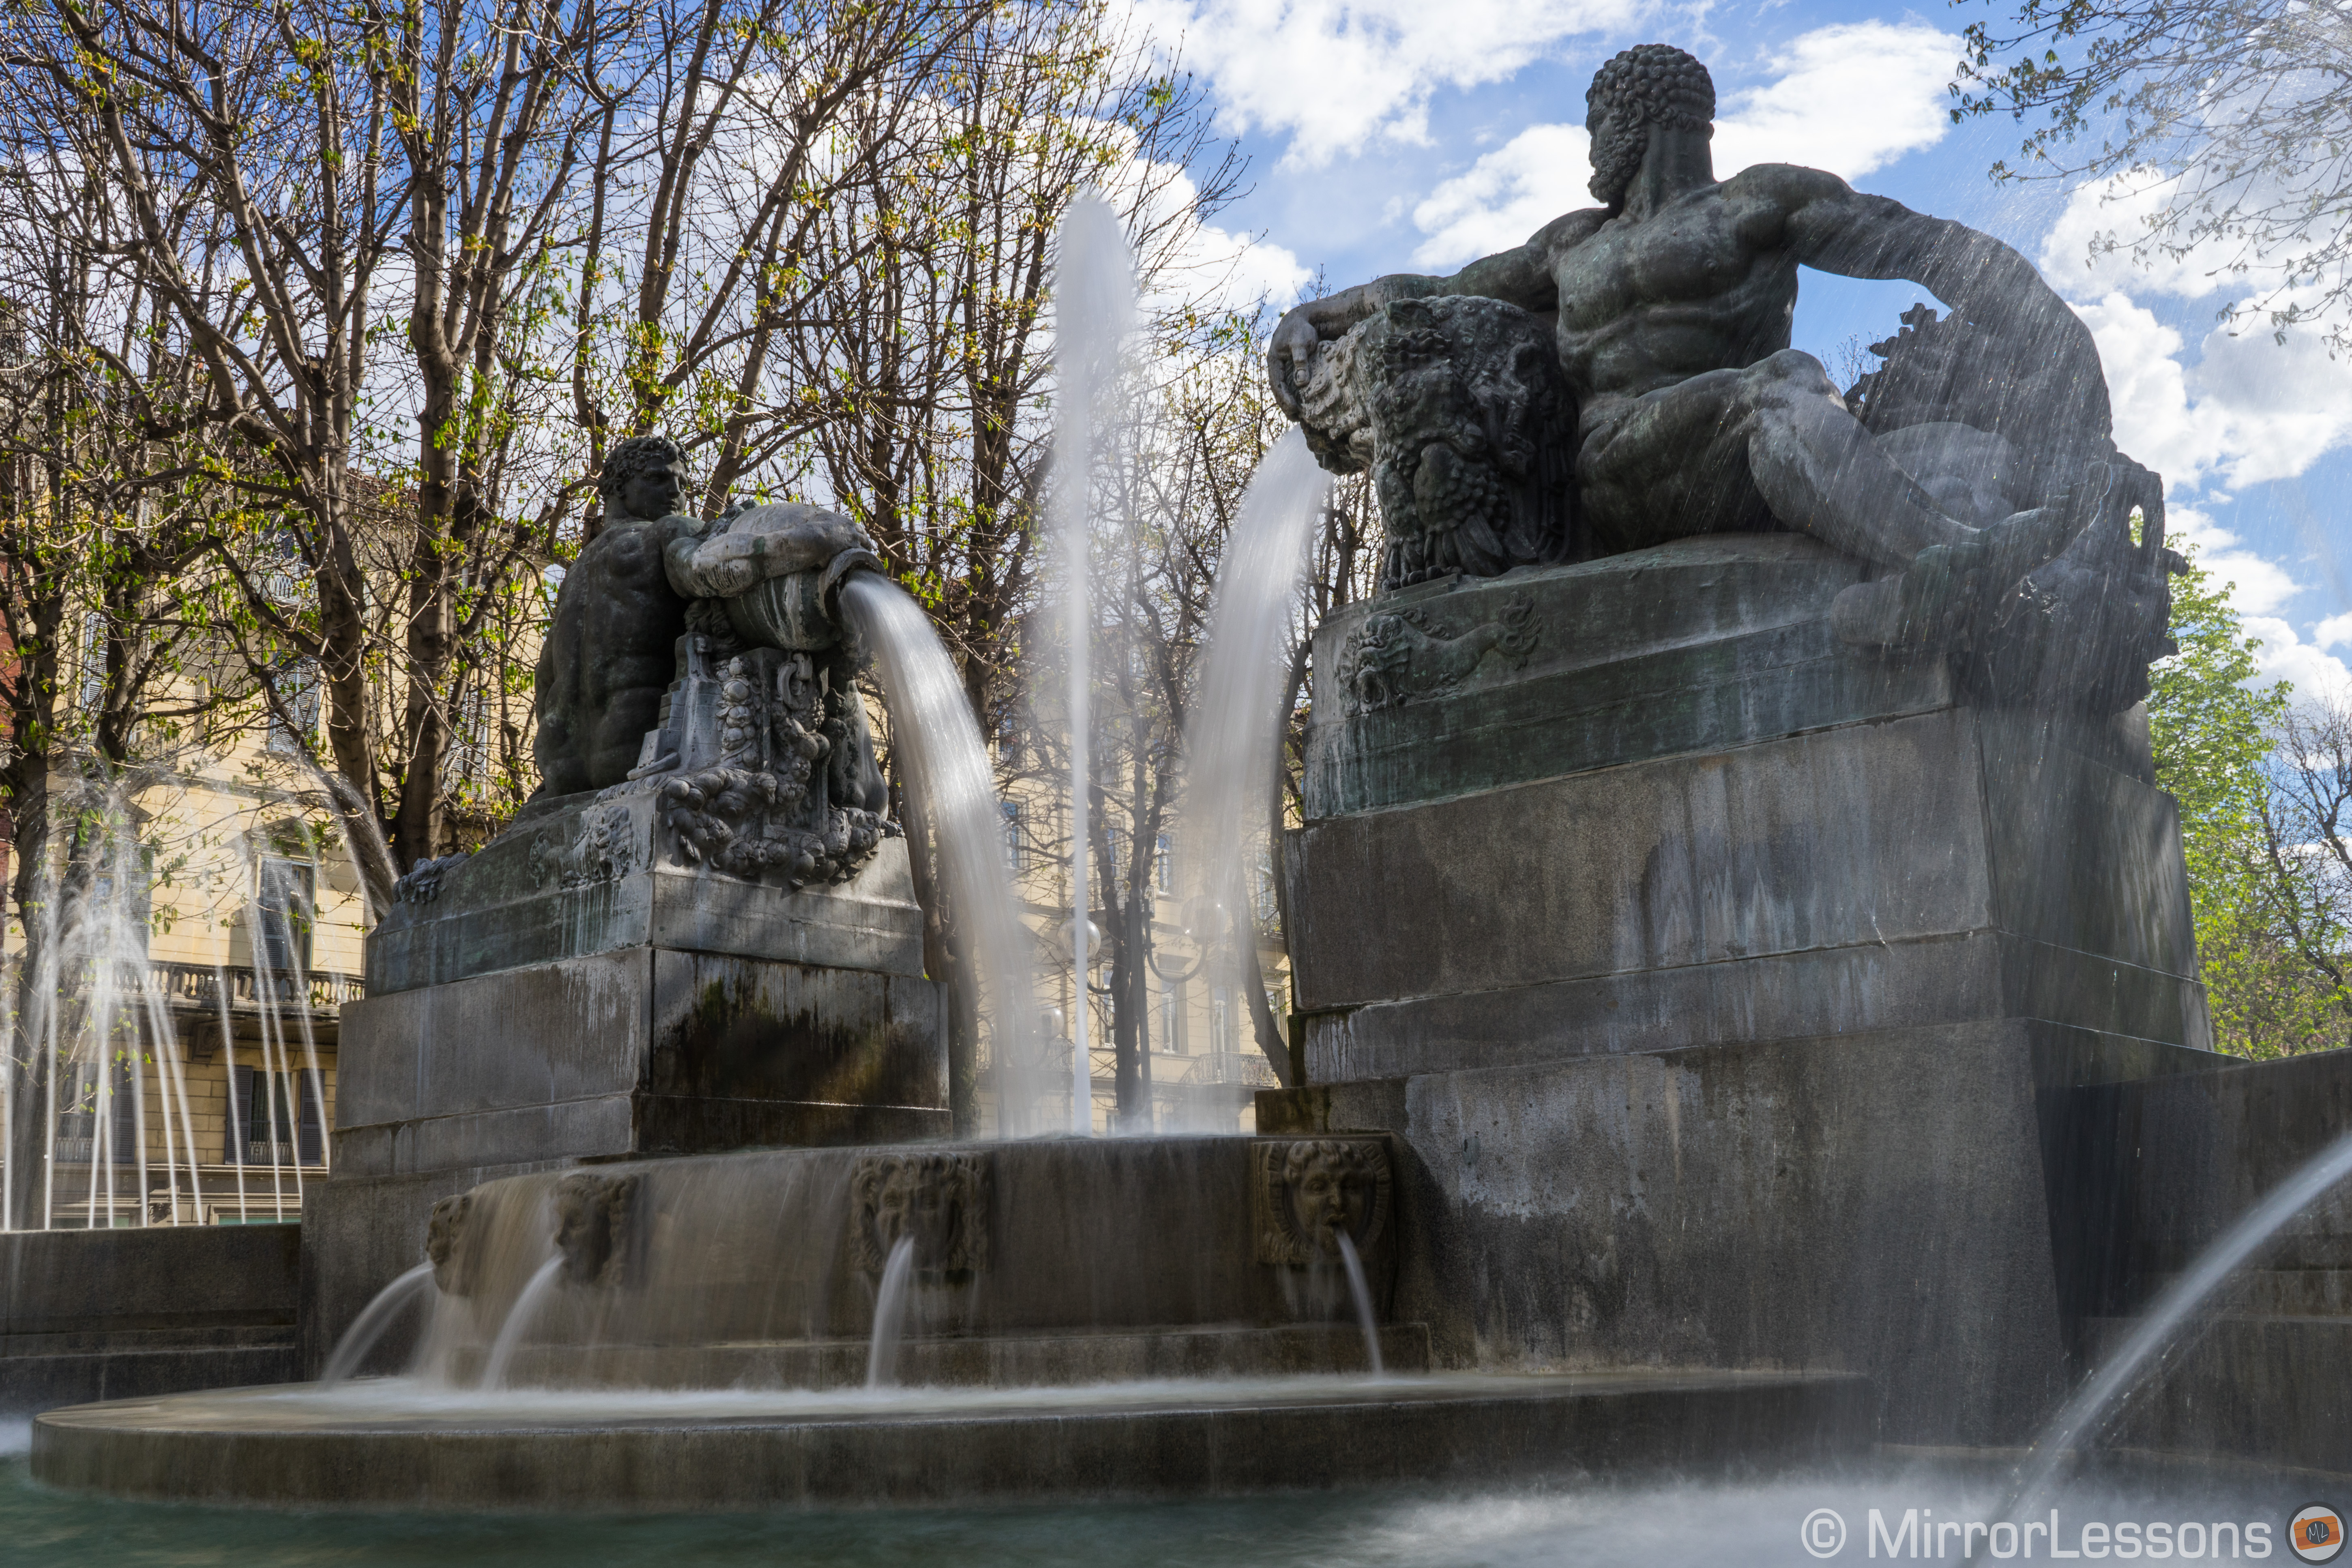
These small issues aside, I am generally thrilled – yes, thrilled – to own such a compact and useful system such as the LEE Seven5 System. It is a little bit on the pricey side (I paid around £56 without shipping) but I can see the Little Stopper getting a lot of use when I head back to the coast of Wales for my summer vacation. On this occasion, I used it with the Pen E-P5 and the M.Zuiko 12mm (thread size 46mm), but a quick switch of the adapter ring makes it possible to use it with practically all our other compact system cameras as well. Below are a few examples I took today with the Sony A7 and the 28-70mm kit lens…


Final Thoughts
Despite the automation of many of the technical and mathematical aspects of long exposure photography on modern-day cameras, I still feel it is essential to internalise the basics before you begin shooting. Having a rough idea in your head of the exposure needed for a set number of common shutter speeds is valuable knowledge for any photographer, be he/she an amateur or a professional.
Likewise, it is an important (and enjoyable) exercise to try creating long exposures without the aid of technology. Imagine the satisfaction of creating the perfect long exposure with only your calculations and stop-watch in hand – a much more gratifying experience than relying on the camera to do all the work for you!
Finally, a deeper knowledge about the process that goes into traditional long exposures will help you to respect the work of photographers who came before you! 🙂
For more information about long exposures, I highly suggest The Ultimate Guide to Long Exposure Photography by Joel Tjintjelaar.