Our OM-D E-M1 hands-on coverage:
Low-light performance – Olympus Europe interview – M.Zuiko 40-150mm f/2.8 Pro lens – Autofocus
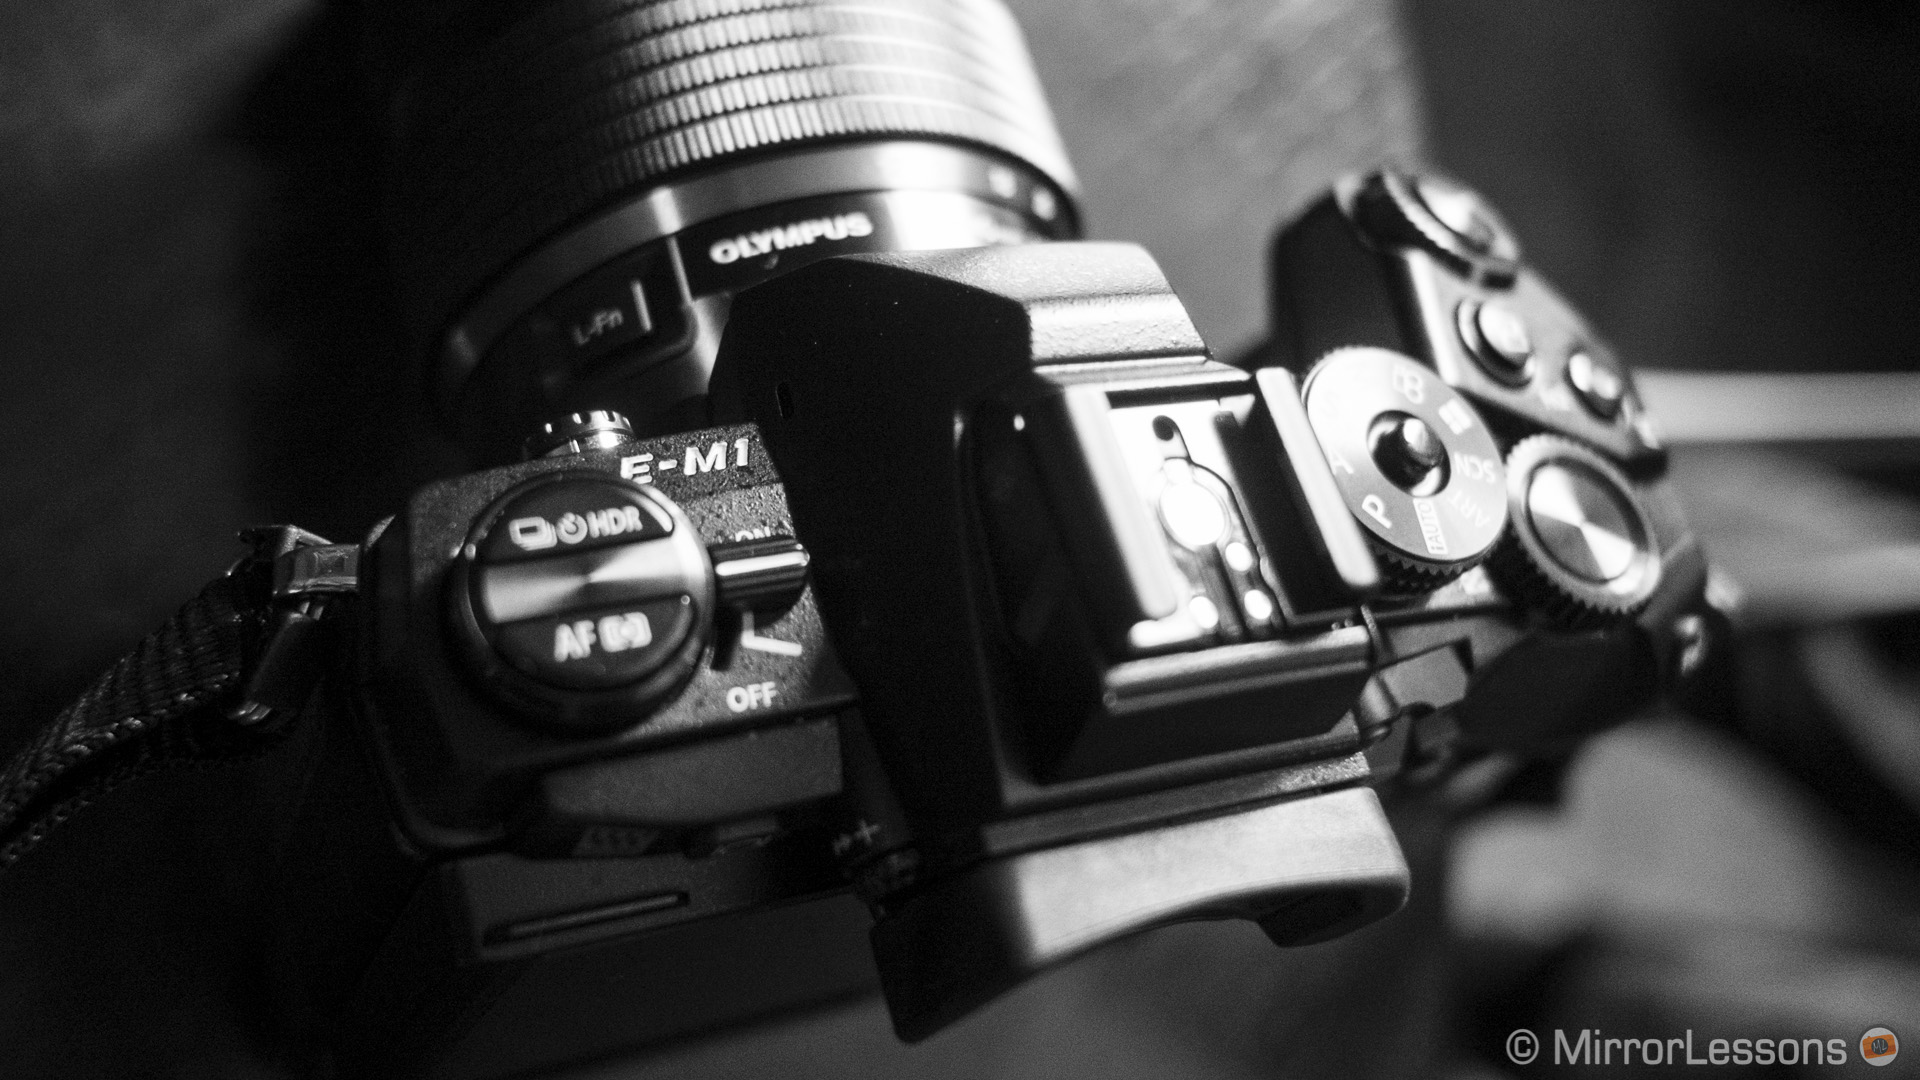
The Olympus OM-D E-M5 was the first camera we reviewed here at MirrorLessons back in January 2013. It is also the camera which inspired us to start this blog and led me to switch to mirrorless for both my personal and professional work. So when Olympus invited us to try out the new OM-D E-M1, to say that we were over the moon would be an understatement. We tried lots of different features during the afternoon and evening but in this article, I want to share my first impressions regarding low-light performance, one of the aspects I was very curious to try.
High ISO Performance
The OM-D E-M1 has a new sensor that lacks an AA (Anti Aliasing) filter. This means more sharpness but theoretically more moiré issues and noise at high ISO levels as well. The ISO range is the same as the E-M5 (200 to 25600 ISO) but the E-M1 also has an extended low 100 ISO like the Pen E-P5.
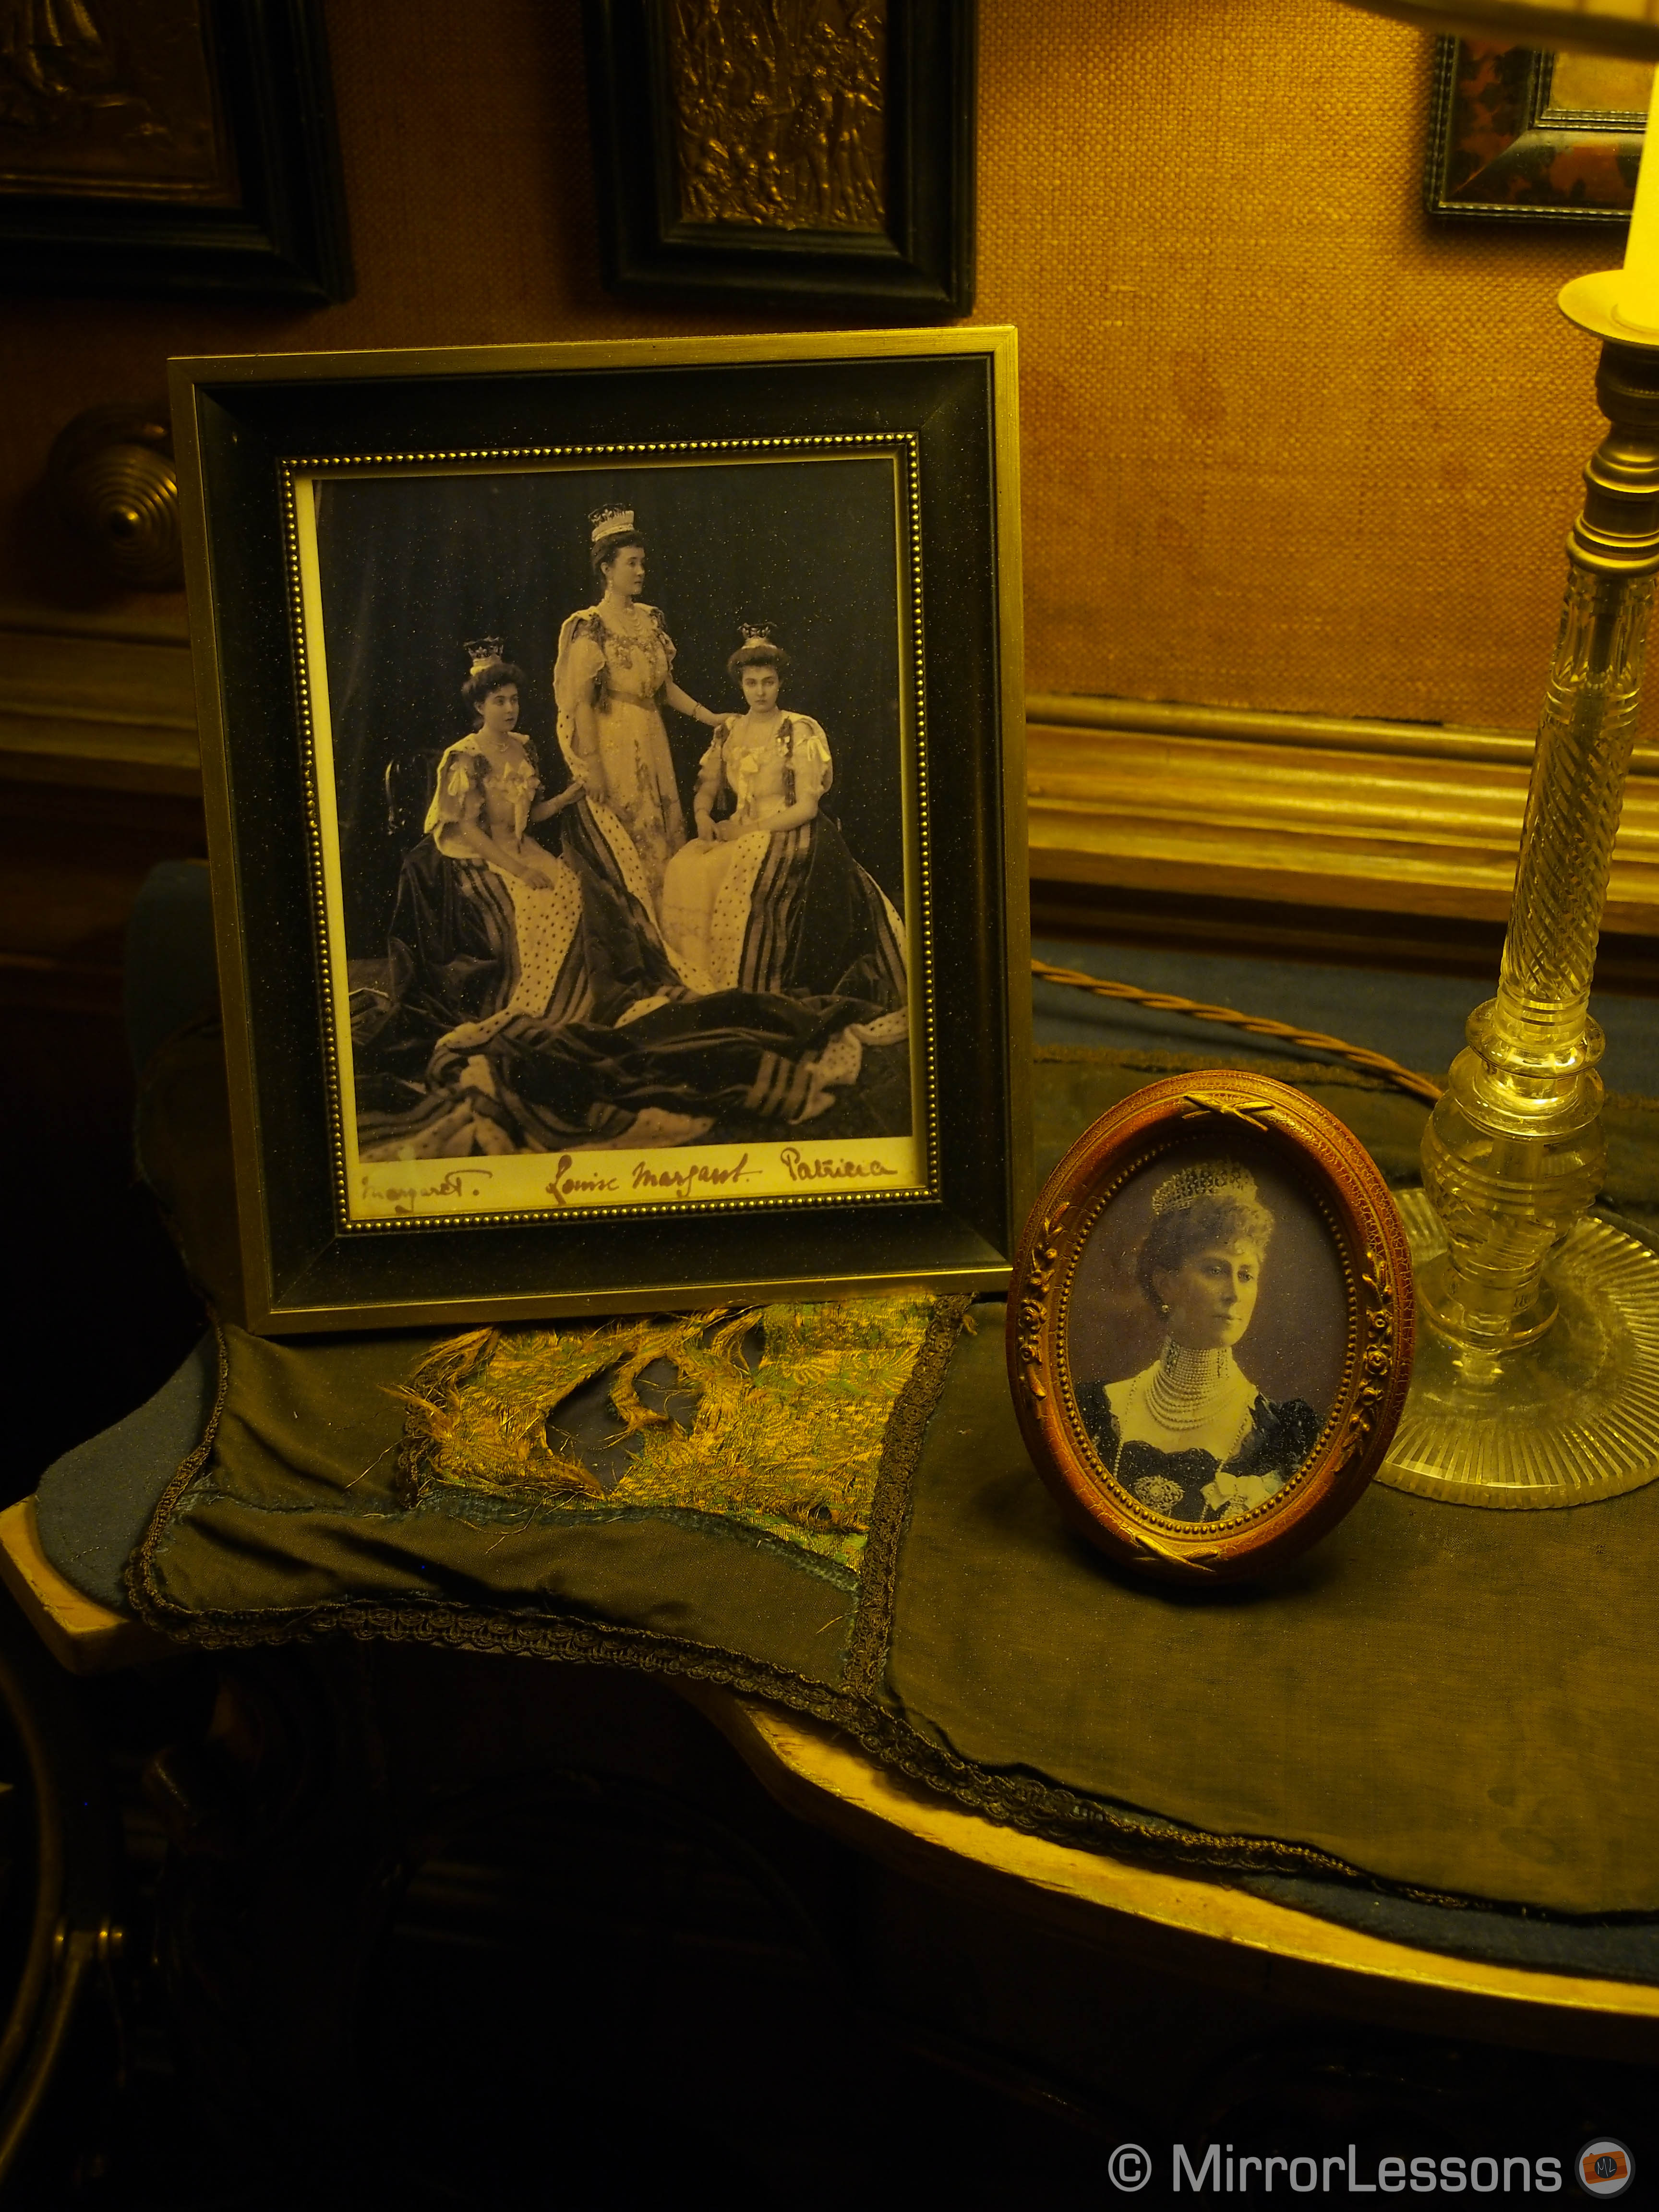
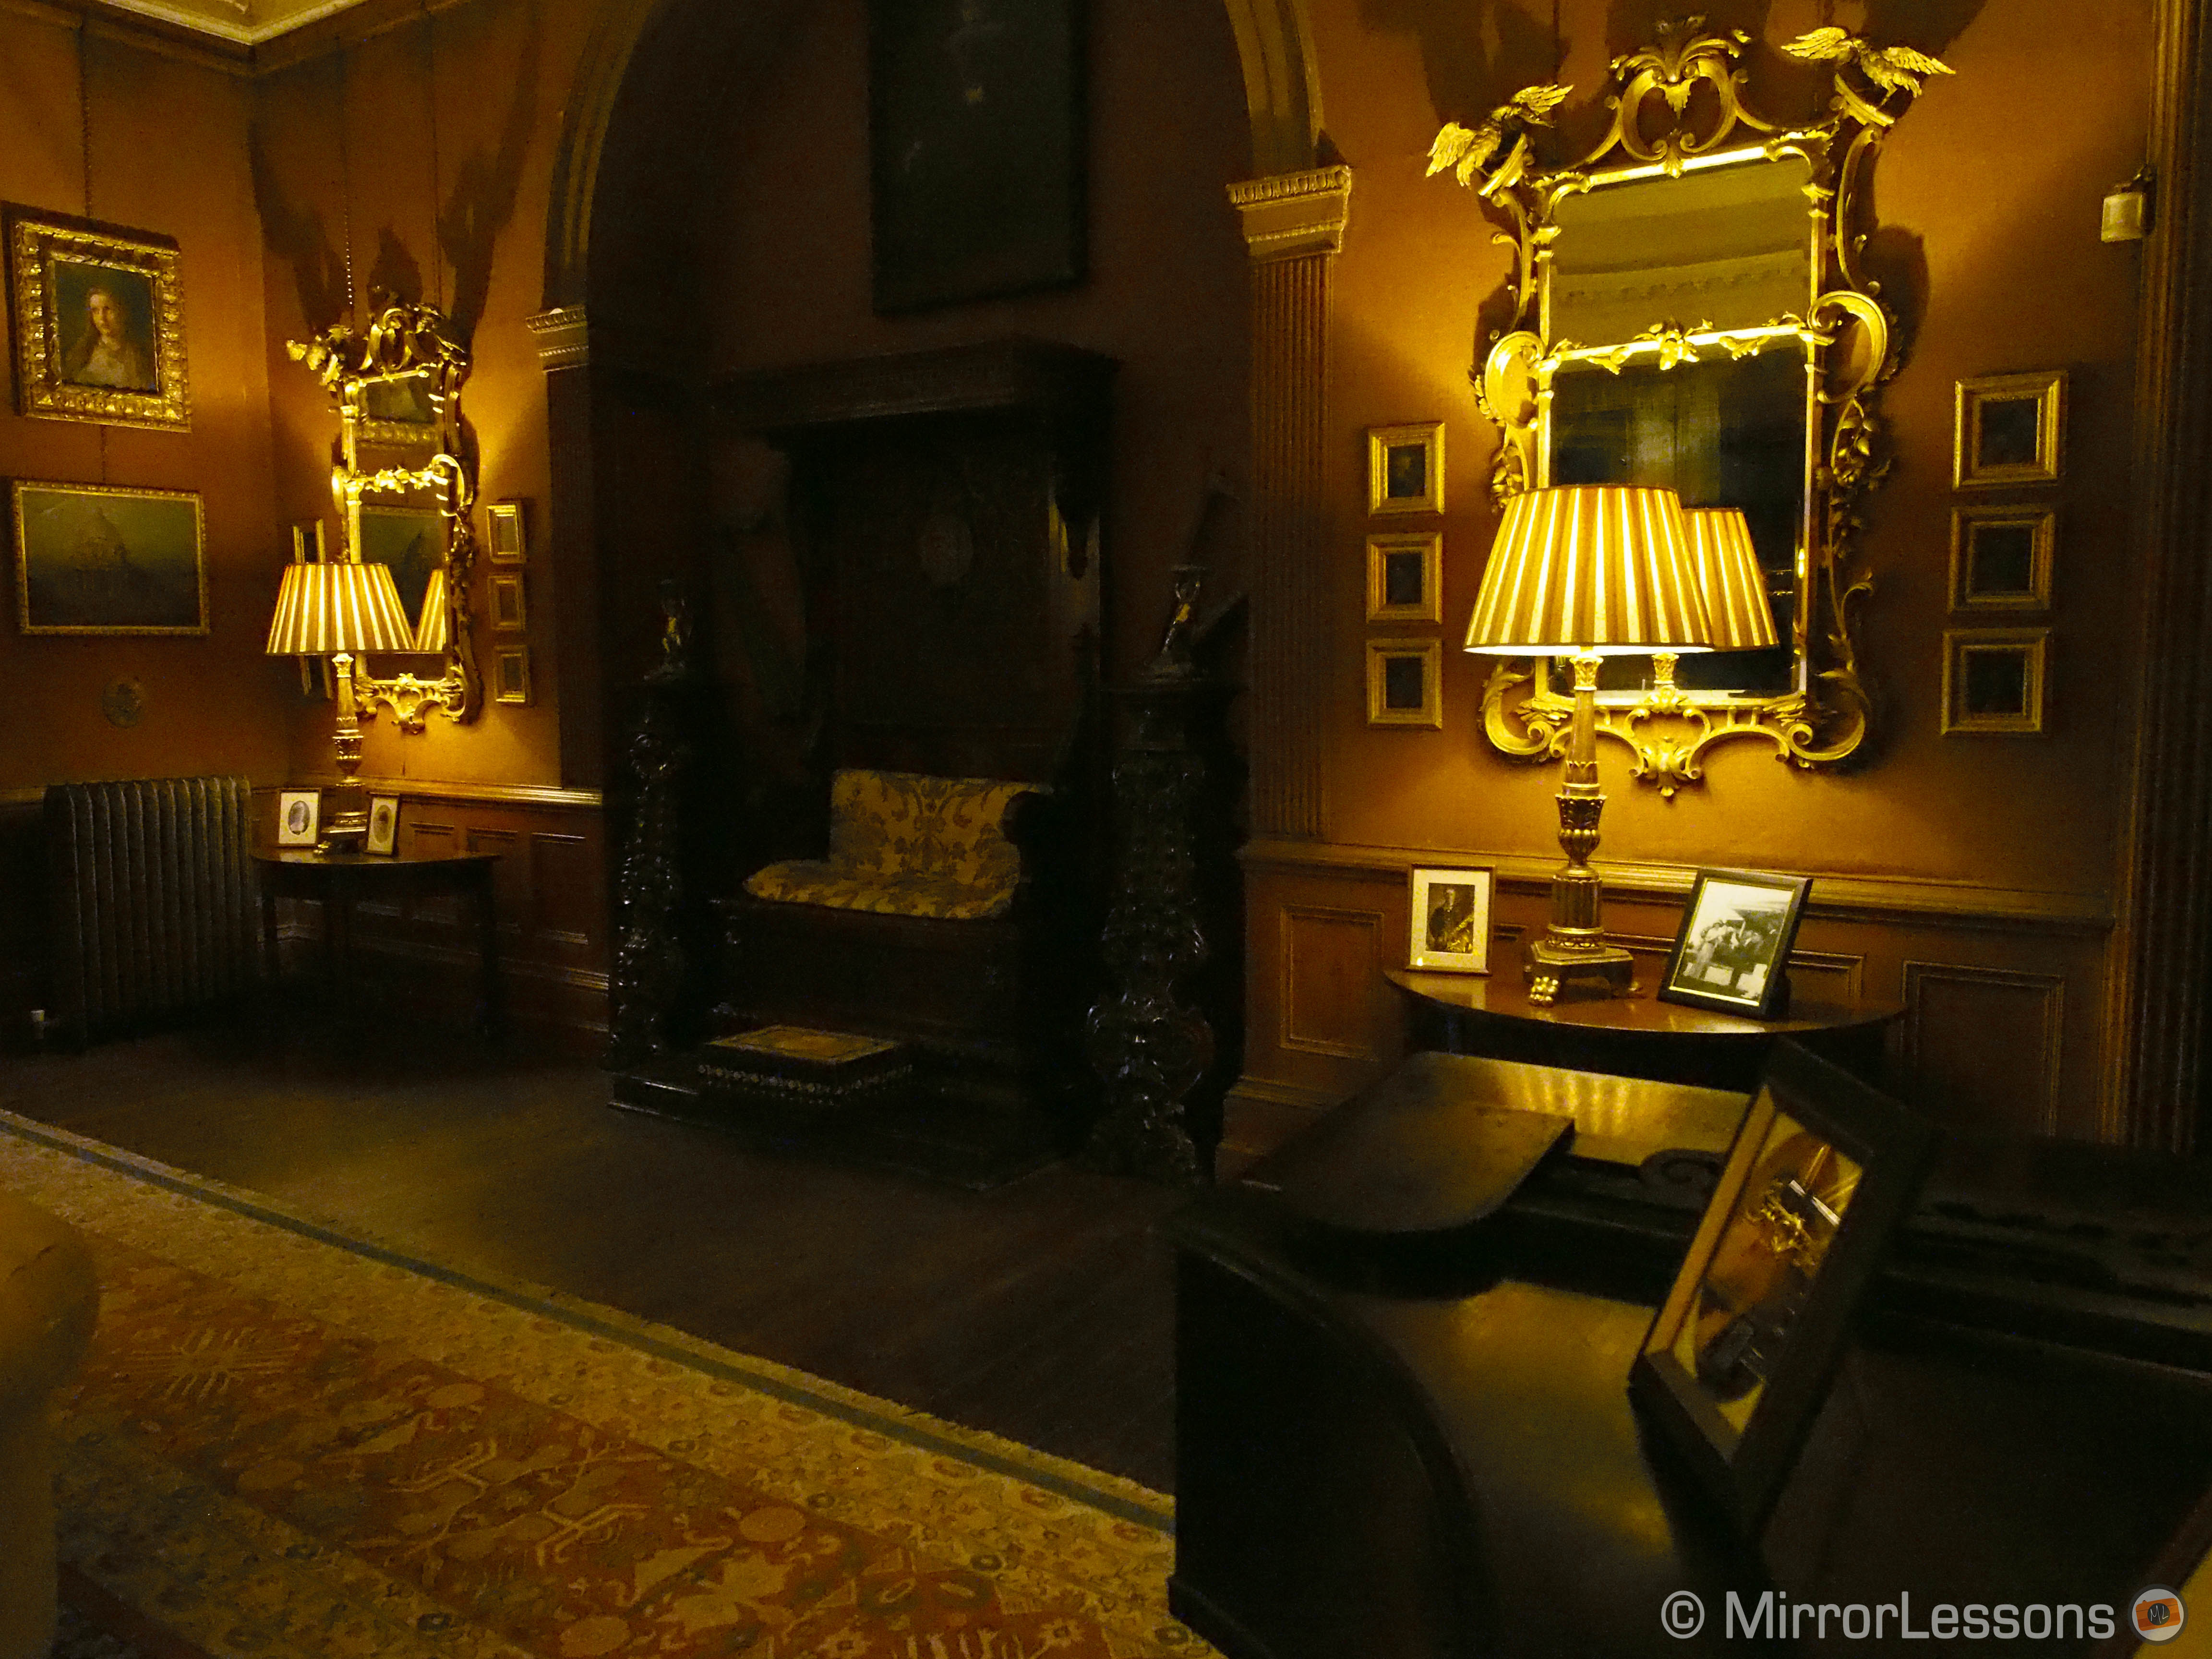
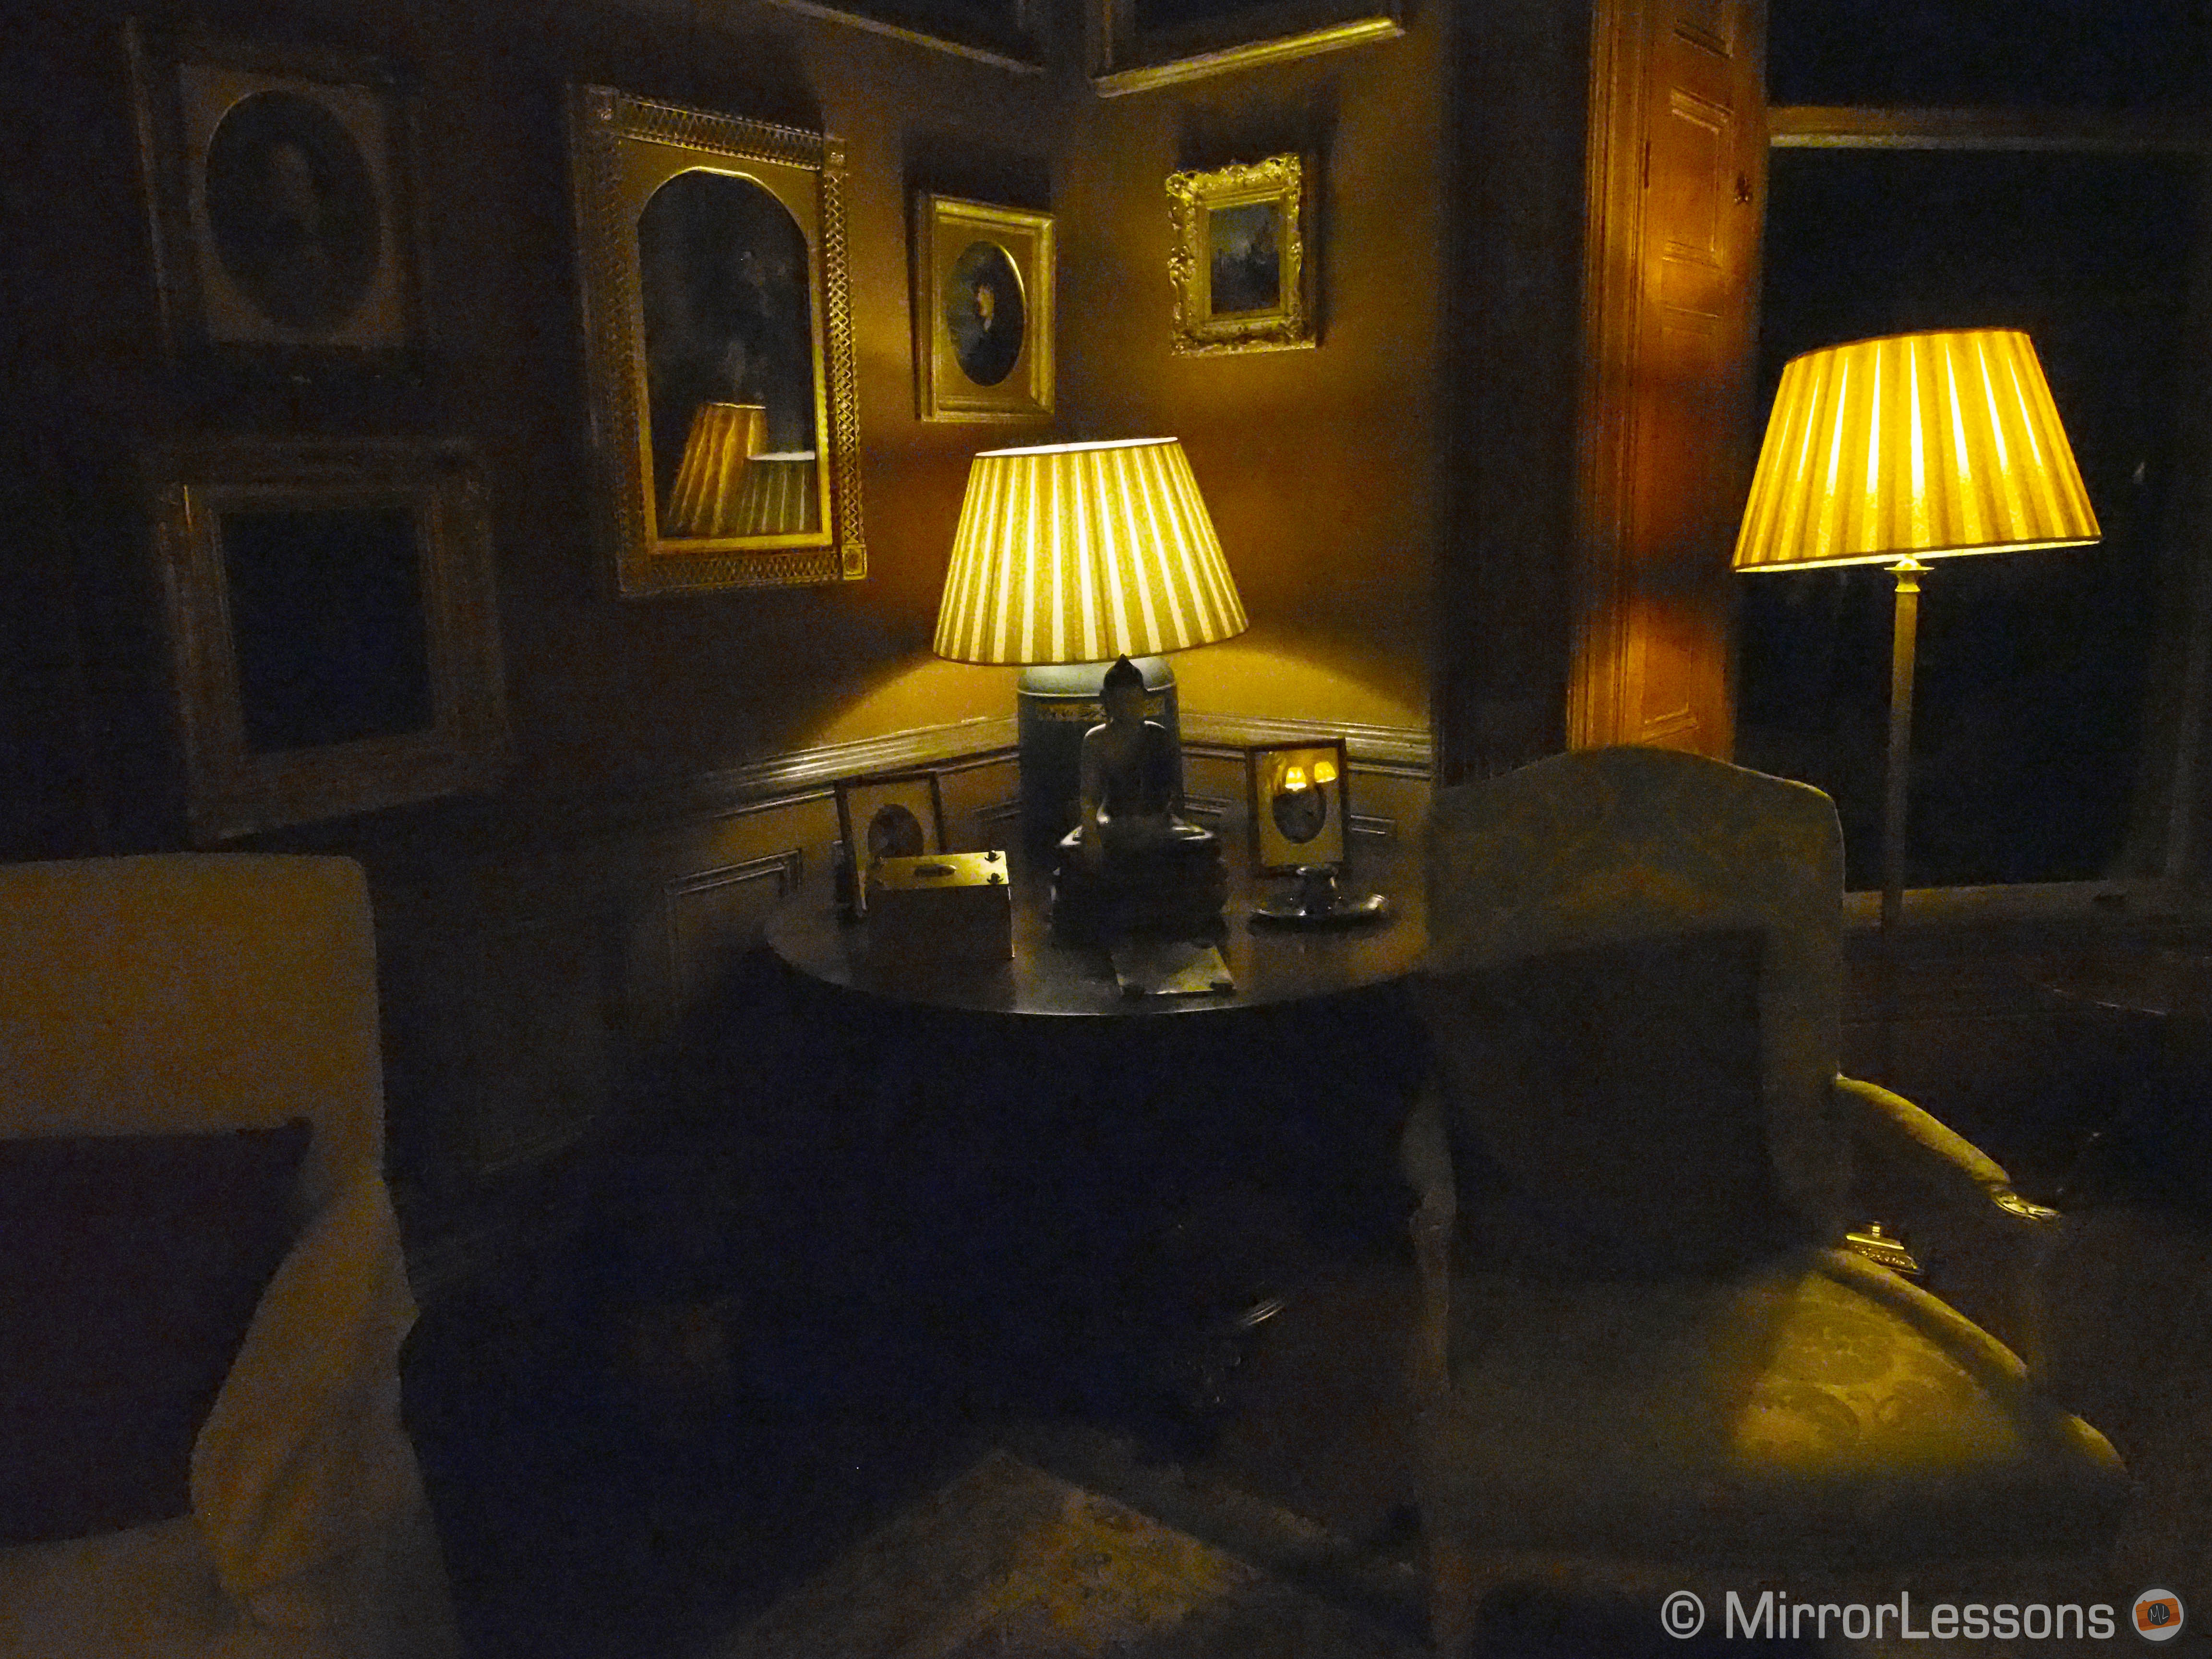
It was rumoured that the E-M1 would have a one-stop improvement for ISO, meaning that 800 ISO on the E-M1 would look like 400 ISO on the E-M5. I wanted to see the difference myself, so Heather and I took a series of indoor pictures inside one of the many ornate sitting rooms in Castle Leslie. The setting was very dark, illuminated only by weak lamps in various corners of the room. Of course we made sure that both cameras had exactly the same settings:
- 3200°k
- noise reduction set to standard for JPGs
- manual mode with same aperture and shutter speed
- natural profile, all colours settings to 0, Adobe 1998 color profile
- the same lens, the new M.Zuiko 12-40mm f/2.8
The JPGs produced from the RAW files were exported using the Olympus Viewer 3 software, as there isn’t a RAW update for Lightroom and Photoshop yet. (Update: there is now support for Lightroom and Photoshop!)


N.B.: my apologies for the second set of pictures as the aperture for the E-M5 was supposed to be f/4 and not f/4.5.
I found the pictures at 800 and 1600 ISO on the E-M1 and E-M5 equal regarding the amount of noise. The difference is that the E-M1 is sharper, though it has the same minimal noise as the E-M5.
This is also visible on the Original On Camera JPGs.


At 3200 and 5000 ISO, you start to notice slightly more noise in the E-M5 pictures, but you still need to view them at 100% to see the difference. Again the E-M1 pictures are sharper.
All the pictures below are from RAW.


What impressed me the most were the extreme ISO settings: 12800 and 25600 ISO.
You can clearly see not only the improved sharpness and colour accuracy of the E-M1 but also less noise and fewer colour artefacts compared to the images taken with the E-M5.


As we can see, we have to concentrate on sharpness to really see the difference between the two cameras. The difference concerning noise is more subtle until you get to 12800 ISO. From this point on, the E-M1 performs much better. For me, the 25600 ISO shots are way more usable on the E-M1 than on the E-M5. And since the lack of the AA filter allows for a lot more sharpness, we have two very good reasons to say “bravo” to Olympus!
Below are more high ISO pictures taken with the E-M1 (from the original on-camera JPGs).


5-Axis Stabilisation
The second thing I wanted to try was the 5-axis stabilisation which Olympus said it had improved on the E-M1. The samples taken by Robin Wong in the first part of his full review of the E-M1 were very impressive, so I did a similar test myself and also made a comparison with the E-M5.
Again I made sure that the two cameras had the same main settings and chose a shutter speed of 2 seconds to test both cameras in an extreme situation. With the 12-40mm mounted on both models, I took two shots, one at 12mm and the other at 40mm. When you use a short focal length, the micro movements you generate by holding the camera will be less noticeable, while with a longer focal length, they will be amplified.


You can see in the two examples that at 12mm, the E-M1 is completely sharp. The E-M5 is less sharp – if you zoom in on the images, you can notice some blur due to micro movements.


The difference becomes even more evident at 40mm. Both of them are blurry, but the 5-axis on the E-M1 is more effective.
So yes, the stabilisation on the E-M1 has been improved. I took other pictures with it between 1 and 2 seconds to see how far I could go. The results are variable. The effectiveness of the 5-axis stabilisation also depends on how still you are and how far your subject is from you. I took two or three shots of the same scene with the same settings and they weren’t equal in terms of either blur or shake. You need to find a comfortable position where you can remain as steady as possible. Generally, the results will be better if you can sit, rest your arm on a chair or stand against a wall.


Conclusion: The real-world benefits
How can these two great improvements (ISO and stabilisation) translate in a real-world situation? Well, it means that I can raise the ISO on the E-M1 more than I can on the E-M5. While with the latter I always tend to stay at a maximum of 3200 ISO, I won’t hesitate to use 6400 ISO with the E-M1. This, combined with the great increase in sharpness, makes this camera a formidable competitor.
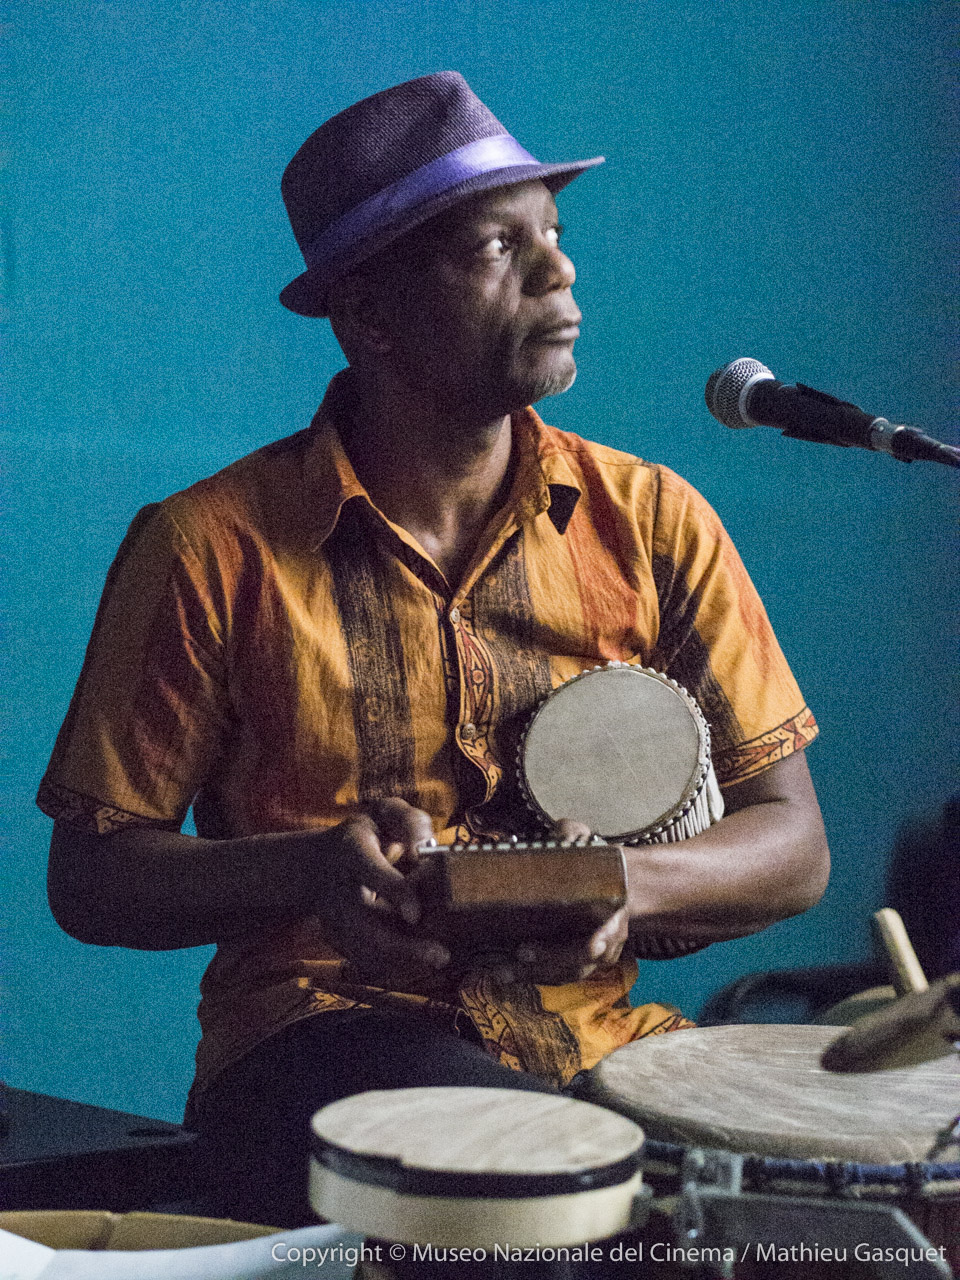
Taken at the Massimo Theatre during a live music screening. This means there was no light at all except what is shown on the screen.
I took the picture above during a live performance in a theatre with the E-M5. Due to the lack of light, I had to take some shots at 25600 ISO. They are usable considering the extreme situation, but with the E-M1 I would have less noise and more sharpness.
Apply this logic to a lower ISO like 3200 and 6400 ISO and I think you can see the benefits.
Concerning the 5-axis stabilisation, the same logic applies. I showed you examples at shutter speeds of one and two seconds hand-held, which is extreme – I will rarely find myself in a situation where I need that. But the fact I can go down as far as two seconds also means that I can trust the E-M1’s 5 axis more, and be certain that with the right position and steadiness, I will almost always achieve sharp pictures at slow shutter speeds down to 1 second. For someone like me who tends to use tripods as little as possible, it is undoubtedly one of the features I value the most about this camera.
Since I started using the E-M5, I have noticed that I use my tripod less with the exception of special situations. Knowing that the E-M1 is even better than its already incredible predecessor allows me to feel even more comfortable with leaving my tripod at home.
I hope you enjoyed this first article about the OM-D E-M1. An overall first impression article is coming, as well as an exclusive interview with Olympus managers and a couple of hands-on videos. So stay tuned and of course, let us know your impressions in the comments section below – we are looking forward to reading your opinions as well!
Our OM-D E-M1 hands-on coverage:
Low-light performance – Olympus Europe interview – M.Zuiko 40-150mm f/2.8 Pro lens